Table of Contents
- The Importance of Properly Outlining Your Roof
- 3 Methods for Attaching C9 Christmas Lights to Roof Ridges and Hips
- Sourcing Professional-Grade Christmas Lighting Products
- FAQ
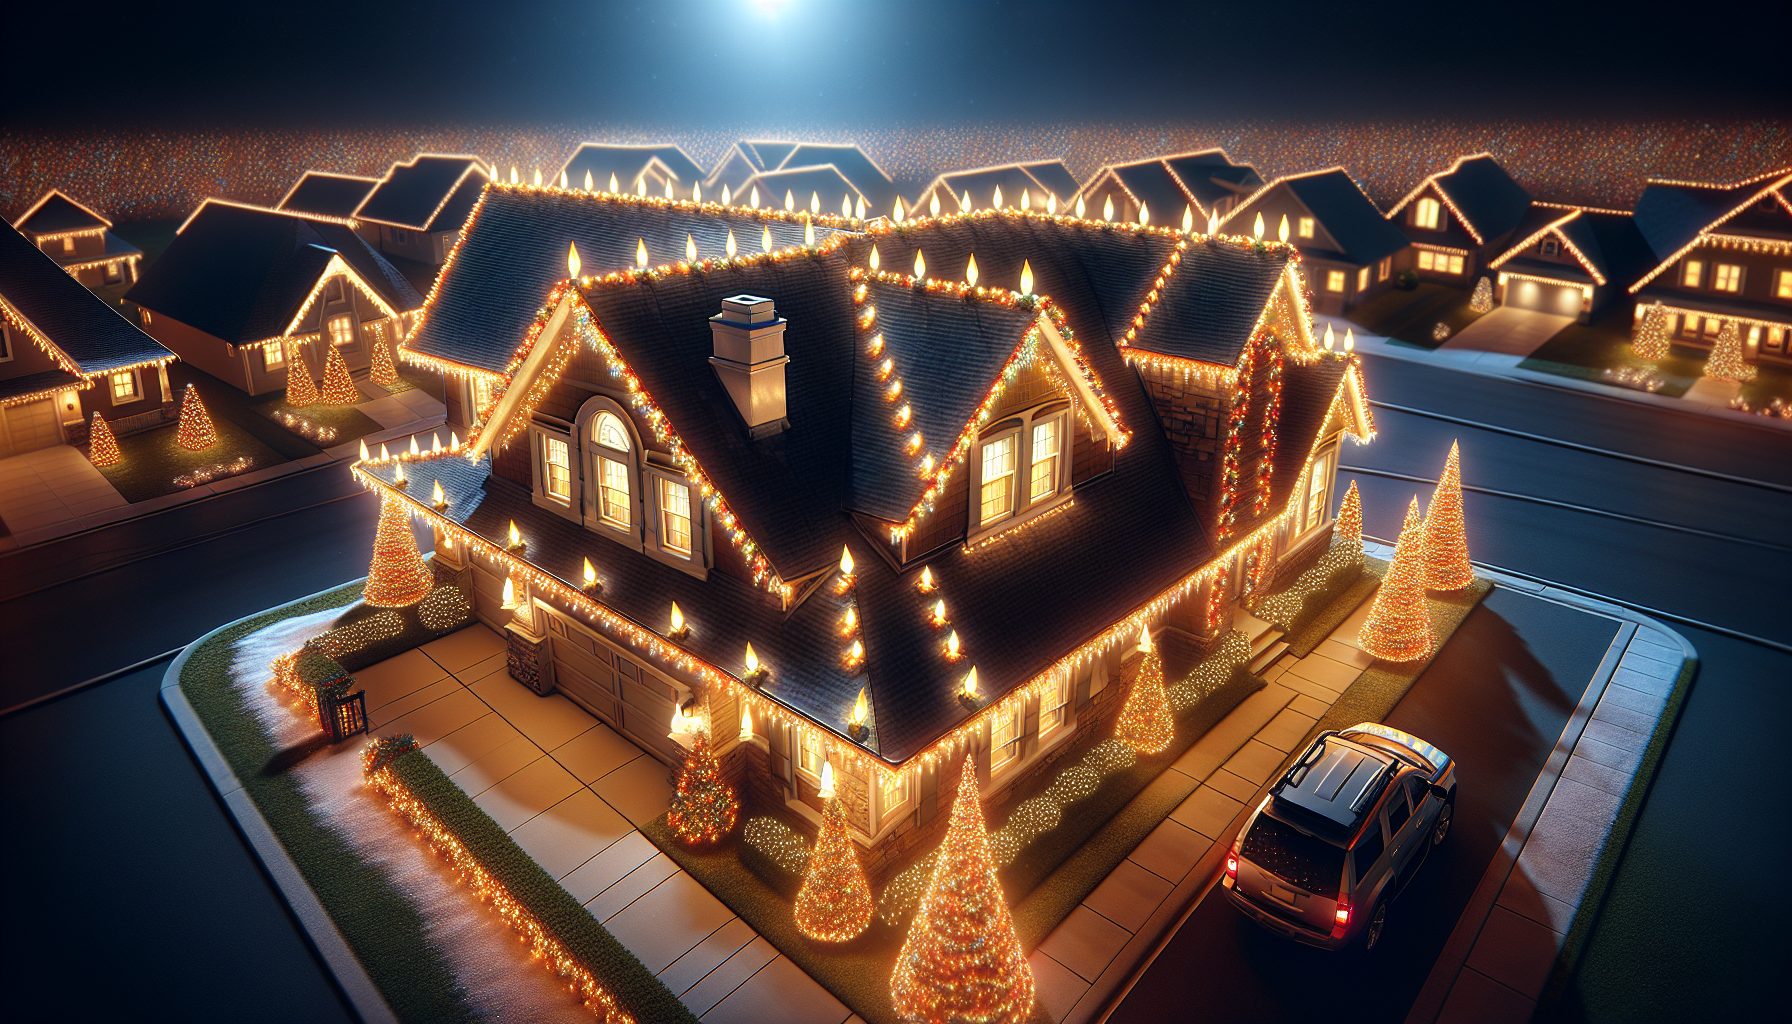
The Importance of Properly Outlining Your Roof
Outlining your roof with Christmas lights can be a challenging task, but it’s essential to achieving the perfect holiday look. The key is to center the lights on the “peak” or ridge of your roof, so the bulbs can be viewed from every angle. This requires the right type of lights, the correct socket cord spacing, and most importantly, the proper Christmas light clips.
3 Methods for Attaching C9 Christmas Lights to Roof Ridges and Hips
Method 1: Clip to One Side of the Hip
One way to attach C9 bulbs to the hip of your roof is to clip them to one side of the hip, rather than the center. This can work well if your roof has a shallow pitch, as the lights will still be visible from multiple directions. However, on a steeper roof, the lights may only be visible from one side.
Method 2: Clip to the Center of the Hip
Alternatively, you can clip the lights to the center of the hip, with the bulbs standing up. This ensures the lights are visible from all directions. The key is to match the spacing of your socket line to the width of your shingles, so you can clip the lights directly to the edge of the shingle without having to lift it up and potentially damage the tar seal.
Method 3: Use a Ridge Clip
The third option is to use a specialized ridge clip, which has teeth that hook onto either side of the ridge shingle. This allows you to center the socket line on the ridge, ensuring the bulbs are visible from all angles. The ridge clip is a great solution if your socket line spacing doesn’t match the width of your shingles.
Sourcing Professional-Grade Christmas Lighting Products
All of the professional-grade Christmas lighting products featured in this video, including the C9 bulbs, socket cords, and specialized clips, can be ordered through ChristmasLightContractorsUSA.com. This is the same website mentioned at the bottom of the video.
FAQ
What is the best way to attach Christmas lights to my roof?
The best way to attach Christmas lights to your roof is to center them on the ridge or hips, using either a specialized ridge clip or by matching the spacing of your socket line to the width of your shingles. This ensures the lights are visible from all angles.
How do I prevent damage to my roof when hanging lights?
To prevent damage to your roof, be sure to use fully enclosed clips that go around the bulb and socket, rather than just clipping onto the shingles. Avoid lifting up the shingles or breaking the tar seal, as this can lead to leaks and other issues.
What type of Christmas lights are best for outlining my roof?
C9 or C7 bulbs are the best choice for outlining your roof, as they are larger and more visible from a distance. Make sure to use professional-grade socket cords and clips designed for this purpose, as they will be more durable and secure than standard holiday lights.
How do I ensure my Christmas lights are centered and evenly spaced?
Using a ridge clip or matching your socket line spacing to your shingle width can help ensure your lights are centered and evenly spaced along the roof. Avoid stretching the socket line too tight, as this can cause the lights to sag or become uneven.
Can I mix blinker bulbs with my regular Christmas lights?
It’s generally not recommended to mix blinker bulbs with your regular Christmas lights when outlining your roof. The blinking effect can be distracting and make the overall display look uneven. Stick to a consistent, non-blinking bulb type for the best results.