Table of Contents
- Streamlining the Process: Labeling and Mapping Your Christmas Lights
- The Importance of Labeling and Mapping
- The Benefits of Labeling and Mapping
- FAQ
Streamlining the Process: Labeling and Mapping Your Christmas Lights
As the holiday season approaches, the task of installing and taking down Christmas lights can be a daunting one, especially for those with large homes or intricate lighting displays. However, with a little bit of planning and organization, you can make the process a breeze, saving time and effort for years to come. In this comprehensive guide, we’ll explore the simple yet effective techniques used by seasoned professionals to ensure a seamless Christmas light installation experience.
The Importance of Labeling and Mapping
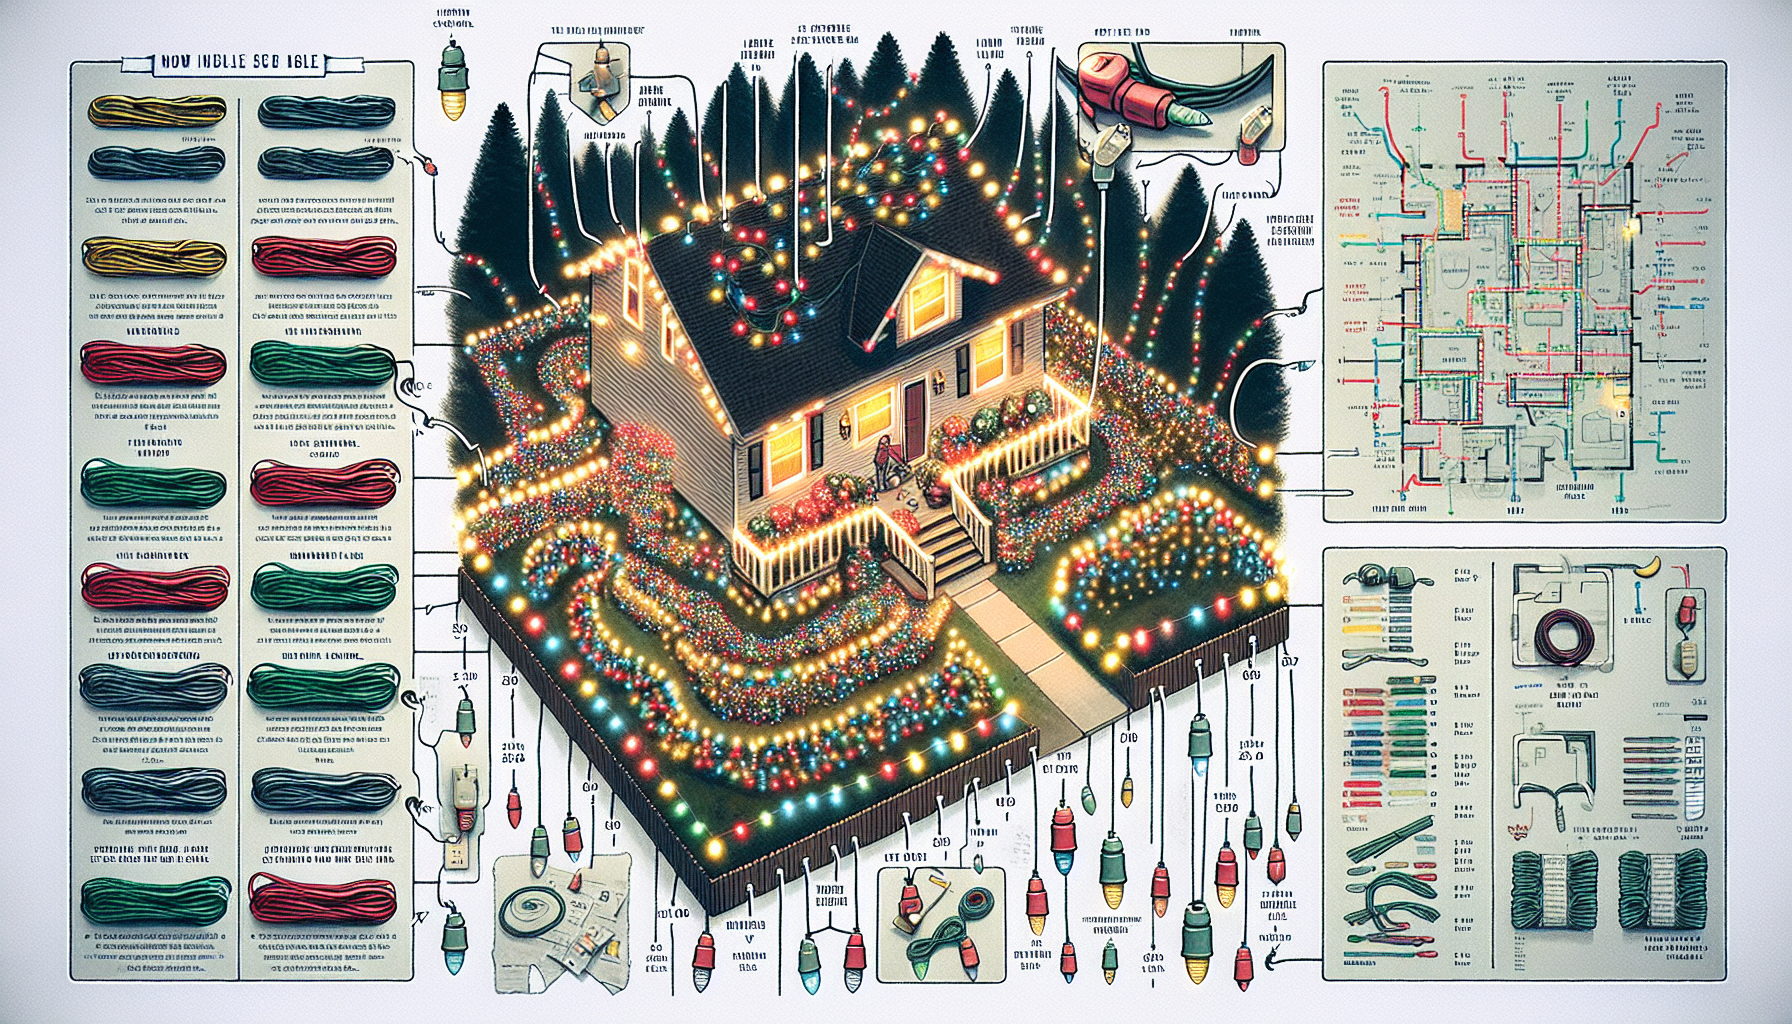
When it comes to installing and taking down Christmas lights, the key to success lies in proper labeling and mapping. Imagine trying to untangle a tangled mess of cords and trying to remember where each strand goes – it can be a nightmare. By taking the time to label and map your lights, you can avoid this frustration and make the process much more efficient.
Labeling Your Christmas Lights
One of the most effective ways to streamline your Christmas light installation is to label each individual strand or plug. This can be done using a simple numbering system, where you assign a unique number to each plug or strand. By doing this, you can easily identify where each light should be placed, saving you time and effort during the installation process.
To implement this system, you’ll need a set of numbered tags or labels. These can be as simple as small tags with numbers printed on them, or you can use a more advanced system like the one described in the video transcript, which utilizes a keychain-style numbering system.
As you take down your lights, carefully attach the corresponding numbered tag to each plug or strand. This way, when it’s time to put them up again next year, you’ll know exactly where each one goes, making the process much faster and more efficient.
Mapping Your Christmas Light Layout
In addition to labeling your lights, it’s also important to create a detailed map of your lighting layout. This can be done by taking a satellite image or diagram of your home and marking the placement of each light strand. You can then use this map to reference during the installation process, ensuring that each light is placed in the correct location.
To make the map even more useful, consider color-coding your light strands. This can be done by using colored electrical tape or markers to differentiate between different sections of your lighting display. This visual aid can be incredibly helpful, especially if you have a large or complex layout.
By combining the labeling and mapping techniques, you’ll create a comprehensive system that will make your Christmas light installation a breeze. Not only will you save time and effort, but you’ll also be able to easily hand off the task to someone else if needed, as the instructions will be clear and easy to follow.
The Benefits of Labeling and Mapping
Investing the time and effort to label and map your Christmas lights may seem like a daunting task, but the benefits far outweigh the initial work. Here are some of the key advantages of this approach:
Faster Installation
With your lights properly labeled and mapped, the installation process will be much quicker and more efficient. Instead of spending hours untangling cords and trying to remember where each strand goes, you’ll be able to simply follow your pre-established system, saving you valuable time and energy.
Easier Maintenance
Over time, your Christmas light setup may need to be adjusted or repaired. With a labeled and mapped system, making these changes will be a breeze. You’ll know exactly where each strand is located and how it connects to the rest of the display, making it much easier to troubleshoot and make any necessary repairs.
Seamless Handoff
If you ever need to hand off the Christmas light installation to someone else, such as a new homeowner or a hired professional, your labeled and mapped system will make the process much smoother. The new installer will be able to quickly understand the layout and placement of your lights, reducing the risk of mistakes or confusion.
Consistent Year-to-Year Setup
One of the biggest benefits of labeling and mapping your Christmas lights is the ability to maintain a consistent setup year after year. Instead of having to start from scratch each season, you can simply refer to your existing system, ensuring that your display looks the same (or even better) than the previous year.
FAQ
How long does it take to label and map my Christmas lights?
The time it takes to label and map your Christmas lights will depend on the size and complexity of your display. However, most homeowners can complete the process in a single afternoon or evening. The initial setup may take some time, but the long-term benefits of a labeled and mapped system make it well worth the effort.
Can I use this system for other holiday decorations?
Absolutely! While this guide focuses on Christmas lights, the principles of labeling and mapping can be applied to any type of holiday decoration or lighting display. Whether you’re setting up a Halloween haunted house or a Fourth of July celebration, a well-organized system can make the process much easier and more efficient.
Do I need to use a specific type of label or tag?
There is no one-size-fits-all solution when it comes to labeling your Christmas lights. You can use a variety of materials, from simple tags and labels to more advanced systems like the one described in the video. The most important thing is to choose a method that works best for your needs and preferences.
How often should I update my Christmas light map?
It’s a good idea to review and update your Christmas light map annually, especially if you make any changes to your display. This will ensure that your map remains accurate and up-to-date, making the installation process even smoother year after year.
Can I share my Christmas light map with others?
Absolutely! If you have a particularly complex or intricate lighting display, sharing your map with other family members or hired installers can be incredibly helpful. This ensures that everyone is on the same page and can work together to set up your holiday decorations efficiently.
By following the tips and techniques outlined in this guide, you’ll be well on your way to a stress-free and efficient Christmas light installation process. With a little bit of planning and organization, you can enjoy the magic of the holiday season without the hassle of untangling cords and trying to remember where each light goes. So, let’s get started and make this year’s holiday display the best one yet!