Table of Contents
- Streamlining the Process with Proper Labeling and Storage
- Preparing for Takedown: Labeling and Organizing
- Navigating Tricky Takedown Situations
- Streamlining the Process: Tips and Tricks
- FAQ
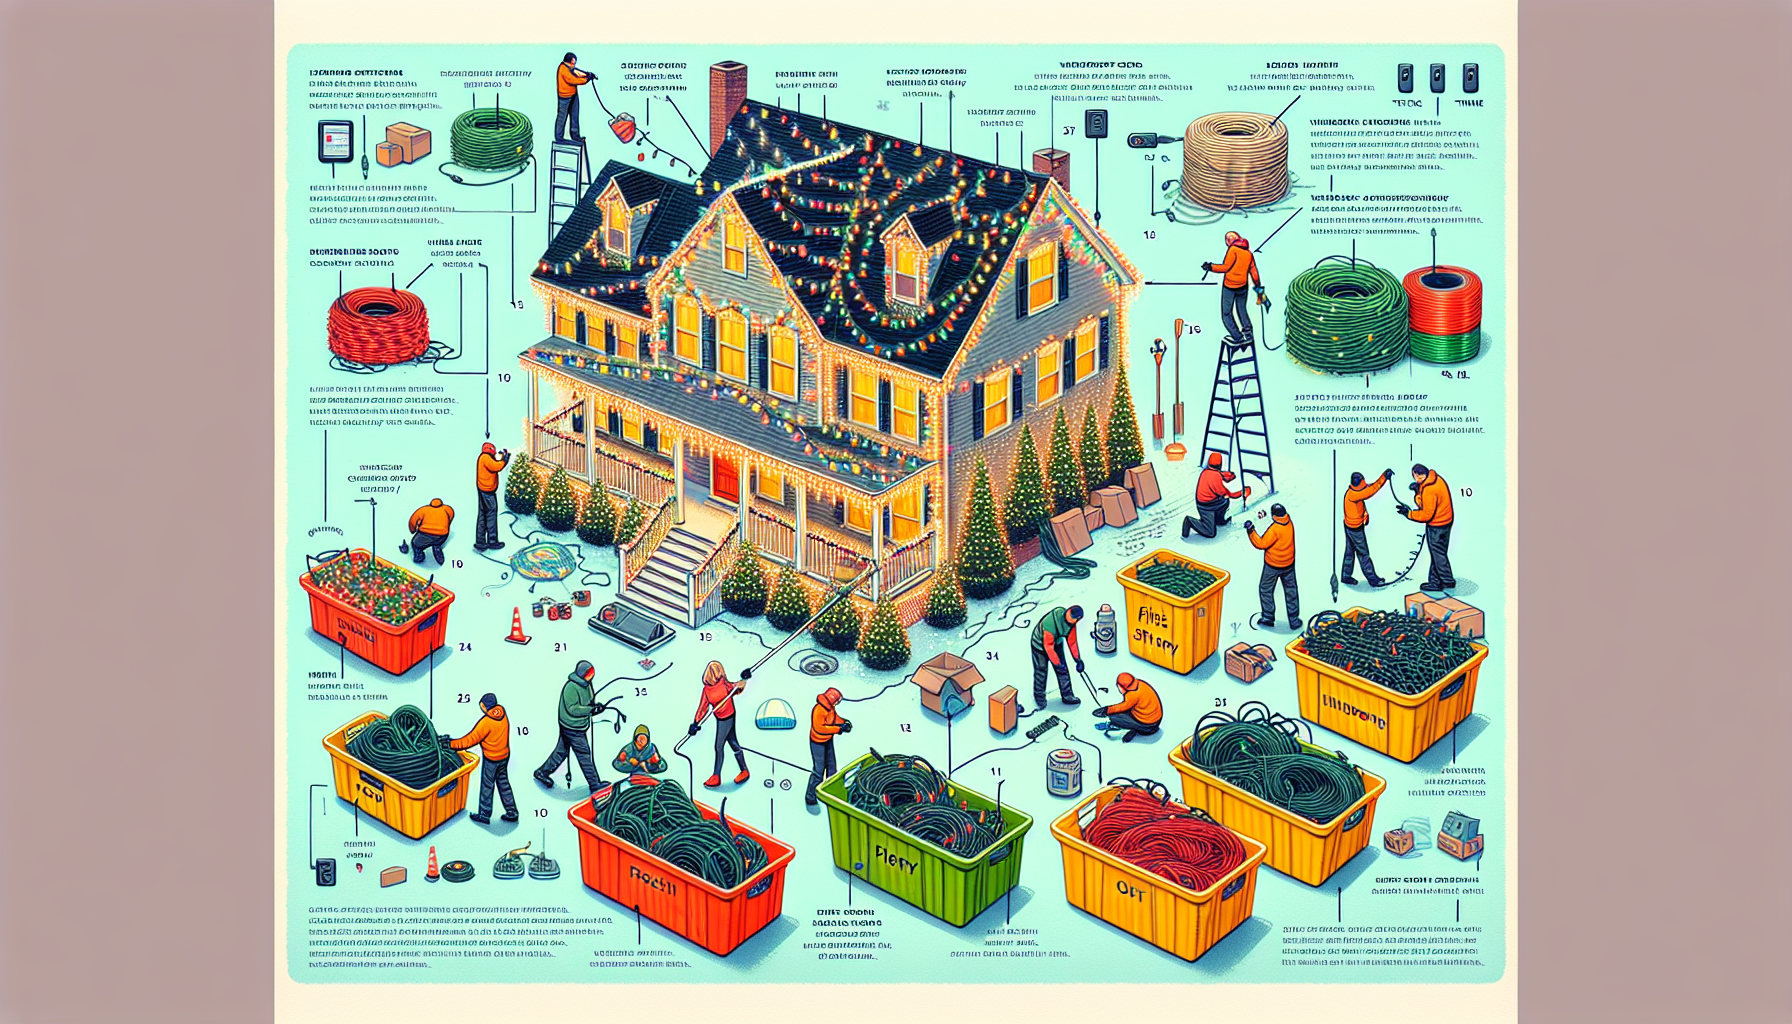
Streamlining the Process with Proper Labeling and Storage
As the holiday season winds down, the task of taking down and storing your Christmas lights can feel daunting. However, with the right approach and a few simple tricks, you can make this process seamless and efficient. In this comprehensive guide, we’ll walk you through the steps to ensure your Christmas lights are safely and neatly packed away, ready for a hassle-free setup next year.
Preparing for Takedown: Labeling and Organizing
The key to a successful Christmas light takedown lies in proper labeling and organization. Before you even begin the process, take the time to prepare your workspace and gather the necessary supplies. This includes creating labels for your light strands, power cords, and various sections of your display.
Using waterproof cable labels, clearly mark each component with its corresponding location, such as “Front Porch,” “First Story,” “Second Story Left,” and so on. This labeling system will save you countless hours of guesswork when it comes time to reinstall your lights next year.
Efficient Bundling and Storage
As you remove the lights from your home, be mindful of how you bundle them. Grab every third bulb, creating a neat and organized coil that will easily fit into your storage containers. This technique ensures the lights don’t become tangled and makes the process of unpacking and setting up a breeze next season.
When it comes to storage, consider using collapsible produce bins or similar containers that allow for airflow and efficient stacking. These bins not only provide ample space for your lights but also take up minimal storage space when not in use.
Navigating Tricky Takedown Situations
While the process may seem straightforward, there are a few potential challenges you may encounter during the Christmas light takedown. One common issue is dealing with power cords that have become entangled or caught on various elements of your home’s exterior.
Rather than pulling and tugging, approach these situations with care and patience. Gently flip or reposition the cords to avoid damage to your home or the lights themselves. If a cord is particularly stubborn, consider using a long-reach pole or extension tool to carefully guide it down without exerting excessive force.
Handling Specialty Lighting and Accessories
In addition to your main light strands, don’t forget to address any specialty lighting or accessories, such as mini lights and timers. These items often have a shorter lifespan and require separate storage. Test each component, keep the working ones, and replace any that have malfunctioned before the next holiday season.
Streamlining the Process: Tips and Tricks
To further optimize your Christmas light takedown, consider the following tips and tricks:
- Utilize Produce Bins: These collapsible containers provide excellent storage solutions, allowing for efficient stacking and airflow to prevent moisture buildup.
- Invest in Professional-Grade Lighting: High-quality lights and clips designed for professional use will make the takedown process much smoother and quicker.
- Leverage Extension Poles: Use a long-reach pole with a hook attachment to safely remove lights from hard-to-reach areas without the need for a ladder.
- Maintain a Labeled Inventory: Keep a detailed record of your light strands, power cords, and accessories, including their locations and any necessary replacements.
- Join a Christmas Lighting Community: Connect with fellow enthusiasts in online groups to share tips, tricks, and best practices throughout the holiday season.
FAQ
How long does it typically take to take down Christmas lights?
The time required can vary depending on the size and complexity of your display, as well as the preparation and organization you’ve put in place. However, with the right techniques and tools, a well-prepared homeowner can typically take down an entire house’s worth of lights in as little as 5-10 minutes.
Can I reuse my Christmas lights year after year?
Absolutely! With proper storage and maintenance, your Christmas lights can last for many holiday seasons. Regularly testing your lights and replacing any damaged or malfunctioning components will ensure your display remains in top condition.
How can I prevent my Christmas lights from getting tangled during storage?
Proper bundling and organization are key to preventing tangled lights. By grabbing every third bulb and coiling the lights neatly, you can minimize the chances of knots and tangles. Additionally, using labeled storage containers and keeping components separated will make the setup process much smoother next year.
What should I do if I find a faulty or damaged light strand?
If you discover a malfunctioning light strand or accessory, it’s best to replace it before the next holiday season. Test all your lights and timers, and keep a record of any items that need to be replaced. This will ensure your display is in optimal condition when you’re ready to set it up again.
How can I safely remove lights from hard-to-reach areas?
Invest in a long-reach extension pole with a hook attachment. This tool will allow you to safely remove lights from high areas or around gutters and other obstacles without the need for a ladder. Gently guide the lights down, taking care not to pull or tug excessively.
By following the steps outlined in this guide, you’ll be able to take down your Christmas lights with ease, ensuring a stress-free setup for the next holiday season. Remember, with a little preparation and the right techniques, the process can be streamlined and efficient, allowing you to enjoy the post-holiday downtime without the hassle of tangled lights and disorganized storage.