Table of Contents
Introduction
Welcome to our blog post on efficiently installing Christmas lights! In this post, we will be sharing some tips and tricks that will help you make your installations quick and hassle-free. We understand that setting up Christmas lights can be a daunting task, but with the right techniques and tools, you can achieve a professional-grade look. So whether you are decorating your own home or working as a professional light installer, keep reading to learn more!
Installing Lights on the Roof
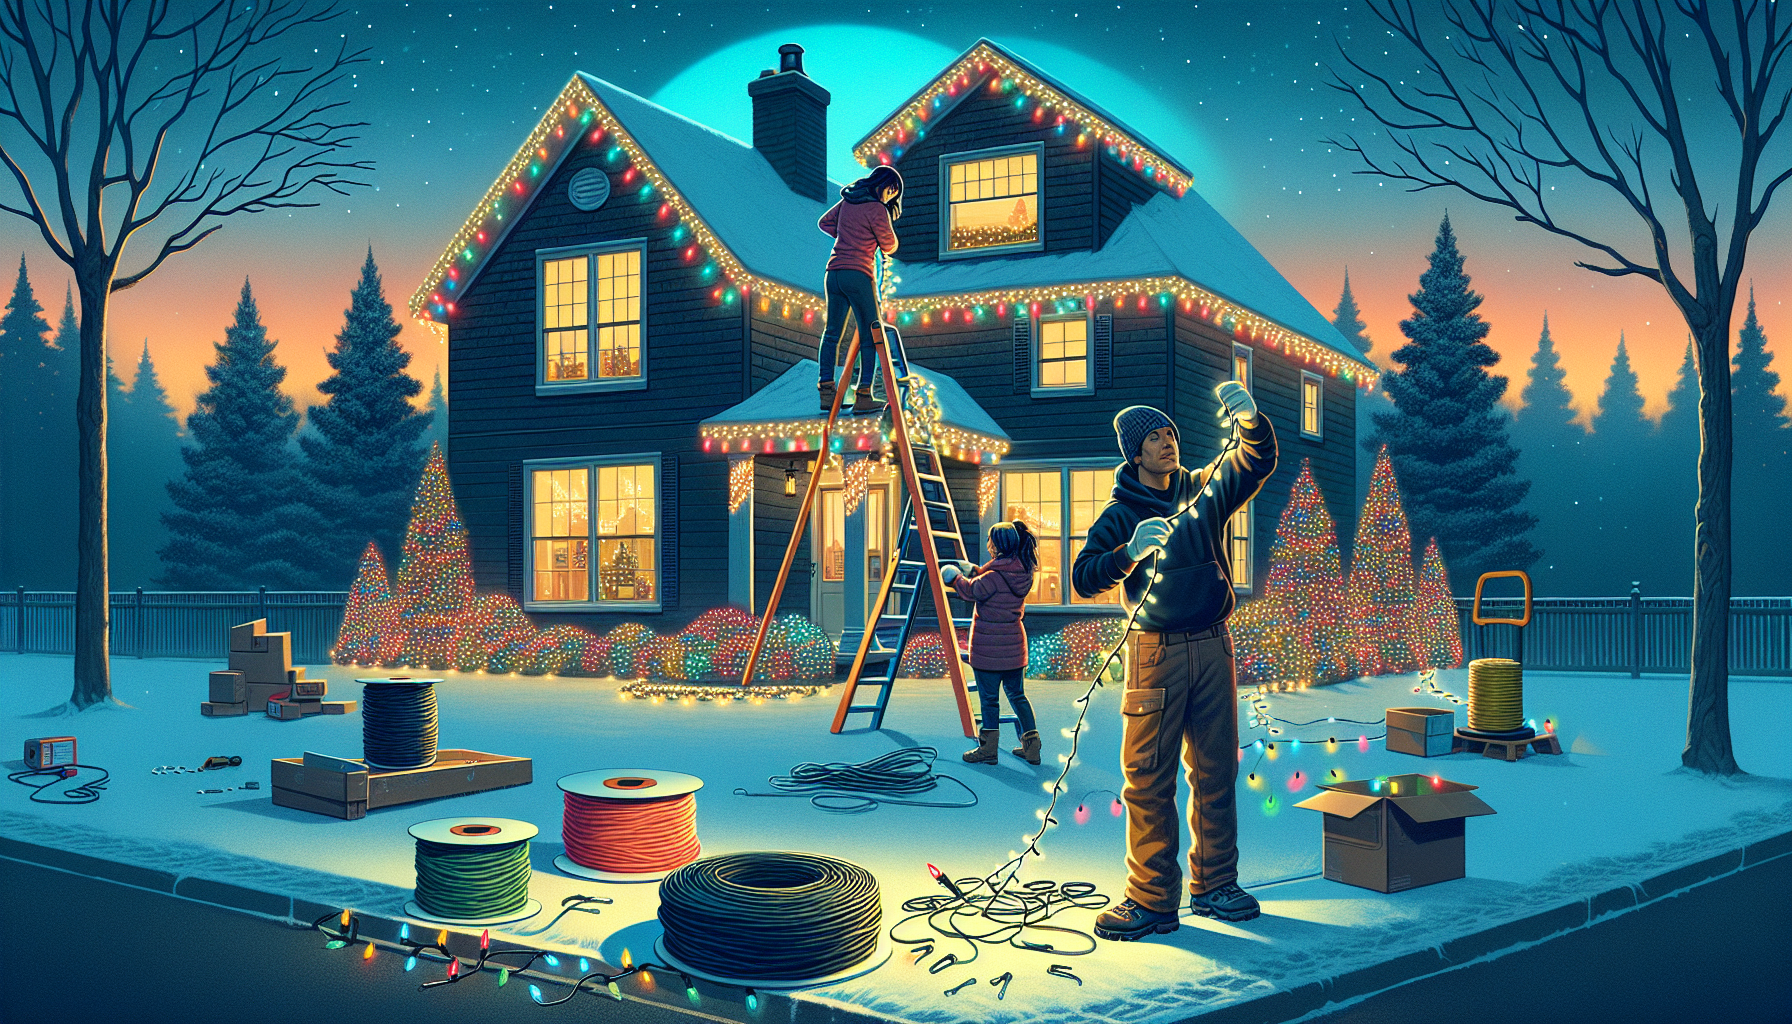
One of the key aspects of efficient light installation is organizing your lights before you begin. Start by taking all of your lights out of the bins and stretching them out. Place them in front of the house according to the sections you plan to install them on. For example, if you are installing lights on the gutter, place the corresponding strands near the gutter. This way, you can easily access them as you work your way around the house.
Professional Grade Lights
When it comes to purchasing Christmas lights, it’s important to invest in professional-grade lights rather than opting for cheaper alternatives found at home improvement stores like Home Depot. While these lights may seem like a good deal initially, they often stop working after a few weeks or by the following year. At NC Christmas Lights, we recommend checking out Christmas Light Contractors USA (christmaslightcontractorsusa.com) for high-quality lights. They offer fast shipping and starter packs that allow you to achieve a professional look.
Pole and Teamwork
Efficient installation of Christmas lights often requires teamwork and the use of specialized tools. The first tool we recommend is a pole with a hook on one end. This pole allows you to hand light strands up to the person installing them on the roof. By using the pole, the installer doesn’t have to come all the way down or flip the lights, saving time and effort.
Additionally, having a well-coordinated team is essential for a smooth installation process. Each team member should have a designated task to ensure maximum productivity. For example, while one person is installing lights on the roof, another can focus on installing landscape lighting. By assigning specific tasks, everyone stays busy and the installation is completed efficiently.
Zip Tie
Another useful tool for efficient light installation is a zip tie. Zip ties come in handy when joining two lines together or securing plugs that are cut a little bit short. By zip tying them together, you can prevent them from coming apart, even when pulling on them from the ground. This ensures that your lights stay connected and maintains the correct spacing between bulbs.

FAQ
Q: Where should I place the lights when lining the driveway?
A: When lining the driveway, it’s best to position the lights off the driveway by about a foot or so. This helps prevent clients from accidentally running over the lights. To maintain even spacing, use the wire of the next bulb as a spacer. Pull both wires tight to ensure consistent distance between bulbs.
Q: Why should I invest in professional grade lights instead of cheaper alternatives?
A: While cheaper lights may seem attractive initially, they often have a shorter lifespan and are more likely to stop working. Investing in professional-grade lights ensures durability and longevity. Christmas Light Contractors USA offers high-quality lights that will give your decorations a professional look.
Q: How can I keep the lights secure on the roof?
A: To keep the lights secure on the roof, we recommend using a pole with a hook to hand the light strands up to the person installing them. This eliminates the need for the installer to come all the way down or flip the lights. Additionally, zip ties can be used to join lines together and prevent them from coming apart.
Q: What is the benefit of having a well-coordinated team during the installation process?
A: A well-coordinated team ensures that each member has a designated task, maximizing productivity. This way, everyone stays busy and the installation is completed efficiently. By assigning specific tasks, such as installing lights on the roof or landscape lighting, the team can work together smoothly.
Q: How can I maintain the correct spacing between bulbs when working with cut cords?
A: If you have cut cords and need to maintain the correct spacing between bulbs, you can use zip ties to secure the plugs together. This way, even when pulling on the lights from the ground, they won’t come apart. This ensures consistent spacing between bulbs.
