Table of Contents
Introduction
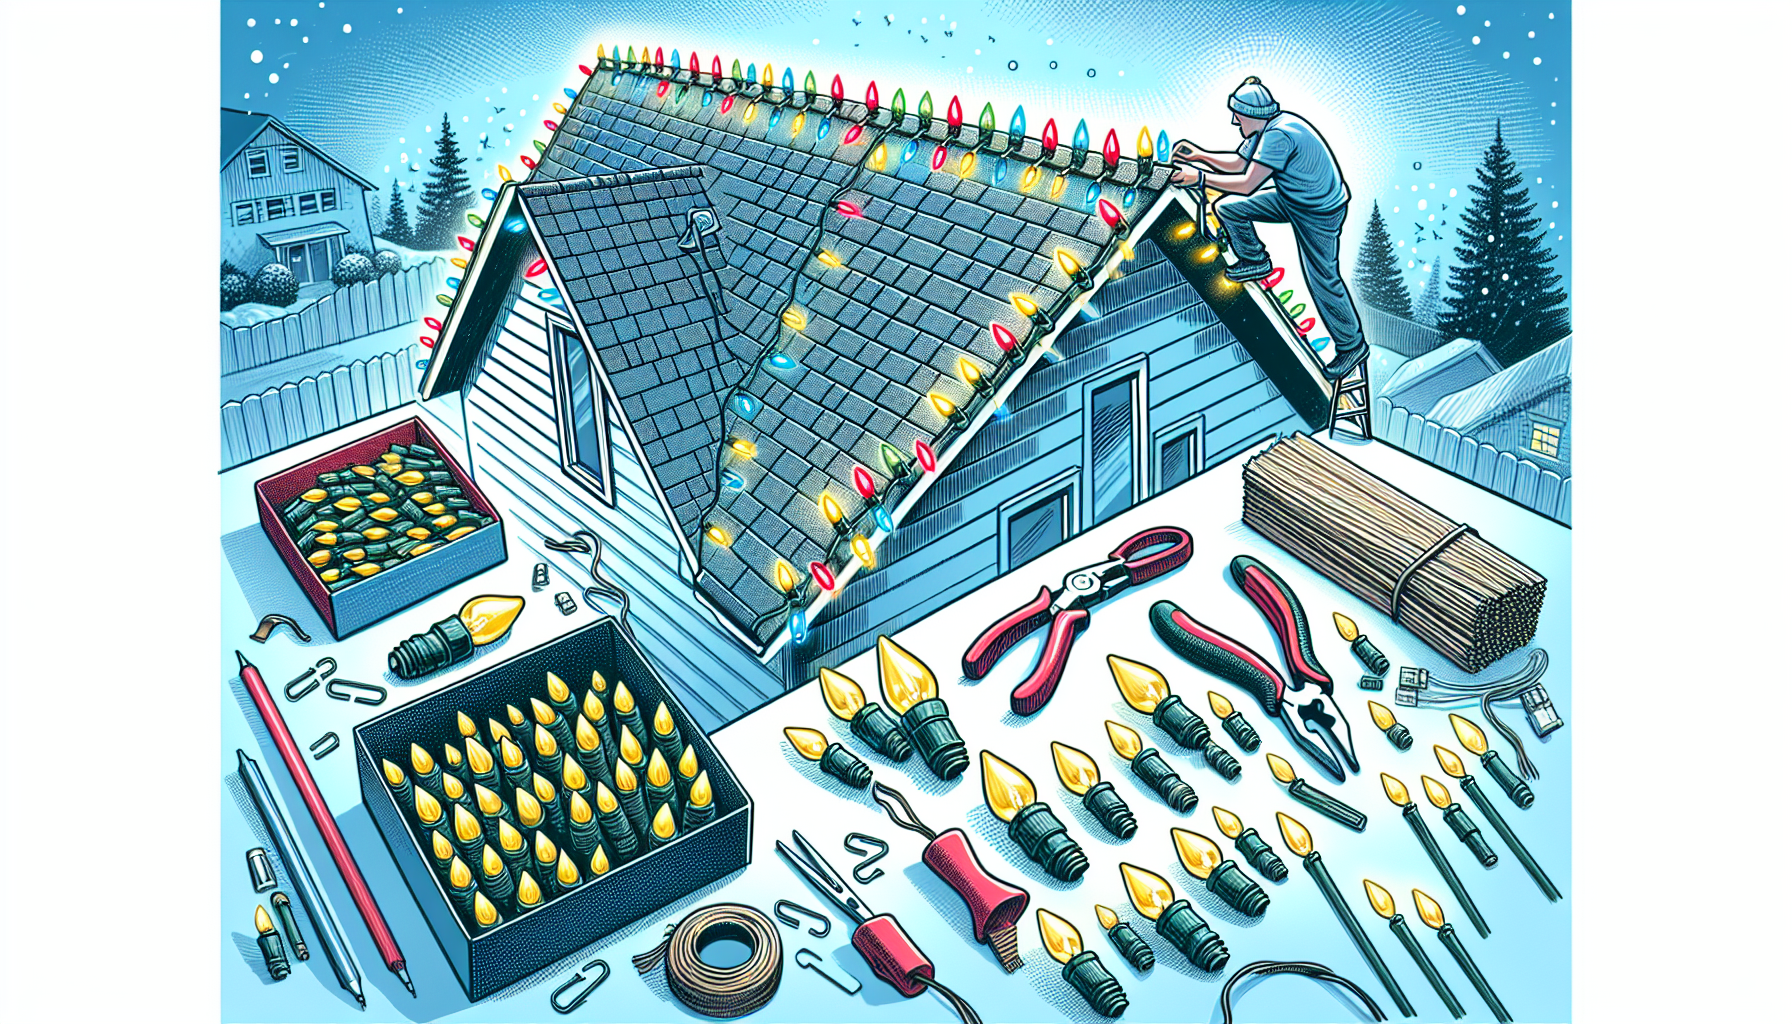
In this blog, we will discuss three different methods for attaching C9 or C7 bulbs to the ridge or hips of a roof. These methods will ensure that your Christmas lights are securely attached and visible from various directions. Let’s dive into the details!
Method 1: Fully Enclosed Clip
For a secure attachment, we recommend using a fully enclosed clip. This type of clip goes around the bulb and over the socket, allowing for easy removal at the end of the year. By pulling on the clip, everything comes down effortlessly.
One option is to attach the clip to one side of the hip. However, keep in mind that if the roof is very steep, the lights may only be visible from one direction. Alternatively, you can clip the lights on the center of the hip with the bulbs standing up. This method is limited by the spacing of the shingles. If the socket line matches the width of the shingles, you can clip the lights onto the edge of the shingle without lifting it up. Be cautious not to disturb the row of tar underneath. This way, the bulbs are centered and visible from multiple directions.
Method 2: Ridge Clip
If you prefer to have your bulbs spaced farther apart, the ridge clip is a great solution. This clip has teeth on either side that hook onto the ridge shingles. The socket sits on the clip, ensuring that the lights are centered on the ridge. The ridge clip method provides visibility from all directions and avoids the bulbs being too close together.
Method 3: Mixing Blinker Bulbs
Before we conclude, here’s an extra tip: avoid mixing your blinker bulbs with regular ones. Blinker bulbs have a different function, and mixing them may disrupt the overall lighting effect. Keep your blinker bulbs separate for a consistent and visually pleasing display.
FAQ
1. Where can I find the supplies mentioned in the video?
All the supplies mentioned in this video can be found at Christmas Light Contractors USA. Visit their website at christmaslightcontractorsusa.com for a wide range of Christmas light installation products.
2. How can I subscribe to the channel and get live updates?
If you enjoyed this video and would like to see more content like this, please subscribe to our channel. We are working towards reaching a thousand subscribers, which will allow us to go live and share tips in real-time. Leave a comment and give us a thumbs up to support our channel.
3. Can I ask questions in real-time during the live sessions?
Once we reach a thousand subscribers and go live, you will have the opportunity to ask questions and interact with us during the sessions. Stay tuned for more updates!
Thank you for reading this blog on three different ways to attach C9 or C7 bulbs to the ridge or hips of a roof. We hope you found these methods helpful in creating a stunning Christmas light display. Remember to follow the recommended attachment techniques to ensure safety and longevity of your lights. Happy decorating!