Elevate Your Christmas Decor: Mastering the Art of Perfect Column Lighting

Table of Contents

The Challenge of Symmetrical Column Lighting

Decorating columns with Christmas lights can be a tricky task, especially when it comes to achieving symmetrical and evenly spaced wraps. The traditional method of wrapping the lights around the column often leads to uneven spacing, with more wraps above the handrail than below. This can create an unbalanced and visually unappealing result, leaving you frustrated and unsatisfied with the final outcome.

Unlocking the Secret to Effortless Column Lighting

The key to mastering column lighting lies in the use of the innovative No Wrap Strap. This ingenious tool allows you to create perfectly symmetrical and evenly spaced light displays with ease, eliminating the guesswork and time-consuming trial-and-error of the traditional method.

Overlapping and Locking for a Secure Fit

When using the No Wrap Strap, it’s important to overlap the plug at the top, ensuring that the power cord stays in place and doesn’t slip down the column. By overlapping the strap and snapping it together, you can apply firm pressure to lock it securely in place, preventing any unwanted movement or shifting of the lights.

Achieving Consistent Spacing with Precision

One of the biggest challenges with column lighting is maintaining consistent spacing, especially when navigating around obstacles like handrails. The No Wrap Strap solves this problem by providing a series of hooks that act as a guide, allowing you to evenly space the lights as you work your way up and down the column.

By using the hooks as a reference point, you can ensure that the distance between each light strand is consistent, creating a visually harmonious and symmetrical display. This attention to detail is crucial for achieving a professional-looking result that will impress your guests and neighbors.
Mastering the Diagonal Swirl Technique

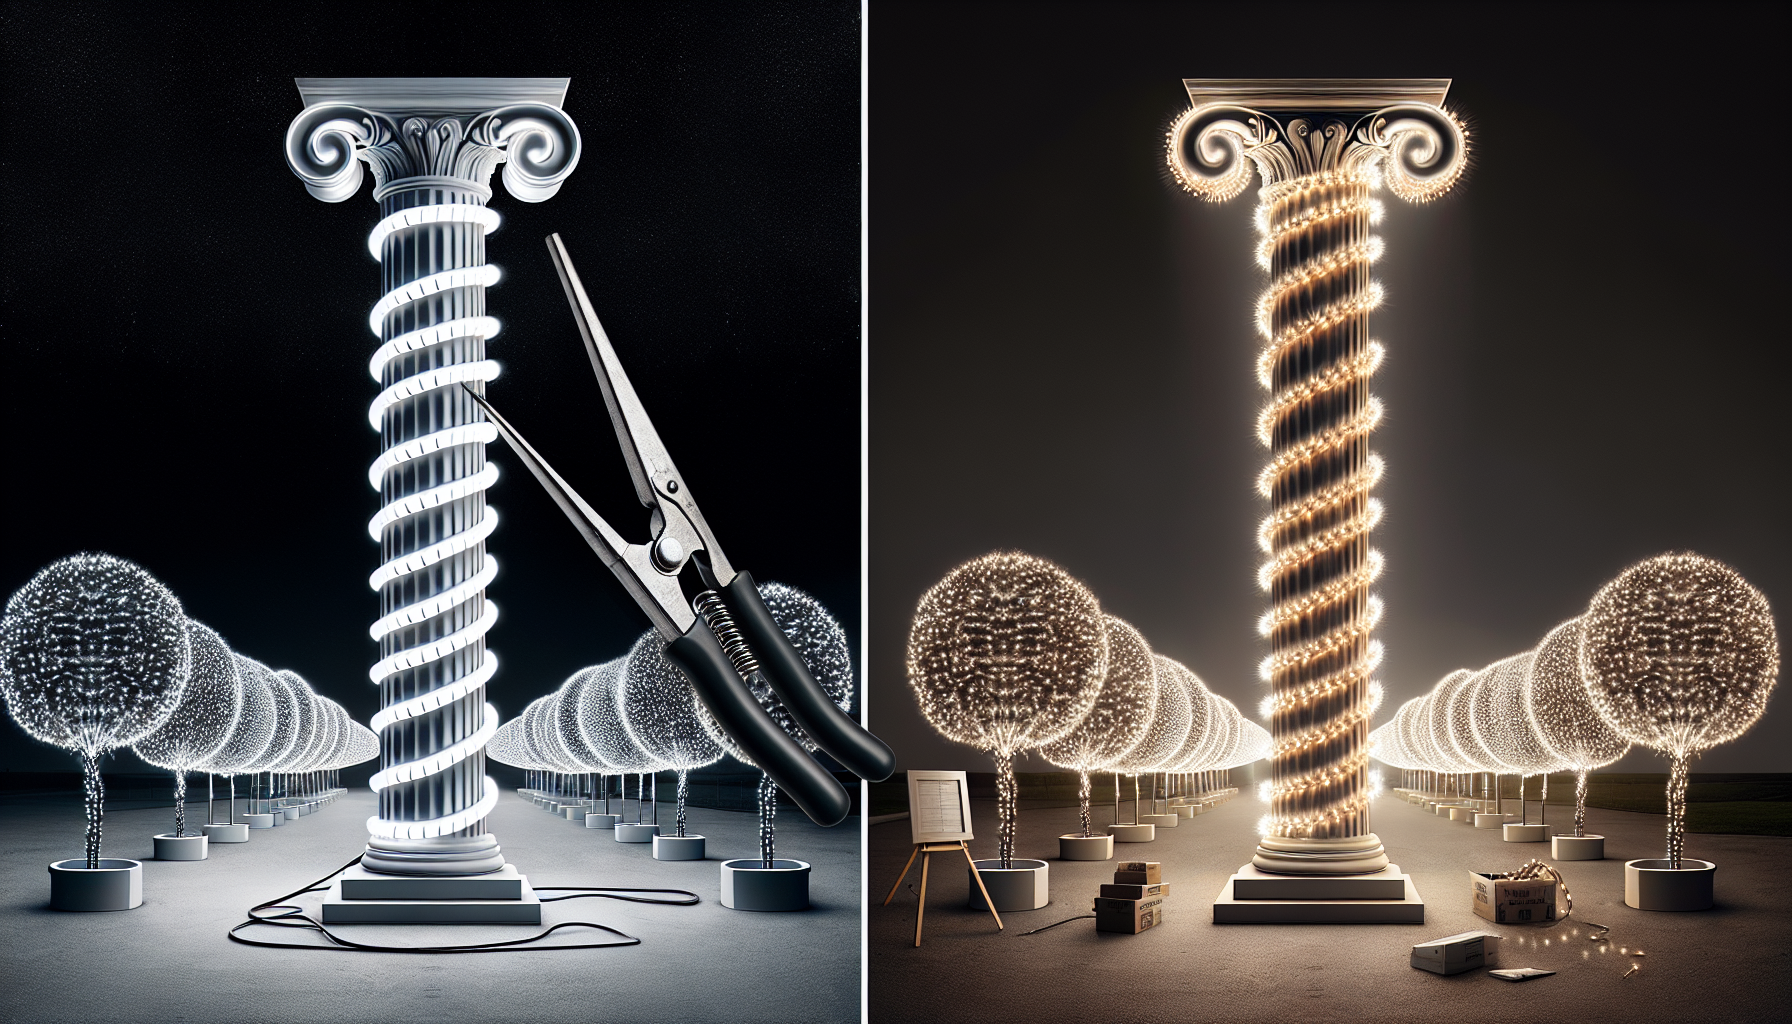
To add an extra touch of elegance to your column lighting, consider incorporating a diagonal swirl pattern. Rather than simply running the lights straight up and down, a slight twist or turn can create a visually stunning effect that adds depth and dimension to your display.

The key to the diagonal swirl technique is to maintain a consistent angle and spacing as you work your way around the column. By following the hooks on the No Wrap Strap, you can easily achieve this desired effect, ensuring that your lights flow seamlessly and create a cohesive, professional-grade appearance.

Tying It All Together: Optimizing for Daytime and Nighttime Visibility

One of the most important aspects of column lighting is ensuring that your display looks equally impressive during the day and at night. The No Wrap Strap helps you achieve this by allowing you to create a clean, organized layout that is visually appealing even when the lights are not illuminated.

By carefully managing the spacing and placement of the lights, you can minimize the appearance of excess cords or uneven wraps, creating a polished and cohesive look that will delight your audience no matter the time of day.

Versatility for Every Christmas Decor Need

The versatility of the No Wrap Strap extends beyond just column lighting. This innovative tool can also be used to decorate trees, with the option to choose between brown straps with green or brown wiring for a natural, organic look.

Whether you’re adorning columns, trees, or any other Christmas decor element, the No Wrap Strap provides a reliable and efficient solution that will save you time, effort, and frustration, while delivering professional-grade results every time.

FAQ

What are the key benefits of using the No Wrap Strap for column lighting?

  • Ensures even, symmetrical spacing of lights on columns
  • Eliminates the need for trial-and-error and repeated wrapping
  • Provides a secure, locked-in fit that prevents the lights from shifting or sliding
  • Allows for a visually appealing diagonal swirl pattern
  • Creates a polished, professional-looking display that is optimized for both daytime and nighttime visibility

Can the No Wrap Strap be used for other Christmas decor besides columns?

Yes, the versatility of the No Wrap Strap extends beyond just column lighting. It can also be used to decorate trees, with the option to choose between brown straps with green or brown wiring for a natural, organic look.

How do I ensure consistent spacing when using the No Wrap Strap?

The key to maintaining consistent spacing is to use the hooks on the No Wrap Strap as a guide. By hooking the lights onto the designated hooks, you can easily ensure that the distance between each light strand is evenly spaced, creating a harmonious and symmetrical display.

Can the No Wrap Strap be used on round columns?

Yes, the No Wrap Strap can be used on round columns as well. When you reach the bottom of the column, you can twist the excess slack to create a clean, polished look, ensuring that the lighting display remains evenly spaced and visually appealing.

How do I get started with the No Wrap Strap for my column lighting project?

To get started, simply visit Lights4Sale.com and purchase the No Wrap Strap pack. This pack includes all the necessary components to transform your column lighting into a professional-grade display. Follow the step-by-step instructions and tips provided in this blog post to ensure a successful and stress-free installation.

The Ultimate Guide to Roof Clips: Securing Your Holiday Lights with Confidence

Table of Contents

Intro

As the holiday season approaches, the excitement of decorating our homes with twinkling lights is palpable. However, the task of securely attaching these lights to our roofs can be a daunting one. With a variety of roof clip options available, it’s crucial to find the right solution that can withstand the elements and keep your display in place throughout the entire season.

Shingle Tap

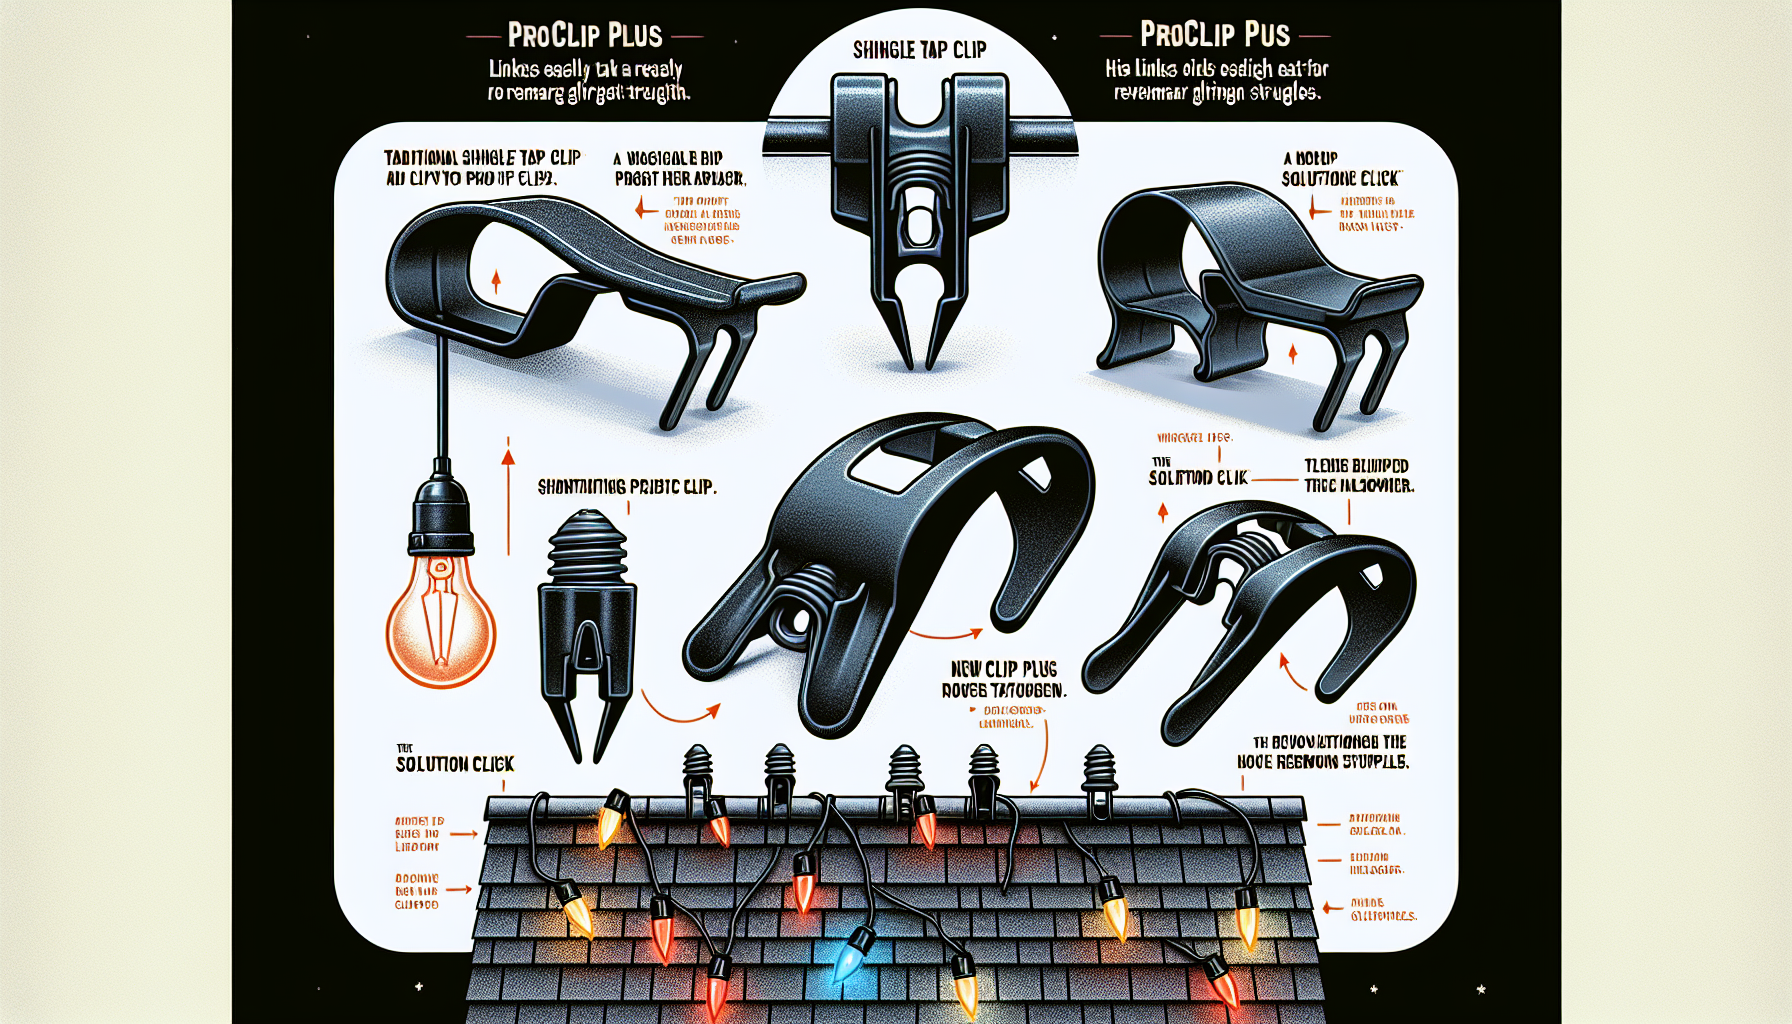
The traditional go-to for many installers, the Shingle Tap clip, is a popular choice. It’s fairly inexpensive and easy to attach to a light bulb. However, its biggest downside is the amount of visible plastic, which can detract from the overall aesthetic, even at night when the lights are illuminated. Additionally, the Shingle Tap clip lacks a sturdy grip, with the test results showing that half of the clips pulled out with less than 0.1 pounds of force. This means that if you install your lights in September, there’s a high likelihood that you’ll need to go back and repair them before Christmas.

ProClip Plus

Introducing the ProClip Plus, a game-changer in the world of roof clips. This sleek, black clip outperformed all others in the tests, requiring an impressive 2.6 pounds of force to pull it out of the shingle. The secret to its success lies in its innovative design. The back of the clip features an arch that helps it grip the shingle, and it also has a claw that secures the top of the shingle, providing a dual-point attachment system. Furthermore, the ProClip Plus is designed with takedown in mind, with multiple clip points that ensure the clip comes off the bulb when you’re ready to remove your lights.

Pricing

The ProClip Plus is the most expensive option, costing around $0.26 per clip. In comparison, the Shingle Tap clip costs approximately $0.17 per clip. While the higher price tag of the ProClip Plus may be a deterrent for some, the superior performance and secure hold it provides could justify the additional cost, especially for those who want to ensure their holiday lights stay in place throughout the season.

New Solution

Introducing the New Solution Click, a fresh contender in the roof clip market. This clip is similar to the Flex Clip, but with a few key improvements. The bottom of the clip has been lengthened and now features an arch, much like the ProClip Plus. This design change resulted in an impressive average pull force of 1.4 pounds, making it a strong competitor to the ProClip Plus. The New Solution Click offers the convenience of a slide-in installation, without the need for bending tabs or screwing in the bulb, making it a great option for those looking for a hassle-free solution.

Conclusion

When it comes to securing your holiday lights, there is no clear-cut winner among the roof clip options. Each has its own strengths and weaknesses, and the best choice will depend on your specific needs and preferences. The ProClip Plus offers unparalleled performance, but at a higher cost, while the Midland clip provides a great balance of affordability and grip. The New Solution Click presents a promising new alternative, combining the benefits of the Flex Clip with improved shingle-gripping capabilities.

Ultimately, the decision comes down to weighing the factors that are most important to you, such as cost, ease of installation, and the ability to withstand the elements. By understanding the unique features and test results of each clip, you can make an informed decision that will ensure your holiday lights shine brightly and stay in place all season long.

FAQ

  1. What is the difference between a purpose-built clip and a universal clip?
    • Purpose-built clips, like the ProClip Plus, are designed specifically for shingles and will keep the light bulb pointing outwards.
    • Universal clips can be used on both gutters and shingles, but the light bulb will point upwards on the shingles.
  2. How do I know which clip will work best for my roof?
    • Consider factors like the type of shingles you have, the desired orientation of the light bulbs, and your budget. The ProClip Plus and New Solution Click are excellent options for secure shingle attachment, while the Midland clip offers a great balance of performance and cost.
  3. How do I ensure my holiday lights stay in place all season long?
    • Invest in a high-quality roof clip that can withstand the elements, like the ProClip Plus or the New Solution Click. Proper installation and regular inspections will also help keep your lights securely in place.
  4. What is the best way to remove the roof clips at the end of the season?
    • The ProClip Plus is designed with takedown in mind, with multiple clip points that ensure the clip comes off the bulb easily. For other clips, gently pry them off to avoid damaging the shingles.
  5. How can I maintain the appearance of my roof clips during the day?
    • The ProClip Plus offers a sleek, black finish that blends in better with the roof than the more visible plastic of the Shingle Tap clip.

Unlock 6 Figures in 5 Weeks: A Comprehensive Guide to Launching a Successful Christmas Lighting Business

Table of Contents

Register Your Business and Get Organized

The first step to building a thriving Christmas lighting business is to get your legal and administrative affairs in order. Start by registering your business with your state, ensuring you have the necessary licenses, permits, and insurance coverage. This includes obtaining general liability and workers’ compensation insurance to protect your business and clients. Additionally, register your business with Google, Facebook, and other online directories to establish your online presence and credibility.

Develop Your Marketing Materials

Crafting a cohesive brand identity is crucial for your success. Develop a professional-looking logo, website, business cards, and vehicle branding that align with your business name and target market. Invest in high-quality marketing materials to create a polished, trustworthy image that will attract potential customers.

Leverage Organic Outreach

One of the most effective ways to grow your business is through organic outreach and word-of-mouth referrals. Engage with your local community by volunteering, sponsoring events, or participating in neighborhood initiatives. Leverage social media to share your expertise, showcase your work, and build relationships with potential clients. Remember, sales should be an organic, almost serendipitous outgrowth of quality service and customer satisfaction.

Implement Paid Advertising Strategically

While organic outreach is essential, incorporating paid advertising can also be a valuable tool in your marketing arsenal. Experiment with various channels, such as Google Ads and Facebook Ads, to reach new customers and capture existing demand. Track your results carefully to identify the most effective advertising methods for your business and ensure a minimum 3x return on your investment.

Sell and Close Your First Job

Securing your first job is a crucial milestone. Develop a thorough quoting process that showcases your expertise and provides customers with a clear understanding of your services and pricing. Prioritize responsive communication, professional design recommendations, and exceptional customer service to close that initial sale and set the stage for future success.

Install Your First Job with Confidence

Before tackling your first installation, take the time to practice and familiarize yourself with the process. Consider purchasing a starter kit to set up and test your equipment at home, ensuring you’re comfortable with the technical aspects before arriving at the client’s property. This hands-on experience will boost your confidence and help you deliver a seamless, professional installation.

Hire Your First Employees

As your business grows, you’ll need to expand your team. When hiring your first employees, look for individuals who not only possess the necessary skills but also demonstrate a high level of commitment and passion for your company’s success. Invest in their training and development to build a strong, efficient workforce that can help you scale your operations.

Optimize for Efficiency

Continuously seek ways to streamline your processes and increase productivity. This may involve fine-tuning your quoting, installation, and takedown procedures, as well as leveraging technology to automate tasks and improve communication with clients. By working smarter, not just harder, you can maximize your profitability and position your business for long-term growth.

Prepare for Next Season

Don’t let your business go dormant when the last light bulb comes down. Use the off-season to plan and prepare for the next year. Engage with your existing clients, solidify your marketing strategies, and make strategic investments in equipment and materials. By proactively laying the groundwork, you’ll be poised to hit the ground running when the next holiday season arrives.

FAQ

  • Can I really make 6 figures in 5 weeks? While it’s possible to achieve significant revenue in a short timeframe, individual results may vary. The key is to focus on building a sustainable, efficient business model that can deliver consistent results year after year.
  • Do I need to register my business? Yes, registering your business with the state and obtaining the necessary licenses and insurance is crucial for legitimacy, compliance, and protecting your company from legal and financial risks.
  • How important is organic outreach compared to paid advertising? Both organic outreach and paid advertising have their place in a well-rounded marketing strategy. Organic efforts can help build trust and credibility, while paid ads can effectively capture existing demand. The optimal approach will depend on your specific business goals and resources.
  • What should I consider when hiring my first employees? Look for individuals who not only possess the required skills but also demonstrate a high level of commitment and passion for your company’s success. Invest in their training and development to build a strong, efficient workforce.
  • How can I prepare for the next season? Use the off-season to plan and prepare for the next year. Engage with your existing clients, solidify your marketing strategies, and make strategic investments in equipment and materials to ensure a smooth and successful transition.

Elevating Your Home Security with Meshtek’s Innovative Lighting Solutions

Table of Contents

Introducing the New Security Lighting Feature

Meshtek, the leading provider of smart home technology, has recently unveiled a groundbreaking update to their mobile application, introducing a game-changing feature: Security Lighting. This innovative solution offers homeowners an unprecedented level of control and customization when it comes to enhancing the security and ambiance of their property.

In the past, homeowners who desired security lighting had to compromise, either leaving all their lights on or settling for a uniform warm white glow. However, with the new Security Lighting feature, Meshtek has revolutionized the way you can protect your home while maintaining a tailored, visually appealing aesthetic.

Customizable Lighting Patterns for Enhanced Security

The Security Lighting feature allows you to create a personalized lighting pattern that not only deters potential intruders but also adds an elegant touch to your outdoor spaces. By selectively turning off and on specific lights, you can craft a dynamic, eye-catching display that serves as a deterrent while seamlessly blending with your landscape.

Whether you prefer a subtle, alternating pattern of on and off lights or a more dramatic arrangement, the Meshtek app provides you with the tools to fine-tune the lighting to your exact specifications. With the ability to adjust the length and spacing of the lights, you can achieve the perfect balance between security and visual appeal.

Unlocking the Power of Custom Colors

But the innovations don’t stop there. Meshtek has also introduced the ability to add custom colors to any of the strip effects within the app. This means you can now create your own unique color palettes, allowing you to seamlessly integrate your security lighting with the overall aesthetic of your home.

Imagine a sleek, modern look with bold, saturated hues or a more natural, earthy tone that complements your landscape. The possibilities are endless, and with 16 million color options and 65,000 shades of white to choose from, the only limit is your imagination.

Elevating Your Home’s Curb Appeal

The new Security Lighting feature from Meshtek not only enhances the safety of your property but also elevates its overall curb appeal. By strategically positioning and customizing your outdoor lighting, you can create a visually striking display that sets your home apart from the rest.

Whether you’re looking to create a warm, inviting ambiance or a bold, attention-grabbing statement, the Meshtek app provides you with the tools to achieve your desired aesthetic. And with the ability to easily switch between different lighting patterns and color schemes, you can constantly refresh the look of your home, keeping it fresh and captivating.

Effortless Integration and Control

The beauty of the Meshtek Security Lighting feature lies in its seamless integration with the rest of the Meshtek ecosystem. By using the intuitive mobile app, you can manage and control all aspects of your home’s lighting, from the security features to the ambient mood lighting, with just a few taps on your smartphone.

This level of control and convenience allows you to create a truly personalized living experience, where the lighting in your home adapts to your needs and preferences effortlessly. Whether you’re entertaining guests, relaxing at home, or securing your property, the Meshtek app puts the power in your hands.

FAQ’s

How does the Security Lighting feature work?

The Security Lighting feature allows you to create a customizable lighting pattern that includes a mix of on and off lights. This pattern can be adjusted in terms of length and spacing, giving you the ability to craft a unique and visually appealing security lighting setup for your home.

Can I create my own custom colors for the lighting?

Yes, the Meshtek app now includes the ability to add custom colors to any of the strip effects. You can choose from 16 million color options and 65,000 shades of white, allowing you to perfectly match your security lighting to the overall aesthetic of your home.

How do I control the Security Lighting feature?

The Security Lighting feature is fully integrated into the Meshtek mobile app, which provides a user-friendly interface for managing all aspects of your home’s lighting. You can easily adjust the lighting patterns, select custom colors, and switch between different settings with just a few taps on your smartphone.

Can I use the Security Lighting feature with my existing Meshtek system?

Yes, the Security Lighting feature is compatible with all Meshtek lighting products and can be seamlessly integrated into your existing smart home setup. This ensures a consistent and cohesive lighting experience throughout your property.

How does the Security Lighting feature enhance the overall curb appeal of my home?

By allowing you to create custom lighting patterns and color schemes, the Security Lighting feature enables you to elevate the visual appeal of your home’s exterior. The ability to strategically position and control the lighting can help showcase your property’s architectural features, landscaping, and overall aesthetic, making it a true showpiece in your neighborhood.

Meshtek’s latest update to their mobile app has truly revolutionized the way homeowners can approach security lighting. With the introduction of the Security Lighting feature and the ability to create custom color palettes, you now have the power to enhance the safety and visual appeal of your property in ways never before possible. Embrace the future of smart home technology and elevate your living experience with Meshtek’s innovative lighting solutions.

Outdoor Swimming Pool Lighting Tips

Transforming your outdoor space into something marvelous doesn’t end with just installing a pool. The right lighting can bring your swimming area to life after dark, creating a magical ambiance that invites relaxation and entertainment. From evening swims and late-night gatherings to simply highlighting the beauty of your backyard, thoughtfully placed pool lighting can make all the difference. See how you can perfect your swimming pool lighting with our tips!

(more…)

Boosting Your Christmas Light Business Year-Round: Strategies for Success

Table of Contents

Maximizing Your Off-Season Efforts

As a professional Christmas light installation company, it’s crucial to understand that your business doesn’t stop when the holiday season ends. In fact, the off-season is the perfect time to lay the groundwork for a successful year ahead. By implementing strategic marketing tactics and building a strong foundation, you can keep your company thriving all year round.

Reaching Existing Clients

One of the most effective ways to generate leads during the off-season is by engaging with your existing client base. Reach out to all your previous customers and encourage them to sign up for the upcoming season. Offer a “Christmas in July” special or other promotions to incentivize them to book early. This not only secures their business but also provides a valuable catalyst for them to refer your services to friends and neighbors.

Leveraging Referrals

Referrals from satisfied customers are one of the most powerful lead sources you can tap into. Focus on providing exceptional service to your existing clients, and they’ll be eager to spread the word about your business. Avoid offering monetary incentives for referrals, as this can undermine the genuine nature of the recommendations. Instead, show your appreciation by sending a thank-you note and a small gift to clients who refer new customers your way.

Optimizing Your Online Presence

In today’s digital landscape, your online presence is crucial for attracting new leads. Ensure your Google My Business listing is complete and up-to-date, with high-quality photos, accurate information, and positive reviews. Maintain an active social media presence, sharing valuable content and engaging with your followers. Consider creating a blog or video content to showcase your expertise and build trust with potential customers.

Diversifying Your Offerings

If you’re a new or emerging business, consider offering complementary services to your Christmas light installation. This could include landscape lighting, pressure washing, or other seasonal services. By cross-promoting these offerings, you can tap into a wider customer base and generate leads year-round. Leverage your existing marketing efforts to promote these additional services, making the most of your resources.

Embracing Door-to-Door Outreach

While digital marketing is essential, don’t underestimate the power of good old-fashioned door-to-door outreach. Identify your target neighborhoods and make a concerted effort to introduce your business to potential customers. Keep your pitch brief and engaging, focusing on the value and excitement you can bring to their holiday decorations. Be prepared to leave behind branded materials that showcase your services and expertise.

Preparing for the Busy Season

As the holiday season approaches, ensure your business is ready to handle the influx of leads and bookings. Streamline your quoting process, invest in quality branded materials, and train your team to provide exceptional customer service. By having your systems and operations in place, you’ll be able to capitalize on the surge of demand and deliver a seamless experience for your clients.

FAQ

  • How can I effectively reach new customers during the off-season? Focus on building your online presence, leveraging referrals, and engaging in targeted door-to-door outreach in your ideal neighborhoods.
  • Should I offer pre-season discounts to secure early bookings? While pre-season discounts can be effective, it’s important not to lead with discounts as your primary selling point. Instead, focus on the value and quality of your services, and use discounts as an added incentive for clients who book early.
  • How can I keep my existing clients engaged during the off-season? Reach out with special promotions, such as “Christmas in July” offers, and encourage them to refer your services to friends and neighbors. Maintain regular communication to stay top of mind.
  • What are some effective ways to cross-promote my services? Consider offering complementary services, such as landscape lighting or pressure washing, and create branded materials that showcase your full range of offerings. Leverage your existing marketing channels to promote these additional services.
  • How can I optimize my Google My Business listing to attract more leads? Ensure your listing is complete, with high-quality photos, accurate information, and positive reviews. Regularly post updates and engage with your customers through the platform.

By implementing these strategies and maintaining a consistent, year-round approach to your marketing efforts, you can position your Christmas light installation business for sustained success. Remember, the off-season is the perfect time to lay the groundwork for a thriving holiday season ahead.

Reviving Christmas Lights: A Guide to DIY Replacing Broken Sockets

Table of Contents

Mastering the Art of Socket Replacement

As the holiday season approaches, many of us eagerly await the opportunity to deck our homes with twinkling lights and festive decorations. However, the inevitable can happen – sockets and bulbs can become damaged or disconnected, leaving us with the frustrating task of repairing our beloved Christmas lights. In this comprehensive guide, we’ll walk you through the step-by-step process of replacing broken sockets on your SPT1 cord, ensuring your holiday display shines brighter than ever.

Understanding the Anatomy of SPT1 Sockets

Before we dive into the repair process, it’s essential to familiarize ourselves with the structure of SPT1 sockets. These sockets are commonly used in professional-grade Christmas light installations, featuring a two-part design that includes a male plug and a female socket. The male plug is responsible for providing the electrical connection, while the female socket securely holds the bulb in place.

Identifying Damaged Sockets

As you begin to inspect your Christmas lights, keep an eye out for any sockets that appear damaged or disconnected. Common signs of wear and tear include cracked or broken casings, loose connections, and missing or damaged bulbs. It’s important to address these issues promptly to prevent further damage and ensure the longevity of your lighting display.

Replacing Broken Sockets: Step-by-Step

Now that we’ve covered the basics, let’s dive into the step-by-step process of replacing broken SPT1 sockets. Remember, this guide is designed for professional-grade Christmas lights, so the process may differ slightly for store-bought or lower-quality options.

Step 1: Identify the Damaged Socket

Begin by carefully examining your Christmas light strands, looking for any sockets that appear damaged or disconnected. Once you’ve identified the problem area, make a note of its location to ensure you can easily find it later.Step 2: Prepare the Replacement Socket

Gather your replacement socket and carefully inspect it to ensure it’s in good working condition. You’ll notice that the socket is composed of two parts – the male plug and the female socket. Take a moment to familiarize yourself with the components and their respective functions.

Step 3: Cut and Prepare the Wires

Using a sharp pair of scissors or wire cutters, carefully cut the cord about an inch above the damaged socket. Make sure to leave enough length on the cord to work with. Next, strip the insulation from the end of the cord, exposing the individual wires. This will allow you to connect the replacement socket properly.

Step 4: Install the Male Plug

Begin by inserting the male plug into the exposed end of the cord. Ensure that the plug is securely in place and that the wires are properly aligned. This step is crucial for establishing a strong electrical connection.

Step 5: Attach the Female Socket

Now it’s time to install the female socket. Carefully align the socket with the cord, making sure the grooved side is facing the factory clip side. Apply gentle pressure to snap the socket into place, securing it firmly to the cord.

Step 6: Test the Replacement

Once the socket is in place, it’s time to test your handiwork. Carefully insert a bulb into the socket and plug in the cord. If the bulb lights up, you’ve successfully completed the replacement process. If not, double-check your work and make any necessary adjustments.

Troubleshooting Common Issues

As with any DIY project, you may encounter a few hiccups along the way. Here are some common issues you might face and how to address them:

Loose Connections

  • If the socket feels loose or unstable, apply a bit more pressure to ensure a secure fit.
  • Check the wiring to make sure the connections are tight and properly aligned.

Damaged Cords

  • If the cord itself is damaged, you may need to replace the entire section rather than just the socket.
  • Carefully inspect the cord for any signs of wear, cuts, or fraying, and address any issues accordingly.

Faulty Bulbs

  • If the replacement socket is working but the bulb still doesn’t light up, the issue may be with the bulb itself.
  • Try swapping the bulb with a known working one to determine the root cause of the problem.

FAQ

Can I use the same socket to replace a damaged one?

Yes, you can typically reuse the existing socket as long as it’s in good condition. Just make sure to carefully remove it from the cord before installing the replacement.

How do I prevent future socket damage?

To minimize the risk of socket damage, be gentle when taking down and storing your Christmas lights. Avoid yanking or pulling on the cords, and consider investing in high-quality, professional-grade lighting materials that are built to withstand the wear and tear of the holiday season.

Can I replace sockets on any type of Christmas lights?

While this guide focuses on replacing sockets on SPT1 cords, the general principles can be applied to other types of Christmas light setups. However, the specific steps may vary depending on the design and construction of the lights. It’s always a good idea to consult the manufacturer’s instructions or seek guidance from a professional if you’re unsure.

How do I properly dispose of damaged sockets and bulbs?

Damaged sockets and bulbs should be disposed of responsibly, as they may contain hazardous materials. Check with your local waste management authority to determine the appropriate disposal methods in your area.

Conclusion

Mastering the art of socket replacement is a valuable skill for any Christmas light enthusiast. By following the step-by-step guide outlined in this blog, you can breathe new life into your holiday lighting display and ensure your home shines brighter than ever. Remember to work safely, take your time, and don’t hesitate to seek professional assistance if you encounter any challenges along the way. Happy holidays, and may your lights continue to dazzle for years to come!

Decorate Tall Trees Without a Ladder: A Professional’s Guide

Table of Contents

Hanging Christmas Lights on Towering Trees

As the holiday season approaches, many homeowners find themselves faced with the challenge of decorating their towering trees with Christmas lights. The thought of scaling a ladder to reach the uppermost branches can be daunting, if not downright dangerous. However, there is a professional-grade solution that allows you to transform even the tallest trees into a dazzling winter wonderland without ever leaving the ground.

The Power of a Pole

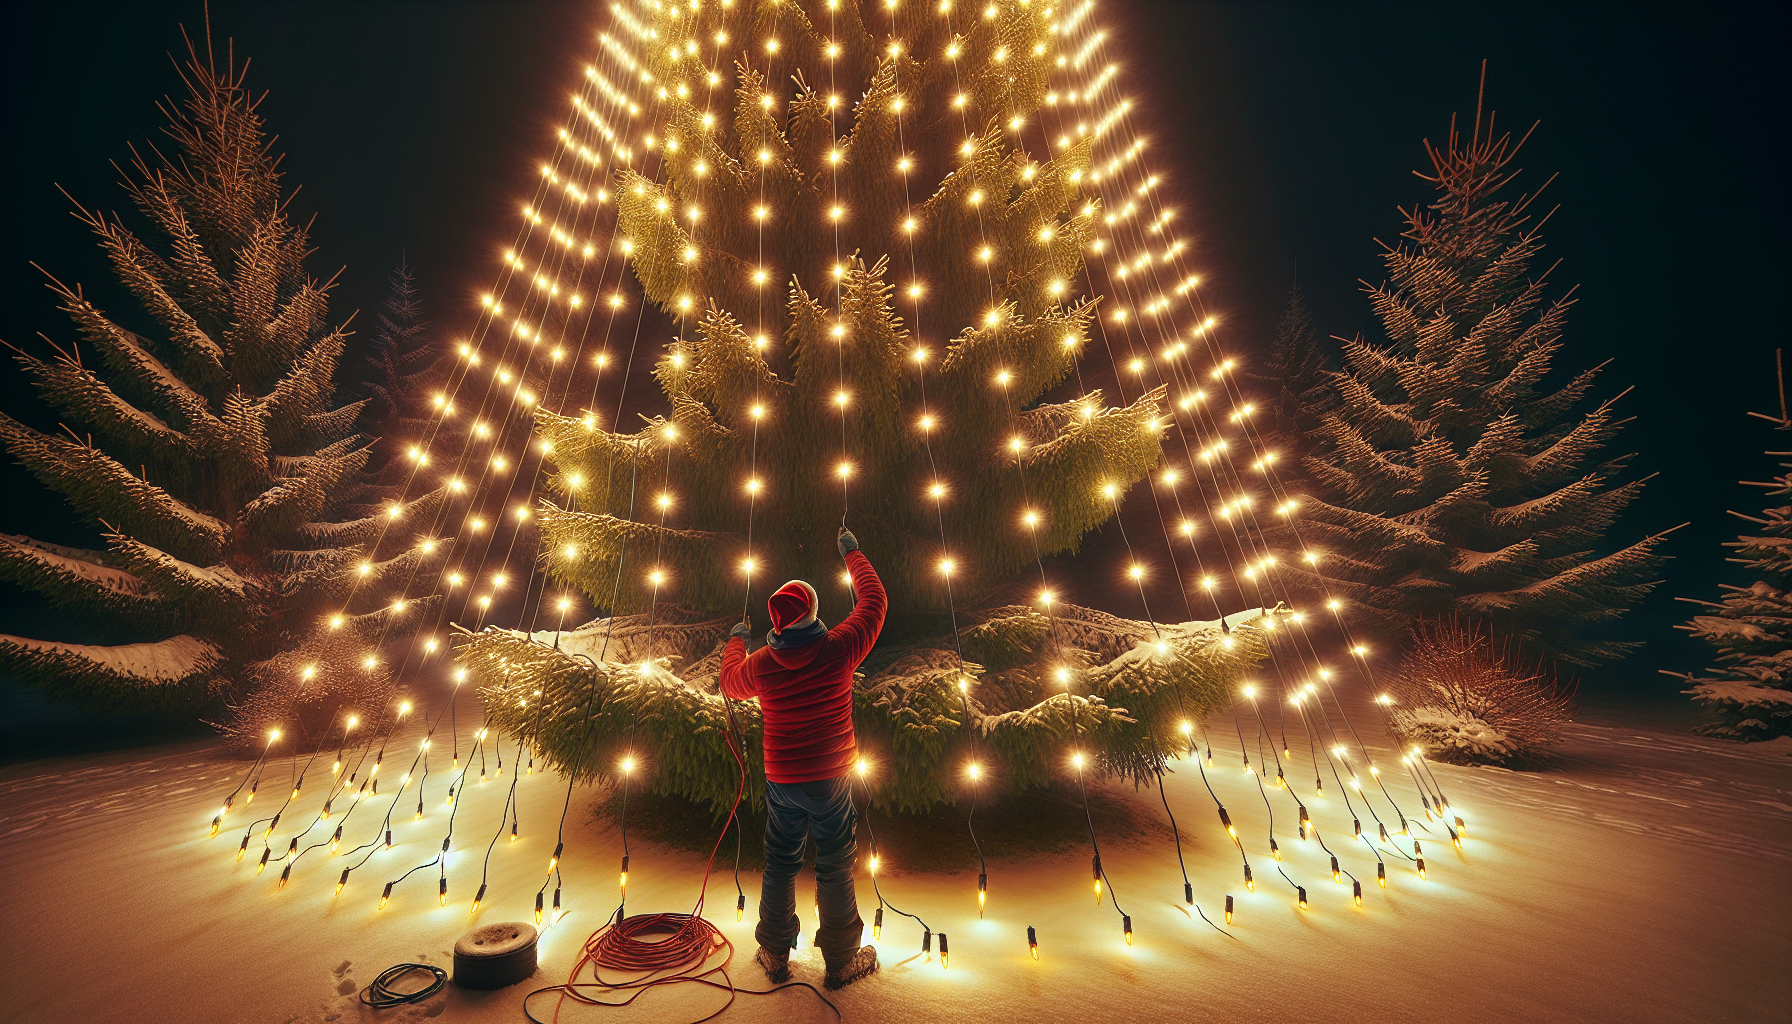
The key to decorating tall trees without a ladder lies in the use of a long pole. By attaching a hook to the end of the pole, you can easily reach the highest branches and drape the lights with precision. This method not only eliminates the need for a ladder, but it also allows you to work safely and efficiently from the ground.

According to Fred, a seasoned professional from Christmas Light Installers and Christmas Light Contractors, this technique is a game-changer. “We’ve used this method to decorate trees that are 30 feet tall, and it only takes us about 25 minutes,” he explains. “It’s a simple and effective way to get the job done without the hassle of a bucket truck or ladder.”

The Importance of Spacing

When it comes to decorating tall trees, the spacing of the lights is crucial. Fred recommends using C7 bulbs spaced approximately 24 inches apart. This consistent spacing not only creates a visually appealing pattern but also ensures that the lights are evenly distributed throughout the tree.

“You can see the spacing on the tree we just did,” Fred points out. “The C7 bulbs are spaced about 24 inches apart, and it really makes a difference in the overall look and coverage of the lights.”

The Pole Extension Advantage

To reach the top of the tree, Fred and his team use a specialized pole that can extend up to 24 feet. This allows them to access even the highest branches with ease, ensuring that every part of the tree is illuminated.

“We attach a small bicycle hook to the end of the pole,” Fred explains. “This makes it easy to drape the lights over the branches and get the perfect coverage.”

Overcoming Challenges

Even professional decorators face challenges when it comes to tall trees. In Fred’s case, the recent rain made it difficult to use a bucket truck, which they had relied on in the past. However, the pole method proved to be a reliable and effective solution.

“Last year, we used a bucket truck to decorate this tree,” Fred says. “But with the rain yesterday, we couldn’t get the truck in the yard. That’s why we turned to the pole method – it’s a great way to get the job done no matter the weather conditions.”

Conclusion

Decorating towering trees doesn’t have to be a daunting task. With the right tools and techniques, even the most ambitious holiday displays can be achieved safely and efficiently. By using a long pole with a hook attachment, homeowners can transform their tall trees into a festive winter wonderland without ever leaving the ground.

So, as you prepare to deck the halls this holiday season, remember the power of the pole and say goodbye to the ladder. With a little creativity and the right equipment, you can create a stunning display that will be the envy of your neighborhood.

FAQ

What type of pole should I use to decorate tall trees?

Look for a professional-grade extension pole that can extend up to 24 feet. This will allow you to reach the highest branches of your tree with ease.

How do I attach the lights to the pole?

Secure a small bicycle hook to the end of the pole. This will make it easy to drape the lights over the branches as you work your way up the tree.

What spacing should I use for the Christmas lights?

For the best results, use C7 bulbs spaced approximately 24 inches apart. This consistent spacing will create a visually appealing and evenly distributed pattern.

Can I use this method in any weather conditions?

Yes, the pole method is a reliable solution that can be used regardless of the weather. It’s a great alternative to using a bucket truck, which may not be accessible in certain conditions.

How long does it take to decorate a tall tree using this method?

According to the professionals, it only takes about 25 minutes to decorate a 30-foot tree using the pole and hook technique. This makes it a highly efficient and time-saving solution.

Mastering Christmas Light Installation: Avoiding Electrical Pitfalls with an Amp Meter

Table of Contents

As professional Christmas light installers, we often find ourselves working on large-scale commercial projects, like the one we’re currently tackling for a Hallmark movie set. These projects present unique challenges that require specialized knowledge and tools to overcome. One of the primary concerns when dealing with commercial lighting setups is the immense power demand required to power thousands of incandescent lights.

The Importance of Measuring Amperage

Incandescent lights, while visually appealing, are known to draw significantly more power than their LED counterparts. In a typical residential setting, this may not pose a significant issue, as the electrical system is designed to handle the relatively modest power requirements of a home. However, in a commercial setting like the one we’re working on, the sheer volume of lights can quickly overwhelm a circuit, leading to potential circuit breaker trips or, even worse, fire hazards.

To mitigate these risks, we rely on a crucial tool: the amp meter. By using an amp meter, we can accurately measure the amount of current being drawn by each section of the lighting setup, allowing us to make informed decisions about how to distribute the load and avoid overloading the circuits.

Measuring and Monitoring Amperage

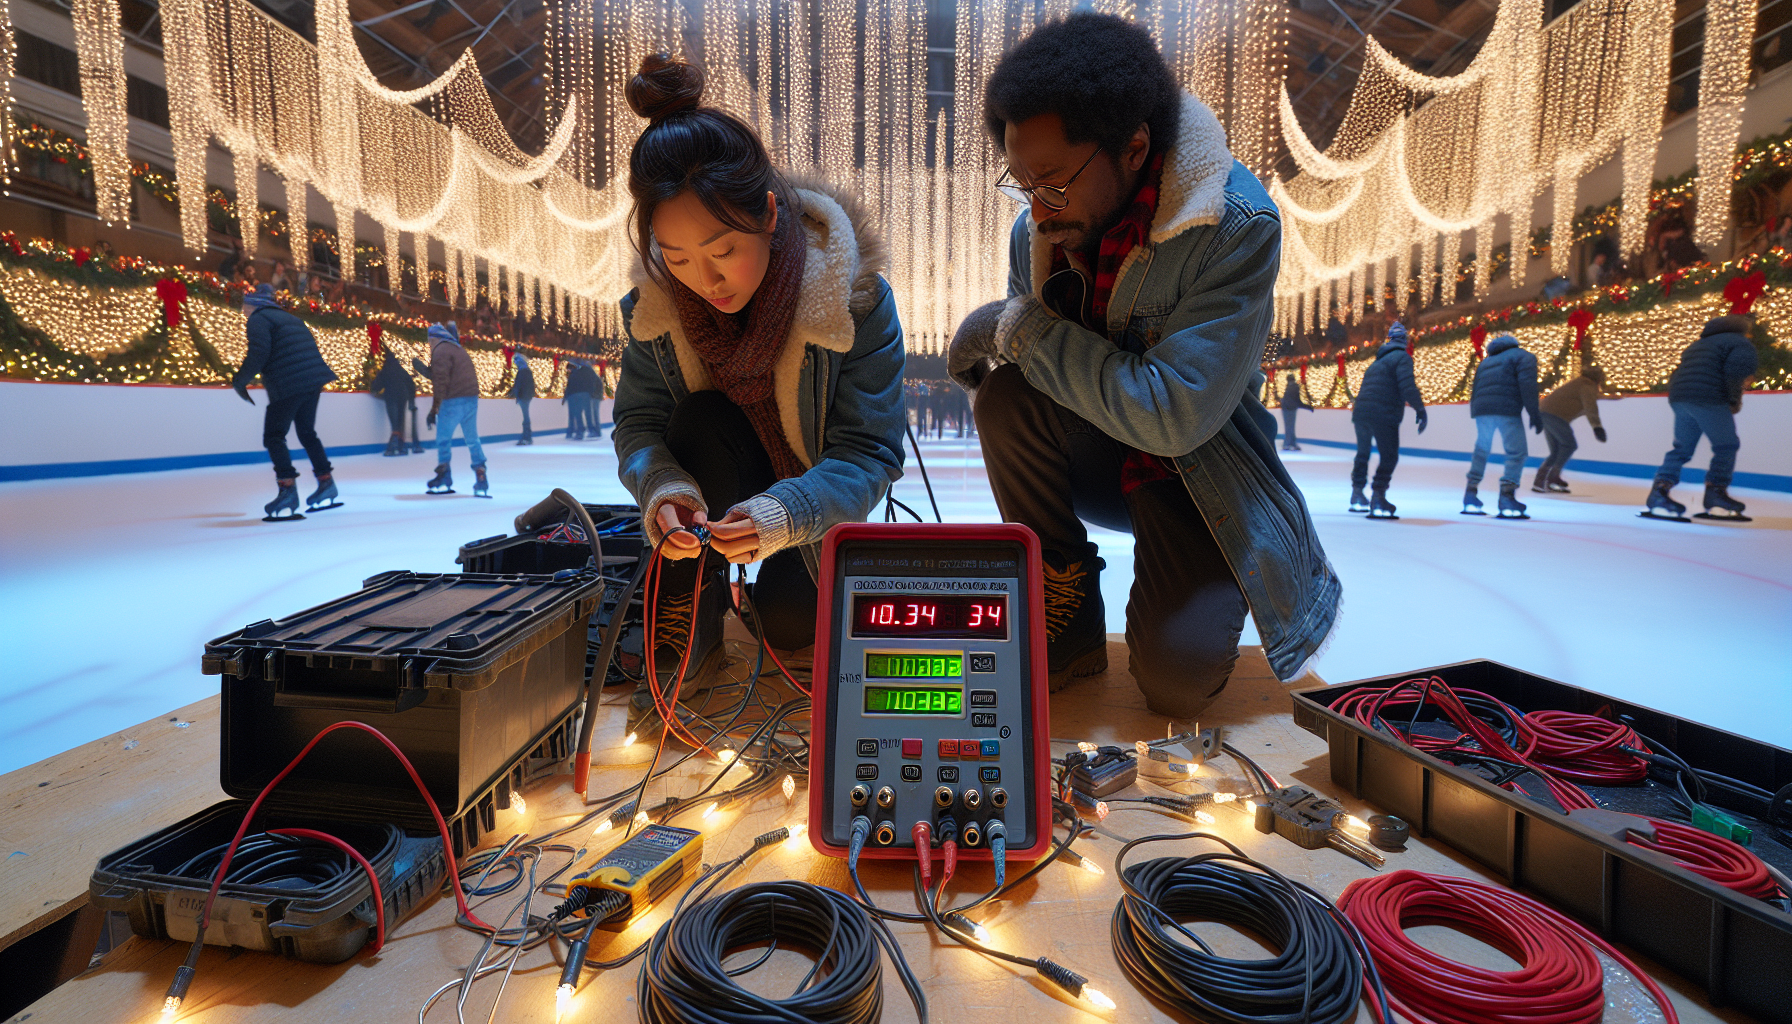
In the video, you can see us using an amp meter to measure the current being drawn by the curtain lights we’ve set up around the skating rink. As we plug in the meter, it immediately displays the amperage being pulled, which in this case is a staggering 10.34 amps.

This information is invaluable, as it allows us to determine the appropriate course of action. We know that we don’t want to exceed 12 or 13 amps on a single circuit, as that could potentially overload the system and cause a dangerous situation. By monitoring the amperage, we can make informed decisions about how to distribute the lighting load, whether that means adding additional circuits or finding ways to reduce the overall power consumption.

Adapting to Commercial Lighting Setups

One of the key differences between residential and commercial lighting setups is the sheer scale and complexity involved. In a typical home, you might have a few strings of lights, each drawing a relatively modest amount of power. On a movie set, however, we’re dealing with tens of thousands of lights, all of which need to be carefully managed to ensure the safety and reliability of the electrical system.

This is where the expertise of professional installers like ourselves comes into play. We understand the nuances of commercial lighting setups, the importance of proper circuit management, and the critical role that tools like the amp meter play in ensuring a successful installation.

Lessons for Homeowners

While the scale and complexity of a commercial lighting project may seem daunting, there are still valuable lessons that homeowners can take away from our experience. Even in a residential setting, it’s important to be mindful of the power demands of your Christmas lights and to take steps to prevent overloading your electrical system.

One of the key takeaways is the importance of using LED lights whenever possible. LEDs are significantly more energy-efficient than their incandescent counterparts, which means they draw less current and are less likely to cause issues with your home’s electrical system. Additionally, it’s always a good idea to have an amp meter on hand, even if you’re not dealing with a commercial-scale project, as it can help you identify potential problems before they become serious.

Conclusion

As professional Christmas light installers, we’ve learned that navigating the complexities of commercial lighting setups requires a deep understanding of electrical systems, a keen eye for detail, and the right tools for the job. By using an amp meter to carefully monitor and manage the power demands of our lighting setup, we’re able to ensure the safety and reliability of the electrical system, even in the most challenging of environments.

Whether you’re a homeowner looking to decorate your house or a commercial client in need of large-scale lighting solutions, the lessons we’ve learned from this experience can be applied to help you achieve your goals while maintaining the highest standards of safety and efficiency.

FAQ

Why is it important to use an amp meter when installing Christmas lights?

Using an amp meter is crucial when installing Christmas lights, especially in commercial or large-scale settings, to prevent overloading the electrical system and potential fire hazards. The amp meter allows you to accurately measure the current being drawn by the lights and ensure you don’t exceed the safe limits of the circuits.

What are the main differences between residential and commercial Christmas light installations?

The primary differences are the scale and complexity of the lighting setup. Commercial projects, like the one for a Hallmark movie set, often involve tens of thousands of lights, which can quickly overwhelm a residential electrical system. Proper circuit management, load distribution, and the use of specialized tools like an amp meter are essential in commercial settings.

Why are incandescent lights preferred over LEDs in some commercial settings?

In the case of the Hallmark movie set, the production team specifically requested the use of incandescent lights because they provide a more desirable visual effect for the high-end video equipment used. While LEDs are generally more energy-efficient, they can sometimes cause issues with flicker or other visual artifacts that are unacceptable for professional-grade video production.

How can homeowners apply the lessons from commercial lighting installations to their own Christmas light projects?

Even in a residential setting, it’s important to be mindful of the power demands of your Christmas lights and take steps to prevent overloading your electrical system. Using LED lights whenever possible, having an amp meter on hand to monitor current draw, and carefully distributing the lighting load across multiple circuits are all valuable lessons that can be applied to home Christmas light installations.

What other tools or techniques do professional Christmas light installers use to ensure a successful and safe installation?

In addition to the amp meter, professional installers often rely on a variety of other tools and techniques, such as voltage testers, circuit breaker finders, and specialized lighting products designed for easy and efficient installation. They also prioritize safety measures, such as proper grounding, the use of weatherproof connectors, and the implementation of redundant safety systems.

Unlock the Power of Magnetic Christmas Lights for Faster, More Efficient Holiday Lighting Installations

Table of Contents

Revolutionize Your Christmas Light Installation Process with Magnetic Lights

As the holiday season approaches, the task of decorating your home with twinkling lights can be both exciting and daunting. Traditional Christmas light installations can be time-consuming, labor-intensive, and often require specialized tools and equipment. However, there is a game-changing solution that can streamline the process and save you both time and money – magnetic Christmas lights.

The Advantages of Magnetic Christmas Lights

Magnetic Christmas lights offer a range of benefits that make them a superior choice for holiday lighting installations. These innovative lights are designed with powerful magnets that allow for a quick and easy setup, without the need for drilling, screwing, or any other complex mounting methods.

Faster Installation

One of the primary advantages of magnetic Christmas lights is the speed at which they can be installed. Unlike traditional lights that require careful placement and securing, magnetic lights can be quickly attached to any metal surface, such as gutters, railings, or even the roof. This dramatically reduces the time and effort required to decorate your home, allowing you to achieve a professional-looking display in a fraction of the time.

Reduced Damage to Property

Traditional Christmas light installations often involve drilling holes or using other methods that can potentially damage your home’s exterior. Magnetic lights, on the other hand, leave no lasting impact on your property. They can be easily removed and repositioned without any risk of causing harm to your home, making them an ideal choice for both homeowners and renters.

Increased Versatility

Magnetic Christmas lights offer unparalleled versatility, allowing you to get creative with your holiday lighting displays. Their magnetic nature means they can be attached to a wide range of metal surfaces, enabling you to decorate not only your home’s exterior but also fences, trellises, and even outdoor furniture. This flexibility allows you to create truly unique and eye-catching displays that will impress your neighbors and guests.

Cost-Effective Solution

While the initial investment in magnetic Christmas lights may be slightly higher than traditional options, the long-term savings can be substantial. The ease and speed of installation, combined with the reduced risk of damage to your property, make magnetic lights a cost-effective choice in the long run. Additionally, the ability to reuse the lights year after year further enhances their value.

Mastering the Art of Magnetic Christmas Light Installation

To get the most out of your magnetic Christmas lights, it’s important to understand the proper installation techniques. Here are some tips to help you get started:

Plan Your Layout

Before you begin, take the time to plan out your desired lighting layout. Measure the areas you want to decorate and determine the number of lights you’ll need. This will ensure a seamless and efficient installation process.

Prepare the Surfaces

Ensure that the surfaces you’ll be attaching the lights to are clean and free of any debris or obstructions. This will help the magnets adhere securely and prevent any potential issues during the installation.

Utilize the Magnetic Power

Take advantage of the powerful magnets in your Christmas lights by positioning them strategically on metal surfaces. This will allow the lights to cling securely and withstand the elements, ensuring your display remains in place throughout the holiday season.

Experiment with Layouts

One of the joys of using magnetic Christmas lights is the ability to easily rearrange and experiment with different layouts. Don’t be afraid to try out various configurations until you achieve the perfect look for your home.

FAQ: Magnetic Christmas Lights

Can magnetic Christmas lights be used on non-metal surfaces?

While magnetic Christmas lights are primarily designed for use on metal surfaces, there are some workarounds for non-metal areas. You can attach a metal strip or plate to the desired surface, which will then allow the magnets to adhere securely.

How do I ensure the lights stay in place during inclement weather?

The powerful magnets in magnetic Christmas lights are designed to withstand wind, rain, and snow. However, to further secure the lights, you can use additional adhesive or mounting options, such as zip ties or clips, to reinforce the attachment points.

Can I use magnetic Christmas lights indoors?

Absolutely! Magnetic Christmas lights are not just for outdoor use. They can be a great option for indoor decorating, as they can be easily attached to metal surfaces like filing cabinets, refrigerators, or even the underside of shelves.

How do I store my magnetic Christmas lights for the off-season?

When it’s time to take down your holiday display, store your magnetic Christmas lights in a cool, dry place. Make sure to carefully untangle the lights and store them in a way that prevents the magnets from sticking to each other or other metal objects.

Elevate Your Holiday Lighting with Magnetic Christmas Lights

By embracing the power of magnetic Christmas lights, you can transform the way you approach holiday lighting installations. With their lightning-fast setup, reduced risk of property damage, and increased versatility, these innovative lights offer a game-changing solution that will save you time, money, and hassle. Embrace the future of Christmas lighting and unlock the full potential of your holiday decor with magnetic Christmas lights.