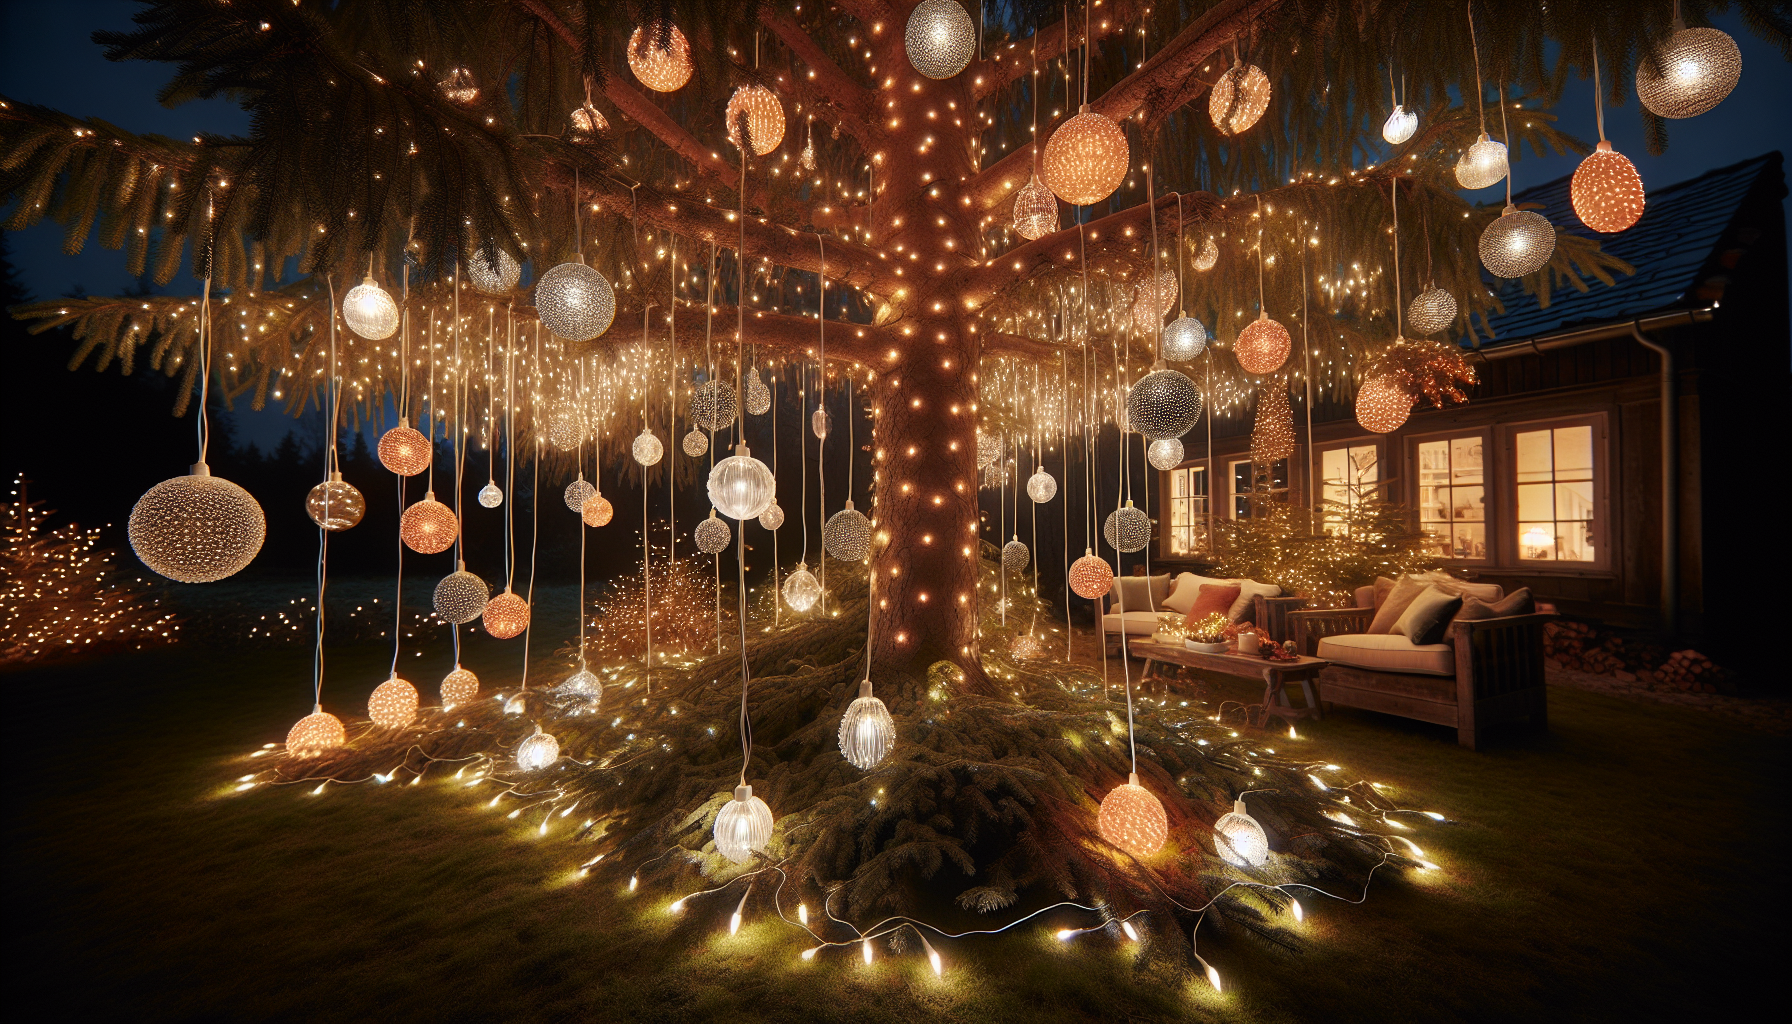
Elevate Your Outdoor Holiday Decor: Mastering the Art of Fence Lighting

Table of Contents

Transforming Your Fence into a Festive Masterpiece

As the holiday season approaches, homeowners are eager to deck their homes with dazzling displays that capture the spirit of the festivities. One often-overlooked area that can truly elevate your outdoor decor is the humble fence. By strategically installing Christmas lights along your fence, you can create a stunning and eye-catching display that will impress your neighbors and delight your guests.

The Benefits of Fence Lighting

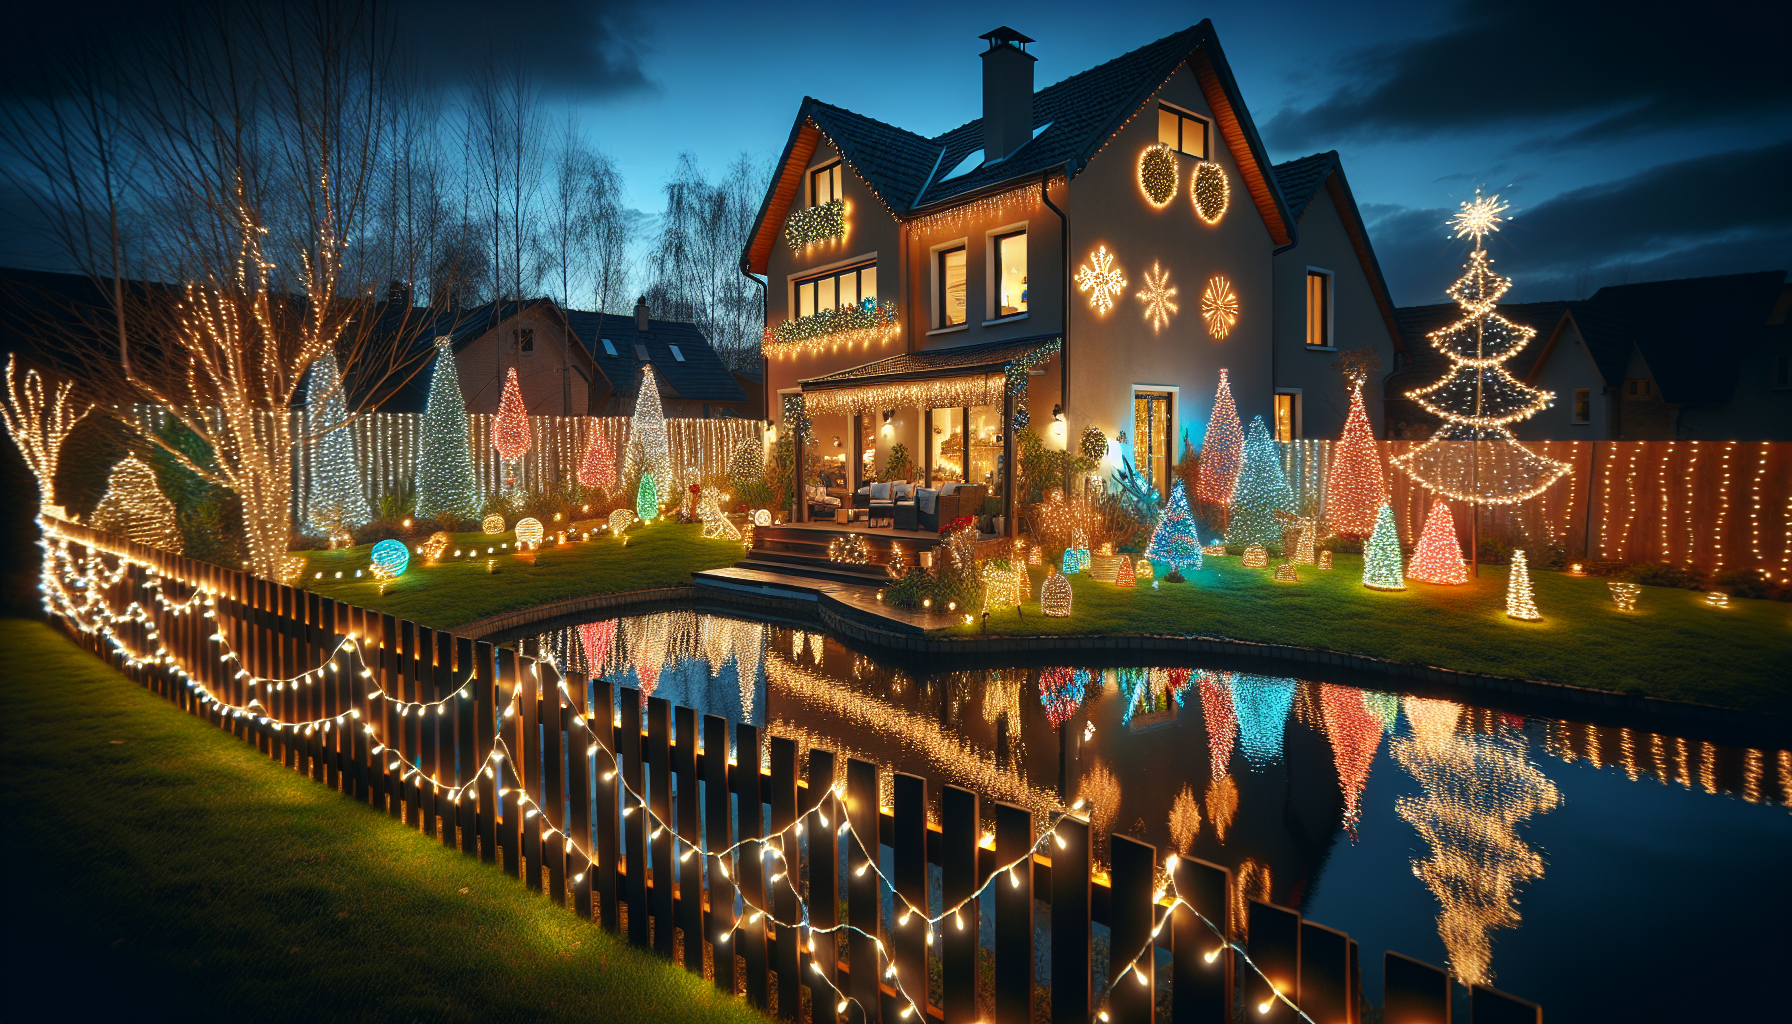
Adorning your fence with holiday lights offers several advantages beyond just aesthetic appeal. Not only does it enhance the overall ambiance of your outdoor space, but it can also serve as an effective security measure, illuminating the perimeter of your property and deterring potential intruders. Additionally, for homes with waterfront views, fence lighting can create a breathtaking reflection on the water, adding an extra layer of enchantment to your holiday display.

Choosing the Right Lighting Solution

When it comes to fence lighting, the type of lights you select can make a significant difference in the overall outcome. LED mini lights are an excellent choice, as they are energy-efficient, long-lasting, and less likely to trip ground fault interrupters (GFIs) on metal fences. By opting for high-quality LED lights, you can ensure that your display remains vibrant and reliable throughout the holiday season.
Step-by-Step Guide to Fence Lighting Installation

Transforming your fence into a festive masterpiece is a straightforward process that can be accomplished with a few simple steps:

  1. Determine the power source: Identify a suitable power outlet or extension cord that can provide electricity to your fence lights. Ensure that the power source is easily accessible and weatherproof.
  2. Plan the layout: Decide on the pattern and placement of your lights along the fence. Zigzagging the lights from top to bottom or creating a continuous garland-like effect can create a visually stunning display.
  3. Secure the lights: Carefully attach the lights to the fence using zip ties, hooks, or other appropriate fasteners. Ensure that the lights are securely in place and won’t be easily dislodged by wind or weather.
  4. Connect the lights: Link the individual light strands together, following the manufacturer’s instructions. If necessary, use weatherproof connectors to protect the electrical connections from the elements.
  5. Test and adjust: Once the lights are installed, plug in the power source and check that all the lights are functioning properly. Make any necessary adjustments to the placement or connections to achieve the desired effect.

Maintenance and Storage

To ensure your fence lighting display remains in top condition for years to come, it’s essential to properly maintain and store the lights when the season is over. After the holidays, carefully remove the lights, clean and inspect them for any damage, and store them in a dry, protected environment. This will not only extend the life of your lights but also make the installation process easier the following year.

Customizing Your Fence Lighting

While the basic technique of installing lights on a fence is straightforward, there are numerous ways to personalize and enhance your display. Consider incorporating different light colors, shapes, or even themed decorations to create a unique and memorable holiday experience. You can also experiment with different lighting patterns, such as cascading effects or alternating colors, to add depth and dimension to your fence lighting.

Fence Lighting as a Professional Service

For homeowners who prefer a hassle-free approach, hiring a professional Christmas light installation service can be a valuable option. These experts have the experience and equipment to efficiently and safely install fence lighting, ensuring a flawless and long-lasting display. Additionally, many professional services offer maintenance and storage options, taking the burden off the homeowner and allowing them to enjoy the festivities without the stress of setup and teardown.

FAQ

How many lights can I connect on a single power source?

With LED mini lights, you can typically connect up to 40 light strands on a single power source without the need for extension cords. This makes the installation process much more convenient and efficient.

Can I use the same lights for my fence and other outdoor areas?

Absolutely! The versatility of LED mini lights allows you to use them on your fence, deck railing, or any other outdoor area, creating a cohesive and harmonious holiday display throughout your property.

How do I protect the electrical connections from the weather?

To safeguard your fence lighting from the elements, be sure to use weatherproof connectors and sealants to prevent moisture and water damage. This will ensure the longevity and reliability of your holiday display.

Can I install fence lighting myself, or should I hire a professional?

Both options are viable, depending on your skill level and the complexity of your desired display. If you’re comfortable with basic electrical work and have the necessary tools, you can certainly install the lights yourself. However, for larger or more intricate projects, hiring a professional Christmas light installation service may be the better choice to ensure a seamless and safe installation.

How do I store my fence lighting after the holidays?

Proper storage is key to preserving your fence lighting for future use. Carefully remove the lights, untangle any cords, and store the components in a dry, protected environment, such as a plastic storage bin or a climate-controlled attic or garage. This will help prevent damage and ensure your lights are ready to shine again next holiday season.

By following these guidelines and embracing the art of fence lighting, you can transform your outdoor space into a festive wonderland that will delight your family, friends, and neighbors throughout the holiday season. Elevate your home’s curb appeal and create lasting memories with a stunning fence lighting display that showcases your holiday spirit.
Elevate Your Outdoor Ambiance with Professional-Grade Bistro Lighting

Table of Contents

Transforming Your Outdoor Space with Bistro Lighting

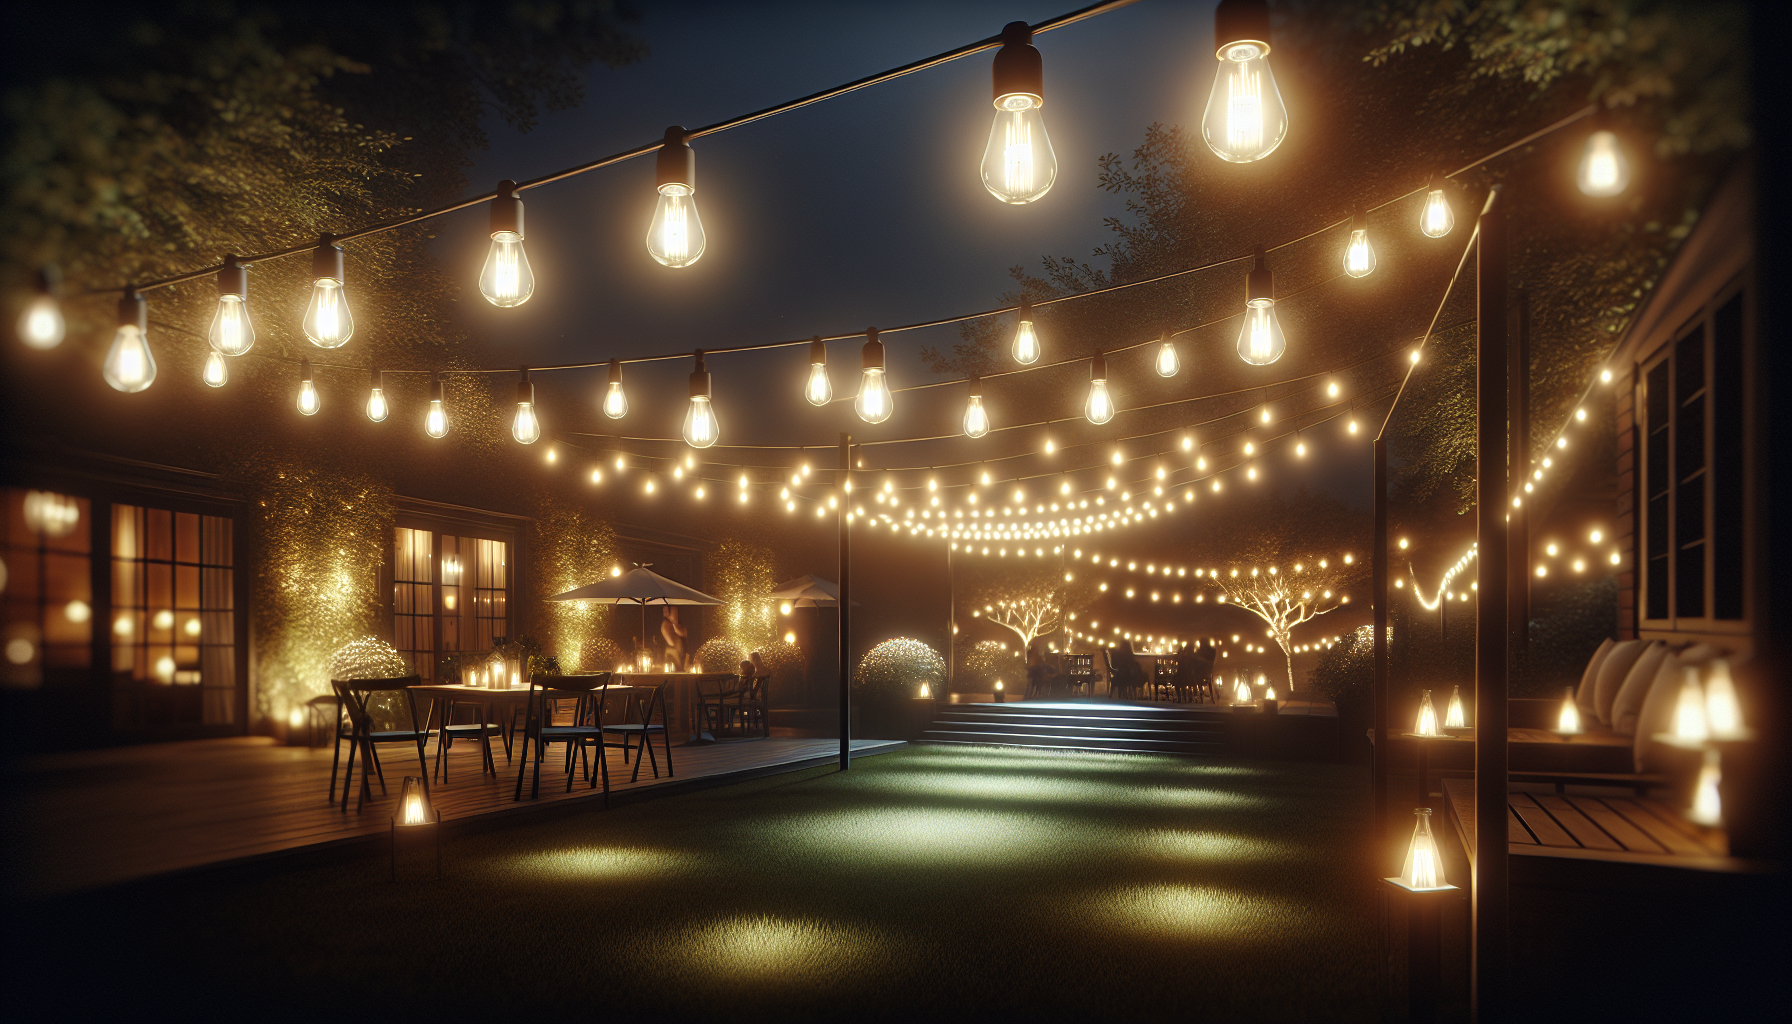
Outdoor lighting plays a crucial role in creating the perfect ambiance for any gathering space. Whether you’re hosting a backyard barbecue, a cozy evening with friends, or a romantic date night, the right lighting can make all the difference. When it comes to elevating your outdoor experience, professional-grade bistro lighting is the ideal solution.

The Benefits of Professional-Grade Bistro Lighting

Bistro lighting, often referred to as string lights or patio lights, is a popular choice for outdoor spaces. However, not all bistro lighting is created equal. Investing in professional-grade bistro lighting offers several distinct advantages:

1. Durability and Longevity

Professional-grade bistro lighting is designed to withstand the elements and last for years. The SPT2 wire used in these lights is a more durable and weather-resistant product compared to the thinner, less resilient SPT1 wire found in store-bought options. This means your investment in professional-grade lighting will pay off with long-lasting performance.

2. Warm and Inviting Ambiance

The LED Edison-style bulbs used in professional-grade bistro lighting provide a warm, incandescent-like glow that creates a cozy and inviting atmosphere. Unlike the brighter, whiter light of some store-bought options, these bulbs emit a softer, more natural illumination that sets the perfect mood for any outdoor gathering.

3. Energy Efficiency

Despite their classic aesthetic, the LED bulbs used in professional-grade bistro lighting are highly energy-efficient, consuming less power while still providing ample lighting. This translates to lower energy bills and a more sustainable approach to outdoor illumination.

Customizing Your Bistro Lighting Installation

When it comes to installing professional-grade bistro lighting, the process can be tailored to your specific needs and preferences. This includes:

1. Customized Lengths and Jumpers

Professional installers can create custom-length wires and jumpers to ensure a seamless and visually appealing installation, with no excess or dangling cords. This attention to detail helps to create a polished and cohesive look that enhances the overall aesthetic of your outdoor space.

2. Adjustable Mounting and Positioning

The versatility of professional-grade bistro lighting allows for easy adjustments to the mounting and positioning of the lights. This can include raising or lowering the lights to the desired height, ensuring they are evenly spaced and perfectly aligned with your outdoor design.

The Advantages of Working with Professionals

While it’s possible to install bistro lighting yourself, working with professional installers offers several distinct advantages:

1. Expertise and Experience

Professional installers have the knowledge and expertise to ensure your bistro lighting installation is done correctly, efficiently, and to the highest standards. They understand the nuances of working with professional-grade materials and can troubleshoot any issues that may arise during the installation process.

2. Time-Saving and Efficient

Attempting a DIY bistro lighting installation can be time-consuming and may result in mistakes or suboptimal results. Professional installers have the tools, skills, and experience to complete the job quickly and effectively, allowing you to enjoy your newly transformed outdoor space without the hassle of a drawn-out project.

3. Warranty and Ongoing Support

When you work with a professional bistro lighting installer, you often have the added benefit of a warranty and ongoing support. This means that if any issues arise with your lighting, you can rely on the expertise of the professionals who installed it to address the problem and ensure your outdoor space remains beautifully illuminated.

Frequently Asked Questions

What is the difference between professional-grade and store-bought bistro lighting?

The main differences lie in the quality of the materials, the durability, and the overall aesthetic. Professional-grade bistro lighting features thicker, more weather-resistant SPT2 wire, as well as LED Edison-style bulbs that provide a warm, inviting glow. Store-bought options often have thinner SPT1 wire and brighter, whiter LED bulbs that can lack the classic ambiance of professional-grade lighting.

How long does professional-grade bistro lighting last?

With proper installation and care, professional-grade bistro lighting can last for many years. The durable SPT2 wire and high-quality LED bulbs are designed to withstand the elements and maintain their performance over time. Many professional installers offer warranties on their work, providing additional peace of mind and long-term support.

Can I install professional-grade bistro lighting myself?

While it is possible to install professional-grade bistro lighting yourself, it is generally recommended to work with a professional installer. Professional installers have the necessary expertise, tools, and experience to ensure a seamless and visually appealing installation, as well as provide ongoing support and warranty coverage.

How much does professional-grade bistro lighting cost?

The cost of professional-grade bistro lighting can vary depending on factors such as the size of the installation, the number of lights, and the specific materials used. However, the investment in high-quality, durable lighting often pays off in the long run through energy savings, reduced maintenance, and the creation of a stunning outdoor ambiance that can be enjoyed for years to come.

Can professional-grade bistro lighting be used year-round?

Yes, professional-grade bistro lighting is designed to withstand the elements and can be used year-round, even in areas with harsh weather conditions. The durable SPT2 wire and weather-resistant construction of the lights ensure they can withstand rain, wind, and even light snow, allowing you to enjoy your outdoor space throughout the seasons.

By investing in professional-grade bistro lighting, you can transform your outdoor space into a welcoming, inviting, and visually stunning oasis that will impress your guests and elevate your outdoor experiences for years to come.

How to Hang a Lit Wreath Like a Pro Christmas Light Installer

Table of Contents

Securing the Wreath

Hanging a holiday wreath can be a simple task, but there are a few key steps to ensure it’s done properly and securely. As a professional Christmas light installer, I’ve learned a few tricks over the years to make the process seamless.

Step 1: Install Wire on the Back of the Wreath

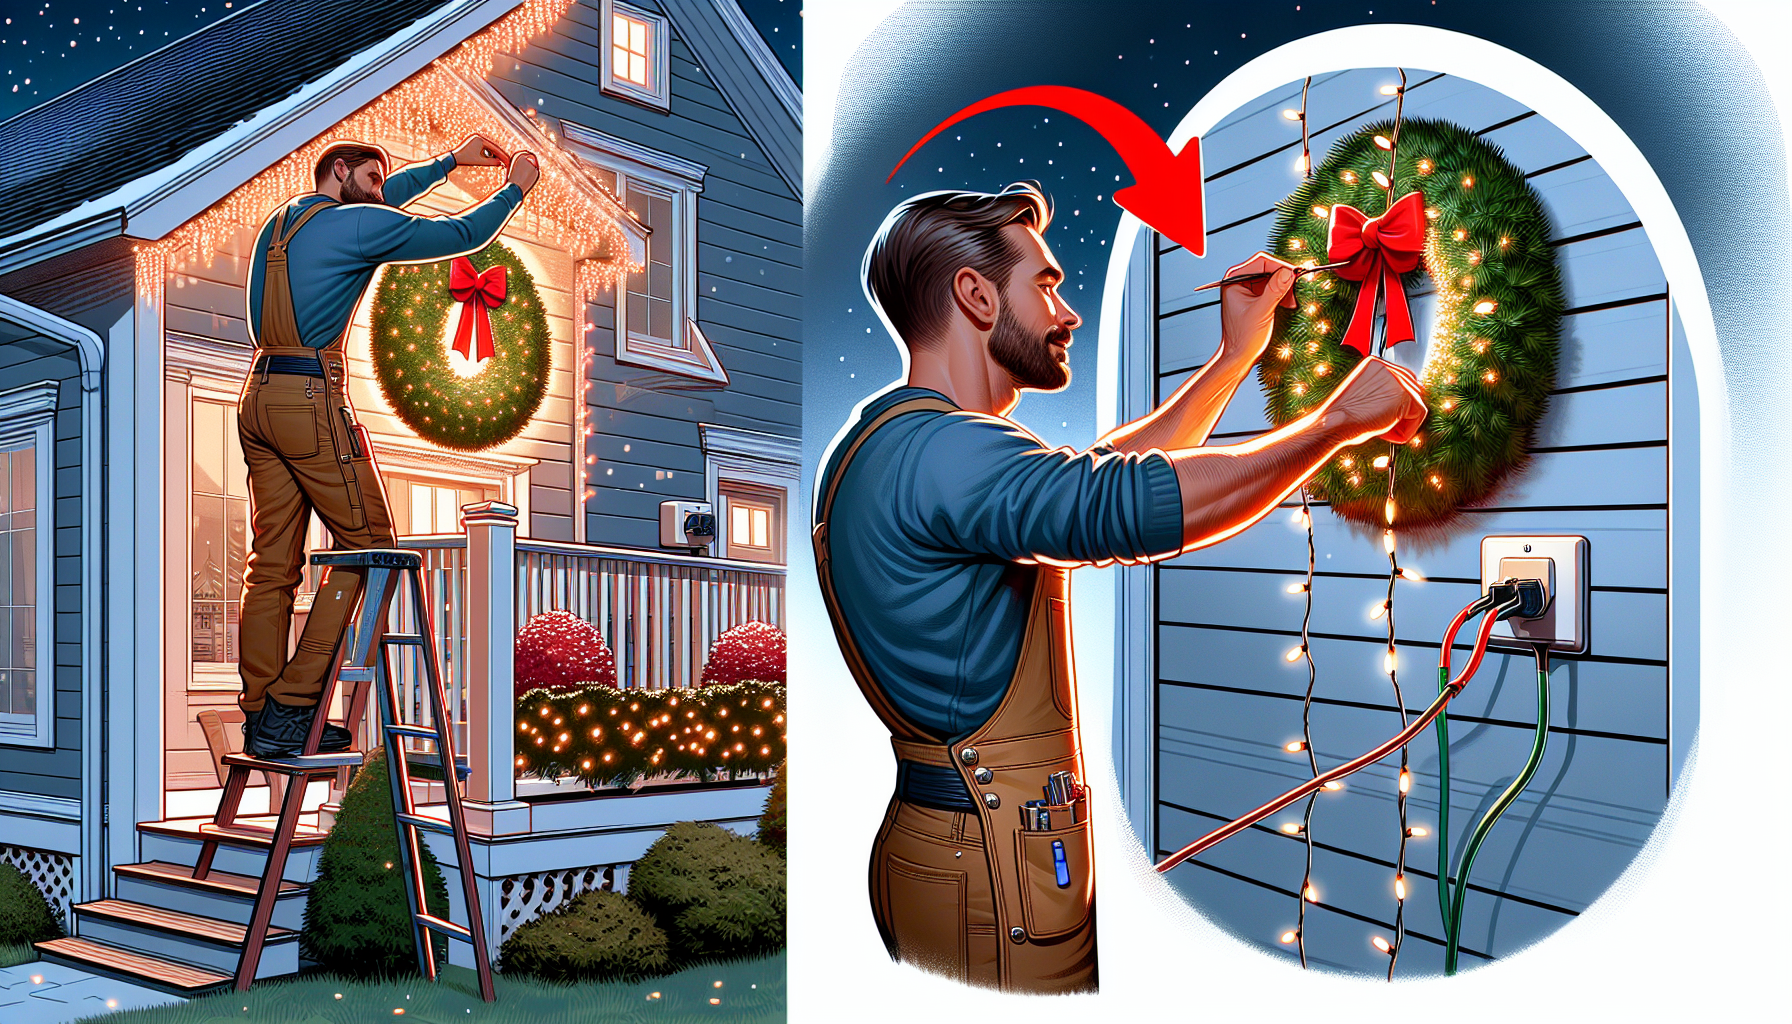
The first step is to install wire on the back of the wreath. This wire will be used to support the weight of the wreath when it’s hung on the house. You can find suitable picture hanging wire at any hardware store.

Step 2: Install Screws in the Wood Trim

Next, you’ll need to install screws into the wood trim of the house where you plan to hang the wreath. This provides a secure anchor point for the wire on the back of the wreath.

Step 3: Hang the Wreath

Once the screws are in place, simply loop the wire from the back of the wreath over the screws to hang the wreath. I like to twist the wire around the screws a few times to ensure it’s secure, especially if it’s windy in your area.

Powering the Lights

Now that the wreath is securely in place, it’s time to power the lights. This is a crucial step to make your holiday display look its best.

Step 4: Get Power to the Lights

To power the lights on the wreath, you’ll need to connect an inline plug to your existing roof lights. This allows you to easily plug in the wreath and have it light up seamlessly with the rest of your holiday decor.

By following these simple steps, you can hang a professional-looking lit wreath on your home just like the pros. Remember to take the time to properly secure the wreath and power the lights for a beautiful, long-lasting display.

FAQ’s

What type of wire should I use for the wreath?

I recommend using picture hanging wire or a similar braided wire that can support the weight of the wreath. Avoid using flimsy or thin wire, as it may not be able to hold the wreath in place.

How do I ensure the wreath stays level?

By looping the wire over the screws and twisting it around, you can keep the wreath centered and level. It’s also a good idea to measure and mark the screw placement to ensure the wreath hangs evenly.

Can I use this method for other types of holiday decor?

Absolutely! The same principles of securing the decor and providing power can be applied to hanging garlands, stockings, or any other holiday items you want to display on the exterior of your home.

How do I prevent the wreath from blowing away in the wind?

Twisting the wire around the screws and using sturdy hardware is the best way to keep the wreath in place, even in windy conditions. You can also consider using additional anchors or supports if needed.

Can I use this method on vinyl or aluminum siding?

While you can use this method on some types of siding, it’s generally best to avoid screwing directly into vinyl or aluminum, as it can damage the material. Instead, look for wood trim or other sturdy surfaces to secure the wreath.

Gingerbread-Style Christmas Lights: Easy Installation and Takedown Tips

Table of Contents

Effortless Lighting for Your Holiday Home

Decorating your home for the holidays can be a joyous yet daunting task, especially when it comes to installing and removing Christmas lights. However, with the right techniques and tools, you can transform your home into a festive wonderland with ease. In this blog post, we’ll explore the benefits of gingerbread-style Christmas lights and share valuable tips to make the installation and takedown process a breeze.

The Charm of Gingerbread-Style Lights

Gingerbread-style Christmas lights are a popular choice for homeowners who want to create a warm, inviting, and visually stunning display. Unlike traditional lighting that covers the entire roofline, gingerbread-style lights are designed to outline the roof’s edge and the sides of the house. This approach not only adds a charming, whimsical touch to your holiday decor but also helps to highlight the architectural features of your home.

Secure and Efficient Installation

Properly installing Christmas lights can be a daunting task, but with the right techniques, it can be a straightforward process. One of the key tips for gingerbread-style lights is to utilize the enclosed clips that come with the lights. These clips can be wedged between the downspout and the trim board, providing a secure and stable attachment point. If there is some extra space, you can even bend the clip in half to create a spring-like effect, ensuring a tight and reliable hold.

When attaching the lights to the ridge of the roof, it’s important to avoid lifting the shingles and disturbing the protective tar layer. Instead, you can clip the lights onto the plastic ridge cap, ensuring that the integrity of the roof is maintained. This method also allows you to decorate the front of the house without needing to access the backside, making the installation process more efficient and safer.

Effortless Takedown

One of the most challenging aspects of holiday lighting is the dreaded takedown process. However, with the gingerbread-style approach, you can make this task much easier. By clipping the lights onto the downspouts and the ridge cap, you can simply give them a gentle tug from the ground, and they will come down with minimal effort. This eliminates the need to climb back up onto the roof, reducing the risk of injury and making the post-holiday cleanup a breeze.

Maintaining the Roof’s Integrity

When installing Christmas lights, it’s crucial to consider the impact on your home’s roof. Traditional methods that involve lifting shingles or drilling holes can compromise the roof’s integrity and lead to potential leaks or damage. The gingerbread-style approach, however, avoids these issues by utilizing the existing structures, such as the downspouts and ridge cap, to secure the lights without disturbing the roof’s surface.

Professional-Grade Lighting Solutions

For homeowners who want to take their holiday lighting to the next level, professional-grade solutions like those offered by Christmas Light Contractors USA can be a game-changer. These high-quality products are designed to withstand the elements and provide a long-lasting, reliable display that will impress your neighbors and guests year after year.

FAQ’s

How do I ensure the lights stay securely in place?

To keep your gingerbread-style lights firmly in place, use the enclosed clips and wedge them tightly between the downspout and trim board. If there’s extra space, you can bend the clips in half to create a spring-like effect for added stability.

Can I use this method on the back of my house?

The gingerbread-style lighting approach is primarily designed for the front-facing areas of your home, as that’s where the lights will be most visible from the ground. While you can technically use this method on the backside of your house, it may not be as practical or efficient, as the lights won’t be as easily accessible for takedown.

How do I prevent damage to my roof during installation?

By clipping the lights onto the plastic ridge cap and avoiding the need to lift shingles, you can effectively prevent any damage to your roof’s surface or the protective tar layer. This method ensures the integrity of your roof is maintained, even with the addition of festive holiday lighting.

How long does it take to install and take down the lights?

The installation and takedown process can vary depending on the size of your home and the complexity of the lighting design. However, the gingerbread-style approach significantly reduces the time and effort required, as you can easily clip the lights onto the downspouts and ridge cap, and then pull them down from the ground at the end of the season.

Can I use this method with professional-grade lighting solutions?

Absolutely! The gingerbread-style installation and takedown techniques can be applied to both standard and professional-grade Christmas lights. By combining the benefits of high-quality lighting products with the efficiency of this method, you can create a stunning and long-lasting holiday display that will impress your guests year after year.

Maximize Your Profits: The Art of Hanging Garland for a Christmas Light Company

Table of Contents

The Lucrative World of Christmas Light Installations

In the world of Christmas light installations, efficiency and profitability are the keys to success. As a seasoned professional in the industry, I’m here to share my expertise on how to maximize your profits by mastering the art of hanging garland. Whether you’re a seasoned veteran or just starting out, this blog will provide you with the insights and strategies you need to thrive in this lucrative business.

The Power of Garland: A Profitable Opportunity

Garland is a versatile and essential component of any Christmas light display, and it can be a significant source of revenue for your Christmas light company. While storing and maintaining garland can be a hassle, the benefits of reusing it year after year make it a worthwhile investment. In this blog, we’ll explore the strategies and techniques that will help you streamline the garland installation process, ensuring that you can maximize your profits while providing your clients with a stunning and professional-looking display.

Mastering the Garland Installation Process

The key to efficient and profitable garland installation lies in your ability to execute the process quickly and effectively. In this section, we’ll dive into the step-by-step approach that our team has perfected over the years, allowing us to complete garland installations in record time while maintaining a high level of quality.

Step 1: Preparation and Planning

Before you even begin the installation process, it’s crucial to have a well-thought-out plan in place. This includes carefully measuring the areas where the garland will be installed, ensuring that you have the right amount of material on hand, and organizing your tools and equipment for maximum efficiency.

Step 2: Efficient Mounting Techniques

The key to a successful garland installation lies in the way you secure the material to the desired surfaces. Our team has mastered the art of using zip ties to quickly and securely attach the garland, ensuring that it stays in place throughout the holiday season. By utilizing this method, we are able to complete the installation process in a fraction of the time it would take using traditional methods.

Step 3: Attention to Detail

While speed is important, it’s also crucial to pay attention to the overall appearance of the garland installation. Our team takes the time to carefully clip and adjust the garland to ensure that it looks seamless and professional, meeting the high standards of our clients.

The Numbers Behind Garland Installations

In the video transcript, you can see that our team was able to complete a garland installation in just 30-35 minutes, charging the client a whopping $1,000 for the job. This level of efficiency and profitability is what sets us apart in the industry and allows us to consistently deliver exceptional results for our clients.

By leveraging the power of reusable garland, we are able to maximize our profits while minimizing the time and effort required for each installation. This not only benefits our bottom line but also allows us to take on more jobs and serve a greater number of clients during the busy holiday season.

The Key to Sustainable Growth

Mastering the art of garland installation is just one of the many strategies that our team has developed to ensure the long-term success of our Christmas light company. By focusing on efficiency, quality, and profitability, we have been able to build a thriving business that continues to grow year after year.

Whether you’re a seasoned pro or just starting out in the industry, the insights and techniques outlined in this blog can help you unlock the full potential of your Christmas light company. By embracing the power of garland and streamlining your installation processes, you can position your business for sustained growth and profitability.

FAQ

How can I ensure a professional-looking garland installation?

  1. Carefully measure the installation areas to determine the right amount of garland needed.
  2. Use zip ties to quickly and securely attach the garland, ensuring it stays in place.
  3. Take the time to clip and adjust the garland to create a seamless, polished appearance.

How can I maximize my profits on garland installations?

  1. Invest in high-quality, reusable garland that can be used year after year.
  2. Develop efficient installation techniques to complete jobs quickly and with minimal labor costs.
  3. Price your garland installations competitively while ensuring a healthy profit margin.

What are the key factors to consider when growing a successful Christmas light company?

  1. Focus on efficiency and profitability in all aspects of your operations.
  2. Continuously improve your installation processes to streamline your workflow.
  3. Provide exceptional customer service and high-quality results to build a strong reputation.
  4. Diversify your service offerings to meet the evolving needs of your clients.

How can I get started in the Christmas light installation industry?

  1. Invest in the necessary equipment and materials, such as high-quality garland and lighting products.
  2. Develop a solid understanding of installation techniques and best practices.
  3. Build a strong marketing strategy to attract and retain clients.
  4. Continuously expand your knowledge and skills to stay ahead of the competition.

Streamlining Christmas Light Installation: A Comprehensive Approach

Table of Contents

Intro

As the holiday season approaches, the demand for professional Christmas light installation services skyrockets. For those in the industry, ensuring efficient and organized operations is crucial to delivering exceptional results for clients. In this blog, we’ll delve into the meticulous process of prepping and loading a truck for a day of Christmas light installation, as shared by the experts at Christmas Light Contractors USA.

Bins

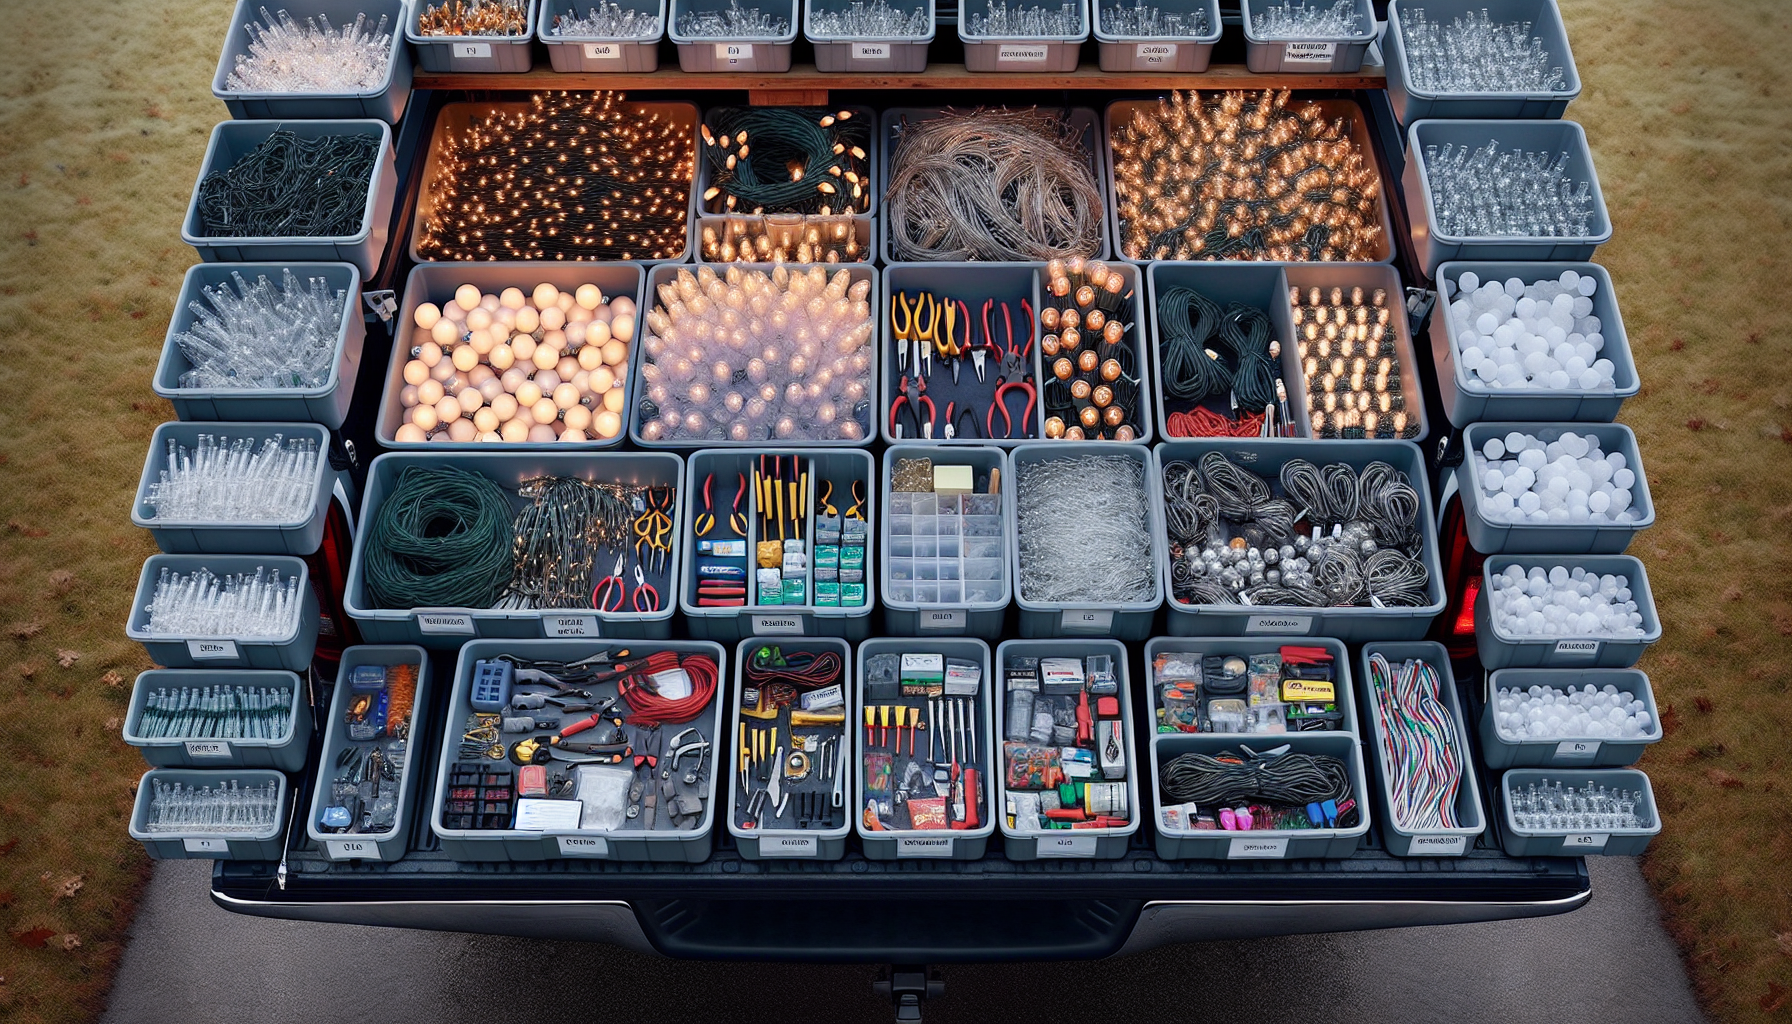
To maintain a seamless workflow, the team at Christmas Light Contractors USA has developed a systematic approach to organizing their equipment and supplies. They utilize a series of labeled bins, each containing specific items needed for a successful installation.

The first bin is dedicated to the essential components – the C9 minion bulbs. These pre-bulbed, warm-white LED lights are the backbone of their installations, with each trash can holding up to 500 feet of the 33-gram, 32-gallon, pro-grade, ever-built variety. The locking lids allow for easy stacking and transportation.

The second bin houses the C7 bulbs, which are used for various applications, such as wreaths and trees. This bin also includes the team’s blinker bulbs, a crucial element for adding dynamic visual interest to the displays.

The third bin is the tools bin, containing a comprehensive collection of essential equipment. This includes vinyl-coated wire for wreaths, landscape staples for securing wires, a kilowatt meter, snips, hog-nose pliers, a backup hook for their extension pole, and a variety of replacement sockets and inline female connectors.

The fourth bin is dedicated to the team’s clip collection. This bin holds an extra 300 enclosed clips, as well as ground stakes, track clips, magnetic clips, and ridge clips – ensuring they have a diverse range of fastening solutions for any installation scenario.

The final bin is the power wire bin, which contains a thousand feet of various wire colors, along with 10 timers and extra extension cords. This bin allows the team to easily access and replenish their power supply needs throughout the day.

Minion

At the heart of the Christmas Light Contractors USA’s lighting installations are the pre-bulbed mini lights. These professional-grade stringers come pre-bulbed and tagged, eliminating the time-consuming task of individually bulbing each string. Depending on the number of houses they’re servicing for the day, the team will grab two, three, or four crates of these 50-foot stringers, each containing 40 individual strands.

The team also has a collection of C7 bulb stringers, which they use for their tree installations. The number of stringers they’ll need for each tree varies, but they typically have a few bins of these on hand, with 15 stringers per bin.

Tools

In addition to the specialized bins, the team also maintains a collection of client-specific lighting bins. These bins contain the lights that have been reinstalled from previous years, as well as any special requests or new installations that are ready to go. By having these bins readily available, the team can quickly grab the necessary equipment for each job, ensuring a seamless and efficient installation process.

The organization doesn’t stop there. The team has a designated area inside their facility where all the prepared bins, trash cans, and client-specific lighting bins are stacked and ready to go. This centralized staging area allows the team members to simply grab the bins they need and head out to their assigned trucks, without the need for extensive searching or preparation.

At the end of each day, the team ensures that everything is removed from the trucks and properly reorganized and restocked. This end-of-day routine guarantees that the trucks are ready to go for the next day’s installations, minimizing downtime and maximizing productivity.

Outro

The meticulous approach employed by the team at Christmas Light Contractors USA is a testament to their commitment to excellence and efficiency. By meticulously organizing their equipment, streamlining their processes, and maintaining a well-stocked inventory, they are able to deliver exceptional Christmas light installations with ease.

Whether you’re a professional in the industry or a homeowner looking to enhance your holiday display, the insights shared in this blog can serve as a valuable guide for optimizing your own Christmas light installation efforts. By adopting a similar level of organization and attention to detail, you can ensure a seamless and stress-free holiday season, both for yourself and your clients.

FAQ

  1. What type of bulbs do you use for your Christmas light installations? We primarily use C9 minion bulbs, which are pre-bulbed, warm-white LED lights. We also utilize C7 bulbs for various applications, such as wreaths and trees.
  2. How do you organize your equipment and supplies? We have a comprehensive system of labeled bins, each containing specific items needed for a successful installation. This includes bins for bulbs, tools, clips, power wires, and client-specific lighting.
  3. How do you ensure your trucks are ready for each day’s work? At the end of each day, we remove everything from the trucks and properly reorganize and restock the bins. This end-of-day routine guarantees that the trucks are fully prepared for the next day’s installations.
  4. What type of pre-bulbed mini lights do you use? We use professional-grade, pre-bulbed mini lights that come in 50-foot stringers, with 40 individual strands per crate. This eliminates the need for individually bulbing each string, saving us time and effort.
  5. How do you handle client-specific lighting requests? We maintain a collection of client-specific lighting bins, which contain the lights that have been reinstalled from previous years, as well as any special requests or new installations that are ready to go. This allows us to quickly grab the necessary equipment for each job.

The Efficiency of Pre-Bulbing and Pre-Clipping Christmas Lights

Table of Contents

Intro

As the holiday season approaches, the demand for professional Christmas light installations skyrockets. For those running a successful Christmas light business, efficiency is key to maximizing productivity and profitability. One crucial strategy that sets industry leaders apart is the practice of pre-bulbing and pre-clipping their Christmas lights before arriving at the job site.

Why We Use Bins

The key to running an efficient Christmas light installation operation is being fully prepared once at the job site. By pre-bulbing and pre-clipping their lights during “non-productive” time, crews can spend more of their valuable on-site hours actually hanging the lights. This allows them to complete more jobs per day, ultimately driving higher revenue.

The team at Christmas Light Contractors USA has perfected this process. They use a setup with 15-inch reels, a pipe running between them, and bins to organize the pre-bulbed and pre-clipped lights. This allows them to quickly and efficiently prepare thousands of lights before heading out to the job sites.

Optimizing Truck Loads

The crew aims to load two bins of prepared lights onto their trucks each day. This gives them 1,000 feet of lights, which is typically enough to complete all the scheduled jobs, even if they need to swap out any bulbs or make other minor adjustments. By having this inventory readily available, they avoid the time and hassle of having to return to their warehouse to retrieve more lights mid-job.

They also keep an extra spool of lights on the truck, giving them the capacity to carry 2,000 feet of lights per day if needed. This ensures they are fully equipped to handle any job, whether it’s a new installation or a repair.

Organized Tool and Supply Storage

In addition to the pre-bulbed and pre-clipped lights, the crew also keeps their everyday tools, clips, wire, and other necessary supplies organized in bins. This allows them to quickly grab everything they need before heading out, further streamlining their process.

They even have a checklist of items to ensure they don’t forget anything essential. By having this level of preparation and organization, the crew can load up their trucks in just five minutes and be on their way to the job sites.

Outro

The efficiency gained through pre-bulbing and pre-clipping Christmas lights is a key factor in the success of Christmas Light Contractors USA. By taking the time to prepare their materials and supplies in advance, the crew is able to maximize their productivity and profitability on the job sites. This strategy allows them to complete up to five jobs per day, generating significant revenue for their business.

For other Christmas light installation companies looking to improve their operations, the lessons learned by Christmas Light Contractors USA are invaluable. By adopting a similar approach to pre-bulbing, pre-clipping, and organized supply storage, they too can streamline their processes and achieve greater success in the highly competitive holiday lighting industry.

FAQ

  1. How many bins of pre-bulbed and pre-clipped lights do you aim to load on your trucks each day? The crew aims to load two bins of prepared lights onto their trucks each day, which gives them 1,000 feet of lights to work with.
  2. Why do you keep an extra spool of lights on the truck? The extra spool of lights gives the crew the capacity to carry 2,000 feet of lights per day, ensuring they are fully equipped to handle any job, whether it’s a new installation or a repair.
  3. How long does it take to load up the trucks with all the necessary supplies? By having their materials and supplies organized in bins, the crew can load up their trucks in just five minutes, allowing them to get to the job sites quickly and efficiently.
  4. What is the goal for the number of jobs the crew can complete in a day? The crew’s goal is to complete five jobs per day, which can generate significant revenue for their business, especially if they are charging $2,000 per job.

How to Hang Christmas Lights on Vinyl Siding: A Professional’s Guide

Table of Contents

Preparing the Lights

As the holiday season approaches, many homeowners are eager to transform their homes into festive winter wonderlands. One of the most popular ways to achieve this is by hanging Christmas lights around doors, windows, and along the roofline. However, this task can be challenging, especially when dealing with vinyl siding. In this blog, we’ll share a professional’s tips and tricks for hanging Christmas lights on vinyl siding without using any staples, nails, or clips.

First, it’s important to choose the right type of lights for the job. The expert in the video recommends using C7 lights, as they fit snugly into the vinyl siding’s J-channels without the need for additional hardware. C9 lights, on the other hand, may require the use of clips, which can be more time-consuming and potentially damaging to the siding.

Once you have your lights, the next step is to measure and cut them to the desired length. This will ensure a seamless and professional-looking installation. The expert in the video demonstrates how to use the “vampire plug” technique, which involves smashing the end of the light string to create a puncture-resistant connection. This method helps to secure the lights and prevent any potential issues with power supply.

Powering the Lights

One of the key challenges in hanging Christmas lights on vinyl siding is ensuring a reliable power source. The expert in the video shows how to run the power cord from the outlet to the lights without the need for extension cords. By using the same “vampire plug” technique, they are able to create a secure connection that keeps the power line hidden and out of sight.

Another helpful tip is to use small jumper cables to connect the power line to the lights. These jumpers, available in black or white, can be easily tucked into the siding’s J-channels, creating a seamless and professional-looking installation.

Attaching the Lights

With the power source secured, the next step is to attach the lights to the vinyl siding. The expert in the video demonstrates how to simply slide the C7 lights into the J-channels, creating a secure and tidy installation. They emphasize the importance of ensuring even spacing and placement, as this will contribute to the overall aesthetic of the display.

One trick the expert shares is to break off the plastic tabs on the lights, as this can make it easier to slide them into the J-channels. They also suggest tucking any excess wiring back into the channels to keep the appearance clean and polished.

Finishing Touches

To complete the gingerbread-style look, the expert recommends running the lights around the door frame and along the roofline. They demonstrate how to seamlessly connect the different sections of lights, ensuring a cohesive and professional-looking display.

Finally, the expert stresses the importance of safety, reminding viewers to avoid placing any male-end power plugs in areas where they could be accidentally touched, as this could pose a potential electrical hazard.

FAQ

Can I use C9 lights instead of C7 lights?

While C9 lights can be used, the expert in the video strongly recommends using C7 lights, as they fit more snugly into the vinyl siding’s J-channels without the need for additional hardware, such as clips. C9 lights may require the use of clips, which can be more time-consuming and potentially damaging to the siding.

How can I hide the wires?

The expert in the video suggests using white or black stranded wire, which can be easily tucked into the J-channels of the vinyl siding. Additionally, they recommend breaking off the plastic tabs on the lights, as this can make it easier to slide them into the channels and conceal the wiring.

Can I use staples or nails to secure the lights?

The expert in the video advises against using staples or nails, as these can potentially damage the vinyl siding. Instead, they recommend the techniques demonstrated in the video, which involve using the siding’s J-channels and the “vampire plug” method to securely attach the lights without causing any harm to the surface.

How do I ensure even spacing between the lights?

The expert in the video suggests using a 12-inch spacing, which aligns well with the typical double-four siding pattern. They emphasize the importance of maintaining even spacing for a professional and aesthetically pleasing result.

Can I use this method on other types of siding?

While the techniques demonstrated in the video are specifically tailored for vinyl siding, the general principles of using the siding’s existing features to secure the lights without damaging the surface can be applied to other siding materials as well. However, the specific methods may need to be adjusted based on the unique characteristics of the siding type.

By following the expert’s tips and tricks, homeowners can transform their homes into festive holiday displays without the hassle of using staples, nails, or clips. With a little planning and attention to detail, anyone can achieve a professional-looking gingerbread-style Christmas light installation on their vinyl siding.

3 Easy Ways to Hang Christmas Lights on Your Roof Hips and Ridges

Table of Contents

The Importance of Properly Outlining Your Roof

Outlining your roof with Christmas lights can be a challenging task, but it’s essential to achieving the perfect holiday look. The key is to center the lights on the “peak” or ridge of your roof, so the bulbs can be viewed from every angle. This requires the right type of lights, the correct socket cord spacing, and most importantly, the proper Christmas light clips.

3 Methods for Attaching C9 Christmas Lights to Roof Ridges and Hips

Method 1: Clip to One Side of the Hip

One way to attach C9 bulbs to the hip of your roof is to clip them to one side of the hip, rather than the center. This can work well if your roof has a shallow pitch, as the lights will still be visible from multiple directions. However, on a steeper roof, the lights may only be visible from one side.

Method 2: Clip to the Center of the Hip

Alternatively, you can clip the lights to the center of the hip, with the bulbs standing up. This ensures the lights are visible from all directions. The key is to match the spacing of your socket line to the width of your shingles, so you can clip the lights directly to the edge of the shingle without having to lift it up and potentially damage the tar seal.

Method 3: Use a Ridge Clip

The third option is to use a specialized ridge clip, which has teeth that hook onto either side of the ridge shingle. This allows you to center the socket line on the ridge, ensuring the bulbs are visible from all angles. The ridge clip is a great solution if your socket line spacing doesn’t match the width of your shingles.

Sourcing Professional-Grade Christmas Lighting Products

All of the professional-grade Christmas lighting products featured in this video, including the C9 bulbs, socket cords, and specialized clips, can be ordered through ChristmasLightContractorsUSA.com. This is the same website mentioned at the bottom of the video.

FAQ

What is the best way to attach Christmas lights to my roof?

The best way to attach Christmas lights to your roof is to center them on the ridge or hips, using either a specialized ridge clip or by matching the spacing of your socket line to the width of your shingles. This ensures the lights are visible from all angles.

How do I prevent damage to my roof when hanging lights?

To prevent damage to your roof, be sure to use fully enclosed clips that go around the bulb and socket, rather than just clipping onto the shingles. Avoid lifting up the shingles or breaking the tar seal, as this can lead to leaks and other issues.

What type of Christmas lights are best for outlining my roof?

C9 or C7 bulbs are the best choice for outlining your roof, as they are larger and more visible from a distance. Make sure to use professional-grade socket cords and clips designed for this purpose, as they will be more durable and secure than standard holiday lights.

How do I ensure my Christmas lights are centered and evenly spaced?

Using a ridge clip or matching your socket line spacing to your shingle width can help ensure your lights are centered and evenly spaced along the roof. Avoid stretching the socket line too tight, as this can cause the lights to sag or become uneven.

Can I mix blinker bulbs with my regular Christmas lights?

It’s generally not recommended to mix blinker bulbs with your regular Christmas lights when outlining your roof. The blinking effect can be distracting and make the overall display look uneven. Stick to a consistent, non-blinking bulb type for the best results.

Elevate Your Christmas Decor with Affordable Grapevine-Ball Lookalike Lights

Table of Contents

Intro

As the holiday season approaches, the desire to create a festive and enchanting atmosphere in our homes grows stronger. One of the most popular and visually stunning elements of Christmas decor is the grapevine-ball light display. However, these decorative spheres can come with a hefty price tag, leaving many homeowners searching for more budget-friendly alternatives. In this blog, we’ll explore a cost-effective solution that can help you achieve the same captivating look without breaking the bank.

Second Option

Enter the world of Christmas light spritzers – a versatile and affordable alternative to the traditional grapevine-ball lights. These spritzers, available in various sizes, offer a range of mesmerizing effects, including shimmering, fading, and solid lighting, all while maintaining a warm, inviting ambiance.

One of the key advantages of using spritzers is the ease of installation. Unlike the intricate process of creating wire-framed balls and wrapping them with mini lights, spritzers come with a built-in hook and a jumper cord, making them a breeze to hang in your trees. Simply suspend the spritzer from a branch and run the cord down to the base, where you can plug it in. This streamlined approach not only saves you time but also reduces the need for extensive wiring throughout the tree.

Another significant benefit of spritzers is their compact storage. When the holiday season comes to an end, you can simply wrap the cord around the spritzer and store it away, taking up minimal space. This is a stark contrast to the bulky wire frames or folding spheres, which often require more storage space.

To further enhance the appeal of spritzers, they are available at wholesale prices through reputable suppliers like ChristmasLightContractorsUSA.com. This means that you can achieve a professional-grade lighting display without the hefty price tag typically associated with grapevine-ball lights.

Fourth Option

When it comes to decorating your trees with spritzers, the possibilities are endless. Imagine a stunning display of 10 or more spritzers in a single tree, creating a mesmerizing cascade of twinkling lights. The versatility of these spritzers allows you to experiment with different placements, spacing, and effects to achieve your desired aesthetic.

Whether you’re a seasoned Christmas light enthusiast or a homeowner looking to elevate your holiday decor, spritzers offer a cost-effective and practical solution that can rival the beauty of traditional grapevine-ball lights. By embracing this innovative approach, you can enjoy the same captivating look without the hefty price tag, allowing you to focus on creating a truly magical Christmas experience for your family and guests.

Outro

As you prepare to deck the halls this holiday season, consider the power of Christmas light spritzers. These versatile and affordable decorations can transform your outdoor spaces into a winter wonderland, all while keeping your budget in check. Embrace the simplicity and convenience of spritzers, and let your creativity shine as you create a stunning and unforgettable Christmas display.

FAQ

  1. What are the benefits of using Christmas light spritzers over traditional grapevine-ball lights?
    • Spritzers are more cost-effective than the materials required to create wire-framed grapevine-ball lights.
    • Spritzers are easier to install, as they come with a built-in hook and jumper cord, reducing the need for extensive wiring.
    • Spritzers take up less storage space when not in use, as they can be wrapped and stored flat.
  2. Where can I purchase professional-grade Christmas light spritzers?
    • You can purchase high-quality Christmas light spritzers at wholesale prices through ChristmasLightContractorsUSA.com.
  3. How many spritzers can I use in a single tree?
    • The number of spritzers you can use in a tree is flexible, but the video suggests using 10 or more for a stunning, cascading effect.
  4. What are the different lighting effects offered by Christmas light spritzers?
    • Spritzers can create a variety of effects, including shimmering, fading, and solid lighting, to suit your desired aesthetic.