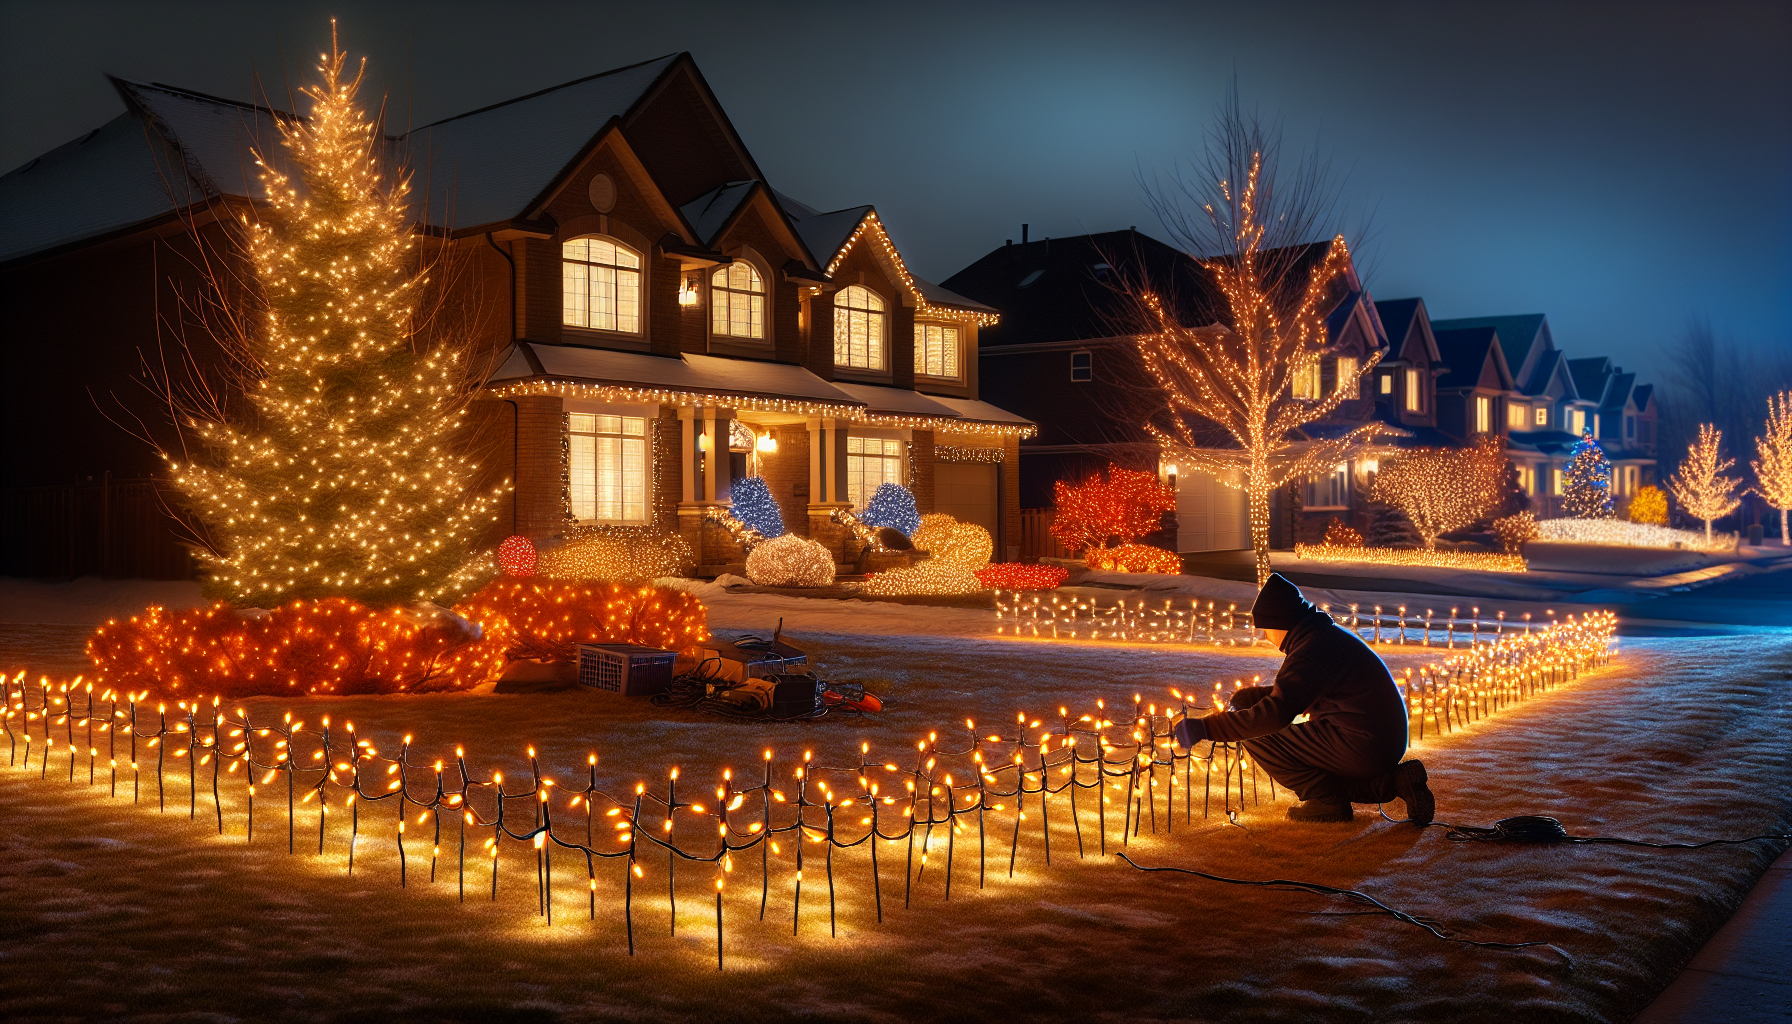
Elevating Your Holiday Lighting with Cascading Tree Displays

Table of Contents

Mastering the Art of Tree Lighting

Transforming your outdoor spaces into a dazzling winter wonderland is a cherished tradition for many. One of the most captivating elements of holiday lighting is the cascading effect achieved by carefully draping lights through the branches of trees. While this technique may appear effortless, it requires a strategic approach to ensure a professional-grade result. In this comprehensive guide, we’ll explore the nuances of tree lighting and share expert tips to help you create a mesmerizing display that will leave your guests in awe.

Choosing the Right Tree

The foundation of a stunning tree lighting display lies in the selection of the right tree. Not all trees are created equal when it comes to this technique. Look for trees with a well-defined architectural structure, free from an abundance of small, cluttered branches. This open, airy design will allow you to weave the lights seamlessly through the branches, creating a cohesive and visually appealing display.

Another important consideration is the tree’s shape and symmetry. Opt for trees with a balanced, uniform silhouette, as this will ensure a harmonious lighting arrangement. Avoid trees with significant gaps or lopsided growth, as these imperfections can be highlighted and accentuated by the lighting design.

Mastering the Cascading Technique

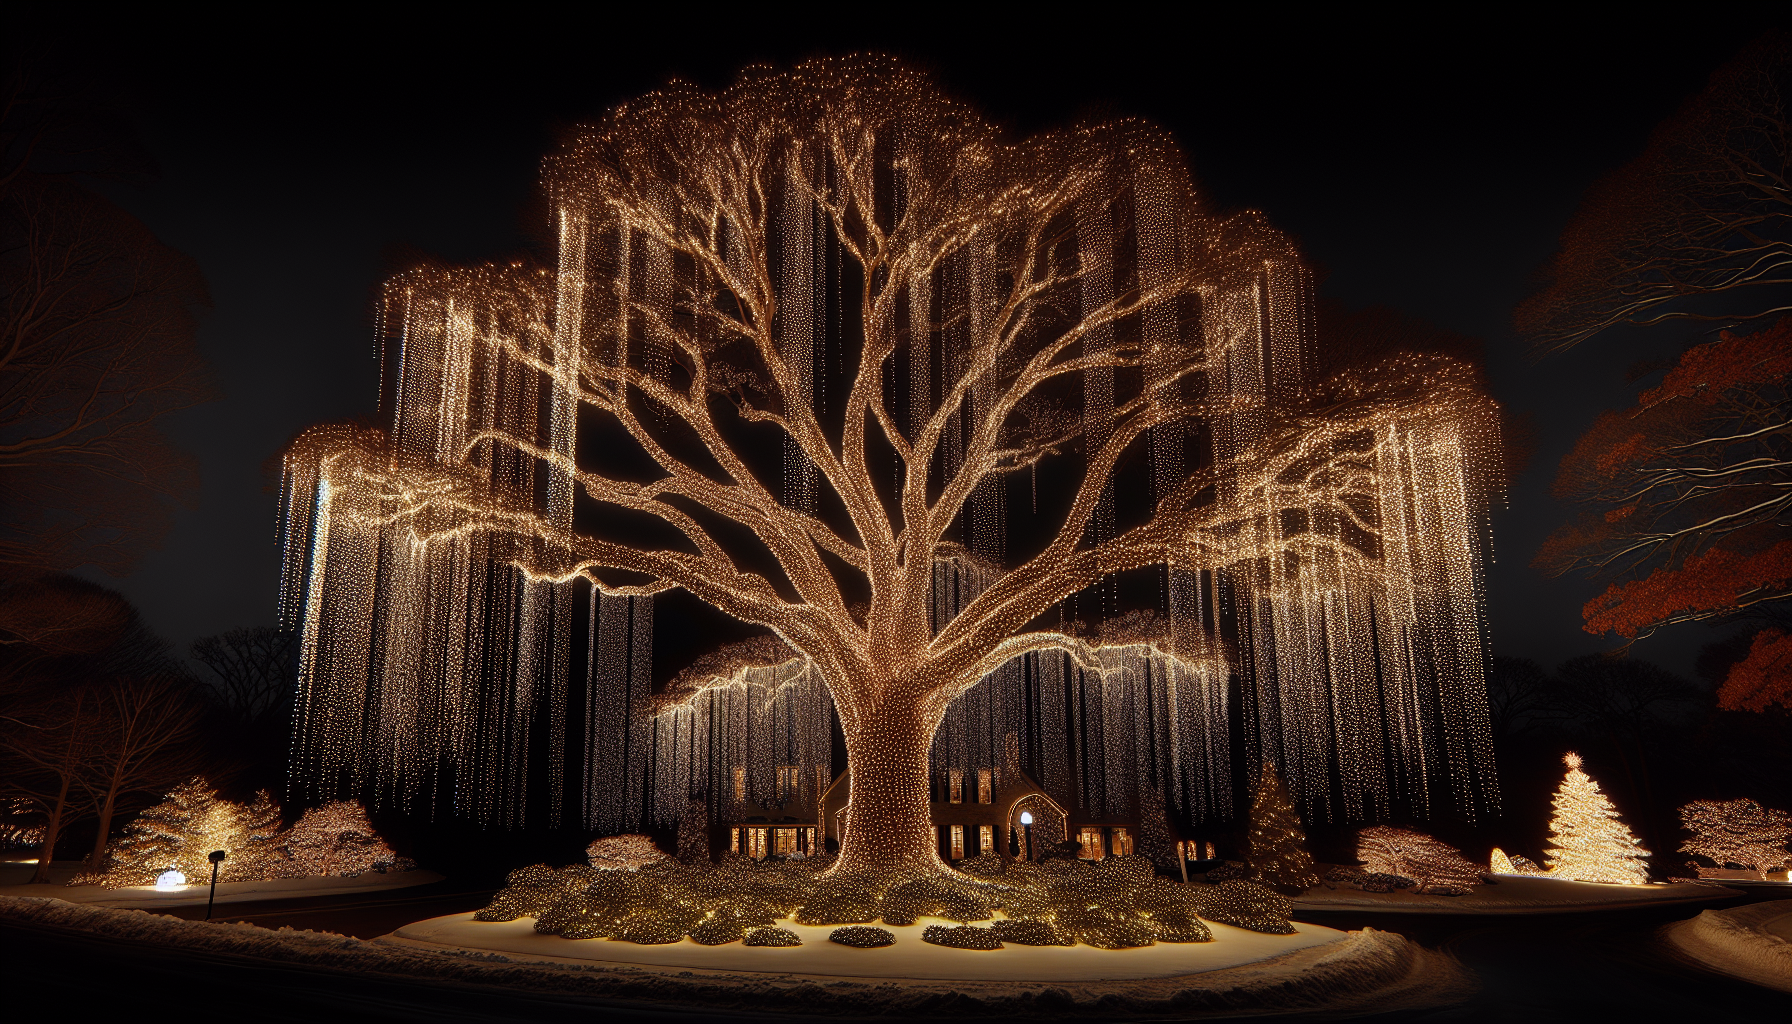
The key to a successful cascading tree lighting display lies in the strategic placement and spacing of the lights. Begin by wrapping the trunk of the tree, creating a solid foundation for the cascading effect. As you move up the branches, alternate between wrapping the branch and allowing the lights to cascade down, creating a natural, flowing appearance.

Ensure that the bottom of the cascading lights are all roughly the same height, approximately 1-2 feet off the ground. This consistency will create a visually appealing and cohesive look, regardless of the varying heights of the branches. Adjust the spacing and length of the cascading sections as needed to achieve the desired effect.
Optimizing Power Distribution

Proper power distribution is essential to maintaining the integrity of your tree lighting display. Avoid the common mistake of powering all the branches from a single line starting at the bottom. Instead, strategically place power sources throughout the tree, using jumper cords to distribute the electricity evenly.

This approach serves two important purposes: it prevents a single point of failure and ensures that if one section experiences an issue, the rest of the tree remains unaffected. Additionally, it allows you to better manage the power load, preventing overloading and potential safety hazards.

Embracing Imperfections

One of the hallmarks of a professional-grade tree lighting display is the ability to work with the natural imperfections of the tree. Rather than trying to conceal or overcome these unique characteristics, embrace them and incorporate them into your design.

For example, if a tree has a one-sided growth pattern, consider a lighting design that accentuates this feature, such as a more concentrated cascading effect on the fuller side. By aligning your lighting choices with the tree’s natural form, you create a harmonious and visually captivating display that showcases the tree’s inherent beauty.

Maintenance and Troubleshooting

Maintaining the longevity and reliability of your tree lighting display is crucial. Regularly inspect the lights, connections, and power sources to ensure everything is functioning properly. Address any issues promptly, such as blown fuses or damaged wiring, to prevent larger problems from arising.

Additionally, be prepared for unexpected challenges, such as squirrel damage or inclement weather. By implementing a modular power distribution system, you can quickly isolate and address any localized issues, minimizing the impact on the overall display.

FAQ

What type of lights should I use for a cascading tree display?

For professional-grade results, it’s recommended to use commercial-grade Christmas lights designed for outdoor use. These lights are more durable, weatherproof, and offer a brighter, more consistent illumination compared to standard household lights.

How do I determine the appropriate spacing for the cascading lights?

The optimal spacing for the cascading lights will depend on the size and shape of the tree. As a general guideline, aim for a spacing of approximately 6-12 inches between the cascading sections, adjusting as needed to create a visually balanced and cohesive display.

How can I ensure the lighting display is energy-efficient?

To maximize energy efficiency, consider using LED lights, which consume significantly less power than traditional incandescent bulbs. Additionally, implement a modular power distribution system to minimize energy waste and prevent unnecessary power draw from unused sections.

What safety precautions should I take when installing tree lighting?

Safety should always be the top priority when working with outdoor lighting displays. Ensure that all electrical connections are properly grounded and weatherproofed, and avoid overloading power sources. Additionally, use caution when working at heights and consider hiring a professional if you are not comfortable with the installation process.

How can I extend the lifespan of my tree lighting display?

Proper storage and maintenance are key to extending the lifespan of your tree lighting display. Carefully remove and store the lights in a dry, protected environment when not in use. Regularly inspect for any damage or wear and tear, and make necessary repairs or replacements to ensure the display remains in top condition for years to come.

By following these expert tips and embracing the unique characteristics of your trees, you can create a captivating and professional-grade holiday lighting display that will be the envy of your neighborhood. Elevate your outdoor spaces and fill them with the magic of the season, one cascading tree at a time.

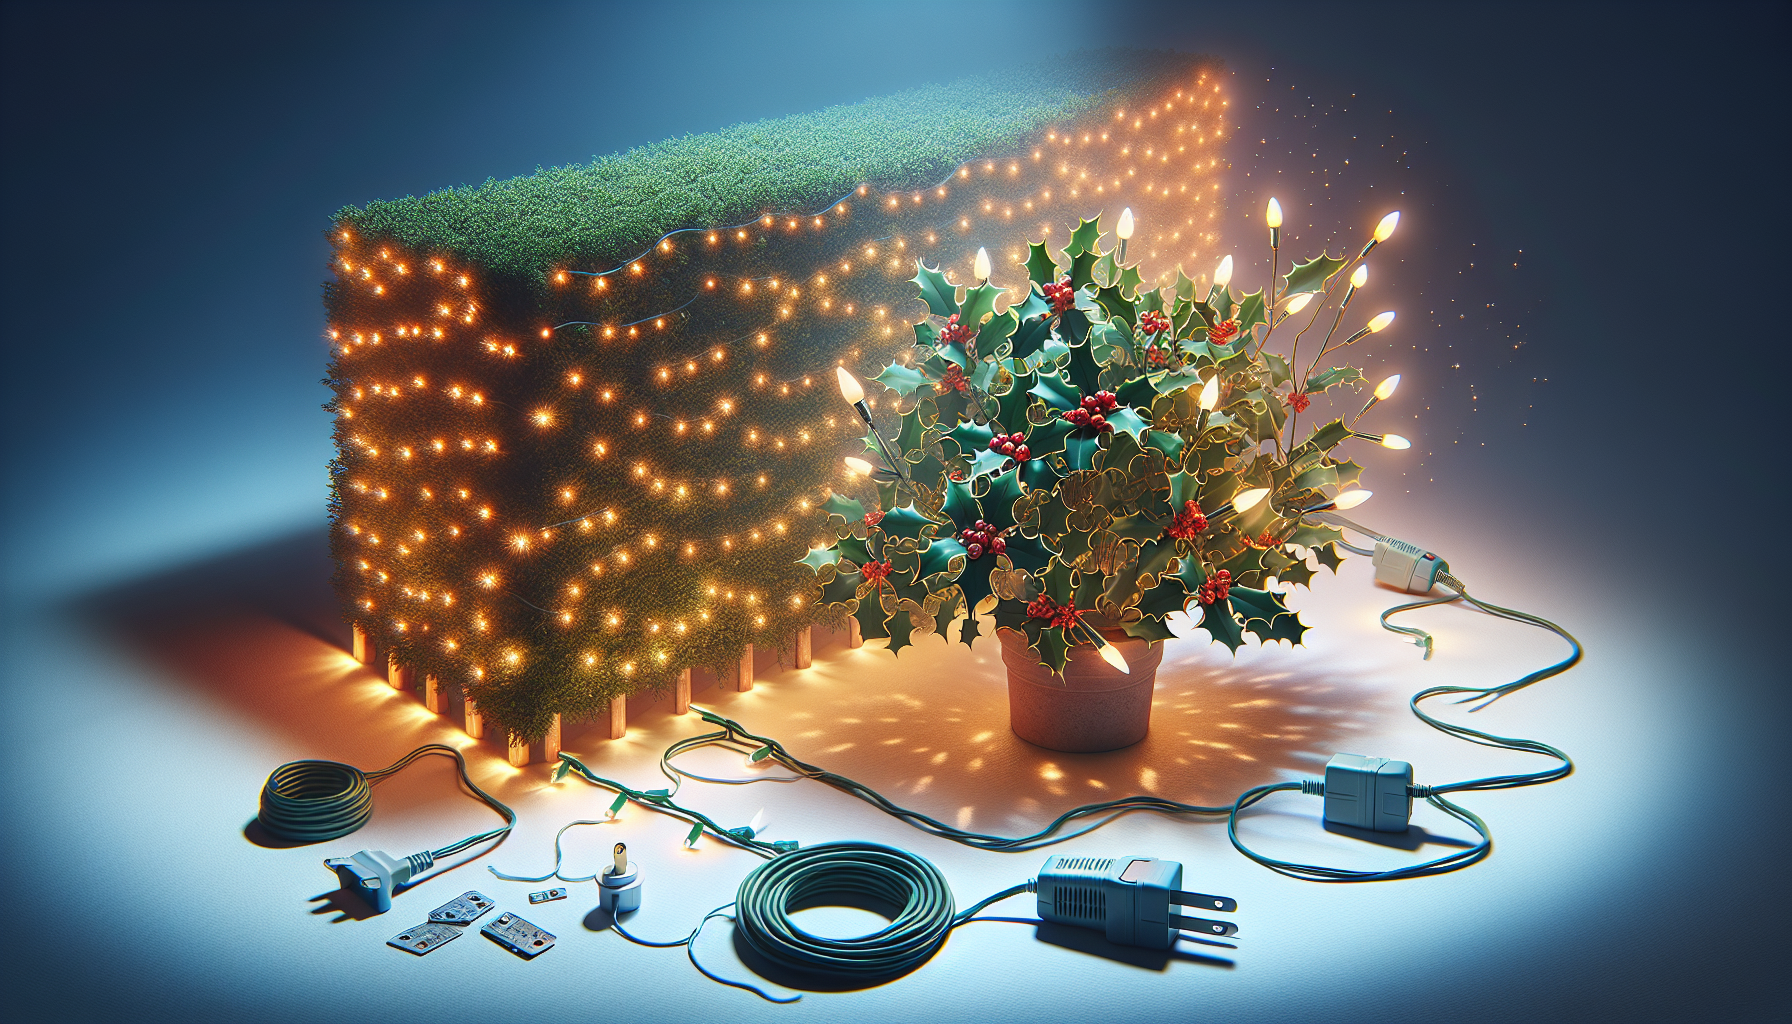
How to Create Professional-Looking Christmas Garland: 3 Essential Tips

Table of Contents

Invest in High-Quality Garland

When it comes to creating a stunning Christmas display, the quality of your garland is paramount. Opt for thick, lush garland that exudes a professional, high-end appearance. Avoid thin, cheap-looking garland, as it will never achieve the same level of fullness and elegance.

Properly Secure and Position the Garland

Proper installation is key to ensuring your garland looks its best. When drilling into masonry, use a small piece of wood to give the screws something to grip onto, providing a secure hold. Additionally, pay close attention to how the garland is positioned. You want the branches pointing in the right direction, with the garland lying flat against the wall, not sticking out.

Fluff and Arrange the Garland

Taking the time to fluff and arrange your garland is what truly elevates it to a professional level. Spend time gently separating and positioning the branches to create a full, lush appearance. Pay special attention to areas that may appear sparse or mashed down, ensuring the garland has a consistent, balanced look throughout.

Accent with Stunning Bows

Bows are the perfect finishing touch to your Christmas garland, adding a touch of elegance and visual interest. Opt for large, high-quality bows that complement the scale and style of your garland. Position the bows strategically, with the legs of the bow spreading out to the sides to maximize their impact.

Tuck in Electrical Cords

If you’re using electrical elements, such as lights, within your garland, be sure to tuck the cords neatly behind the greenery. This ensures a clean, polished look, without any unsightly cords detracting from the overall aesthetic.

Maintain a Consistent Appearance

When installing garland across multiple areas, such as along a fence or around a gate, strive for a consistent look. Ensure the garland is fluffed and positioned in a similar manner throughout, creating a cohesive and professional-grade display.

FAQ

How can I make my garland look fuller?

  • Invest in high-quality, thick garland.
  • Spend time fluffing and arranging the branches to create a lush, full appearance.
  • Consider adding additional greenery, such as pine branches or sprigs, to fill in any sparse areas.

How do I keep my garland from sagging?

  1. Secure the garland firmly to the wall or surface using screws and a small piece of wood for added grip.
  2. Fluff and arrange the garland to maintain its shape, with the branches pointing upward.
  3. Consider adding wire or other support structures within the garland to help it hold its form.

What type of bows work best for Christmas garland?

  • Opt for large, high-quality bows that complement the scale and style of your garland.
  • Choose bows with long, flowing legs that can be spread out to the sides for maximum visual impact.
  • Experiment with different bow styles, such as classic ribbon bows or more modern, sculptural designs.

How can I ensure my garland looks professional and cohesive?

  1. Use the same high-quality garland throughout your display.
  2. Fluff and arrange the garland in a consistent manner, maintaining a balanced, full appearance.
  3. Incorporate coordinating elements, such as bows, lights, and other decorations, to tie the entire display together.

By following these tips, you can create a stunning, professional-looking Christmas garland that will impress your guests and elevate your holiday decor to new heights.

Elevating Your Holiday Decor: Mastering the Art of Lighting Up Holly Bushes and Hedgerows

Table of Contents

Illuminating the Evergreen: Wrapping Holly Bushes with Professional-Grade Mini Lights

As the holiday season approaches, the allure of twinkling lights and festive decor becomes irresistible. For those seeking to elevate their outdoor display, mastering the art of lighting up holly bushes and hedgerows can be a game-changer. In this comprehensive guide, we’ll explore the secrets to achieving a professional-grade Christmas light setup that will captivate your neighbors and visitors alike.

The Power of Professional-Grade Mini Lights

When it comes to decorating your holly bushes, the choice of lighting is crucial. Ordinary store-bought lights may not withstand the elements or provide the desired level of illumination. That’s where professional-grade mini lights come into play. These lights are fully encapsulated, meaning the bulbs cannot be removed or replaced, but they offer a significant advantage – they are impervious to water, ensuring your display remains vibrant and reliable throughout the holiday season.

Selecting the Perfect Hue

The color of your mini lights can greatly impact the overall aesthetic of your holiday display. While warm-white or traditional-white 5mm bulbs are the go-to choice for a classic Christmas look, you can also explore other options to suit your personal style. Professional-grade mini lights come in a variety of colors, allowing you to create a unique and eye-catching display that complements the natural beauty of your holly bushes.

Transforming Hedgerows with Twinkling C7 Bulbs

Alongside the holly bushes, the hedgerows can also be transformed into a mesmerizing display. By incorporating C7 random twinkly bulbs, you can create a captivating backdrop that adds depth and dimension to your overall holiday decor.

Mastering the Twinkle Effect

The beauty of C7 random twinkly bulbs lies in their ability to blink and flicker at random intervals, creating a dynamic and enchanting visual experience. This randomized twinkling effect ensures that your hedgerow display will never appear static or monotonous, constantly drawing the eye and adding an element of magic to your holiday setting.

Seamless Power Integration

Integrating the power source for your C7 bulbs can be a straightforward process. By using a simple jumper cord to connect the power source to the hedgerow, you can ensure a clean and efficient setup that minimizes the visual clutter of cords and cables.

Perfecting the Installation Technique

Properly installing your holiday lights on holly bushes and hedgerows requires attention to detail and a few key techniques to ensure a professional-grade finish.

Securing the Mini Lights

When wrapping the mini lights around the holly bush branches, it’s essential to create a secure anchor point. By wrapping the lights around the branches a few times, you can prevent the strands from becoming loose or detached over time. This simple step helps maintain the even spacing and overall cohesive appearance of your display.

Hiding the Excess Cord

Inevitably, you’ll have some excess cord length at the top of the holly bush. Rather than letting it hang awkwardly, you can tuck the extra cord into the bush, effectively hiding it from view and creating a seamless, professional-looking installation.

Utilizing Factory Clips

The factory clips provided with your C7 bulbs can be a valuable tool in securing the cords and maintaining a tidy appearance. By clipping the cords to the outer branches of the hedgerow, you can prevent them from flapping in the wind and ensure a clean, polished look to your display.

Bringing Your Vision to Life

As the sun sets and the holiday season begins to shine, your meticulously crafted holly bush and hedgerow display will truly come alive. The warm glow of the mini lights and the captivating twinkle of the C7 bulbs will transform your outdoor space into a winter wonderland, captivating both you and your guests.

FAQ

Can I replace the bulbs in the professional-grade mini lights?

No, the bulbs in professional-grade mini lights are fully encapsulated and cannot be replaced. This design feature, however, is what makes them highly durable and resistant to water damage.

How do I ensure even spacing between the mini lights on the holly bush?

Tying a knot between the connections of the mini light strands will help maintain even spacing and prevent any gaps or empty spaces in your display.

Can I use the same power source for both the mini lights and the C7 bulbs?

Yes, you can use a simple jumper cord to connect the power source to the hedgerow, allowing you to power both the mini lights and the C7 bulbs from a single location.

How do I secure the C7 bulbs on the hedgerow?

The factory clips provided with the C7 bulbs can be clipped onto the outer branches of the hedgerow, keeping the cords in place and creating a polished, professional appearance.

Can I use different color mini lights on the holly bush?

Absolutely! Professional-grade mini lights come in a variety of colors, allowing you to experiment with different hues and create a unique, personalized display that complements the natural beauty of your holly bushes.

3 Tips to Hang a Christmas Light Wreath on a Brick House

Table of Contents

Prepare the Wreath

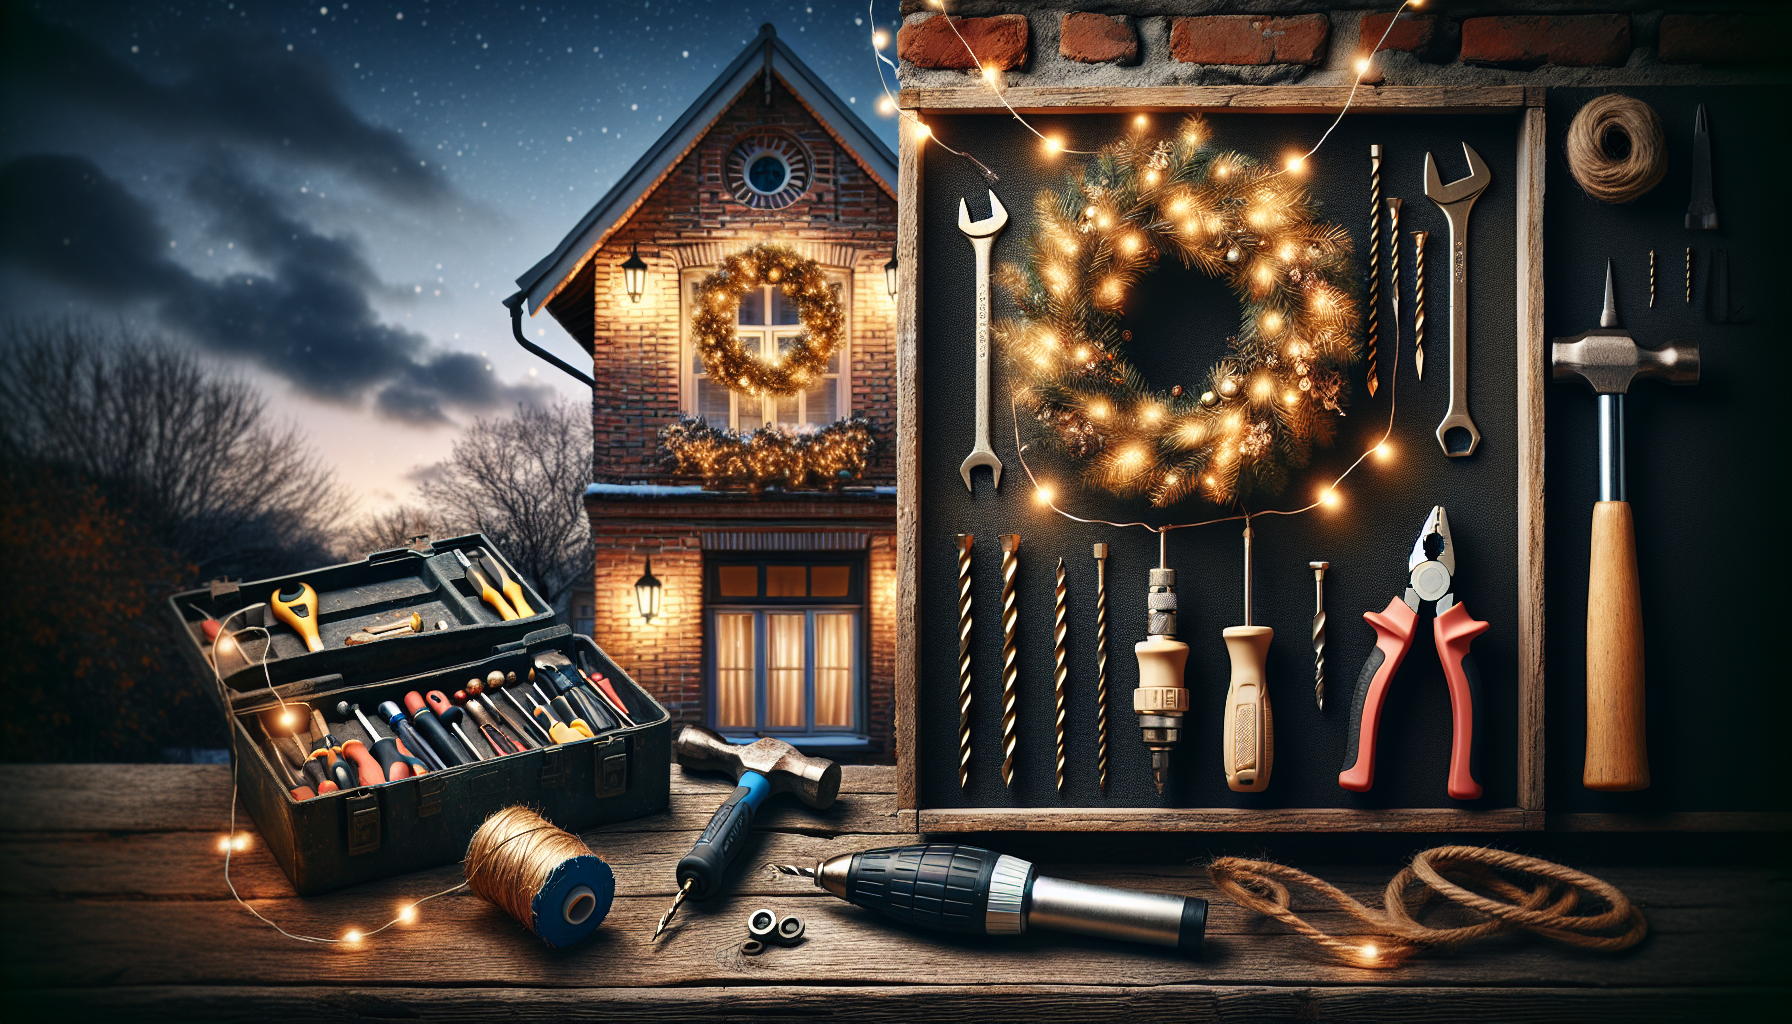
Hanging a Christmas light wreath on a brick house can be a bit tricky, but with the right tools and techniques, it can be done with ease. The first step is to prepare the wreath. Take a piece of wire and create a loop that will serve as the hanger for the wreath. Wrap the wire around the wreath a couple of times to ensure it’s secure and won’t blow away in the wind.

Drill and Install the Anchor

The next step is to install an anchor into the brick wall where the wreath will be hung. You’ll need a hammer drill and a masonry drill bit to create the hole. Aim to drill into the mortar between the bricks, rather than directly into the brick itself. This will create a more secure hold.

Once the hole is drilled, insert a tap con, which is a small plastic anchor that expands when a screw is inserted. You can use a screwdriver or your drill to tighten the tap con into the hole. This will create a sturdy anchor that can support the weight of the wreath.

Hang the Wreath

With the anchor in place, it’s time to hang the wreath. Simply loop the wire you created earlier over the anchor and adjust the wreath until it’s centered and level. You can wrap the wire around the anchor a couple of times to ensure it doesn’t blow away in the wind.

If you want to add an extra layer of security, you can double-back the wire around the anchor before hanging the wreath. This will create a stronger connection and help prevent the wreath from falling off in inclement weather.

Tips for Success

Here are a few additional tips to help you hang your Christmas light wreath on a brick house with ease:

  • Use a masonry drill bit to create the hole in the mortar. This will ensure a secure hold for the tap con anchor.
  • Drill the hole slightly larger than the tap con to make it easier to insert.
  • Use a pocket knife or a screwdriver to help seat the tap con if it’s a tight fit.
  • Adjust the length of the wire loop to ensure the wreath is at the desired height.
  • Consider adding a second anchor for larger or heavier wreaths to provide extra support.

FAQ

Can I use a regular screw instead of a tap con?

While it is possible to use a regular screw, a tap con anchor is generally a better choice for brick walls. The tap con is designed to expand and grip the mortar, providing a more secure hold than a regular screw.

How do I remove the wreath at the end of the season?

To remove the wreath, simply unloop the wire from the anchor and take the wreath down. The tap con anchor can be left in place and reused the following year.

Can I use this method for other types of outdoor decorations?

Yes, the same basic technique can be used to hang other types of outdoor decorations on a brick wall, such as garlands, lights, or even small signs or plaques.

How do I ensure the wreath doesn’t blow away in high winds?

In addition to wrapping the wire around the anchor a couple of times, you can also consider adding a second anchor or using a thicker, more durable wire to hang the wreath. This will help ensure it stays securely in place even in windy conditions.

Can I use this method on other types of exterior walls?

While the specific techniques may vary, the general approach of using a masonry anchor and a wire loop can be applied to a variety of exterior wall materials, including stucco, concrete, or even siding. Just be sure to use the appropriate drill bit and anchor type for the wall material.

Mastering the Art of Holiday Lighting: Avoiding the Big No-Nos

Table of Contents

Keeping Cords Tidy and Organized

When it comes to holiday lighting, the appearance of your setup is just as important as the lighting itself. One of the biggest no-nos is allowing your power cords to look like a tangled mess. Clients expect a professional, well-organized installation, and that starts with keeping those cords neat and tidy.

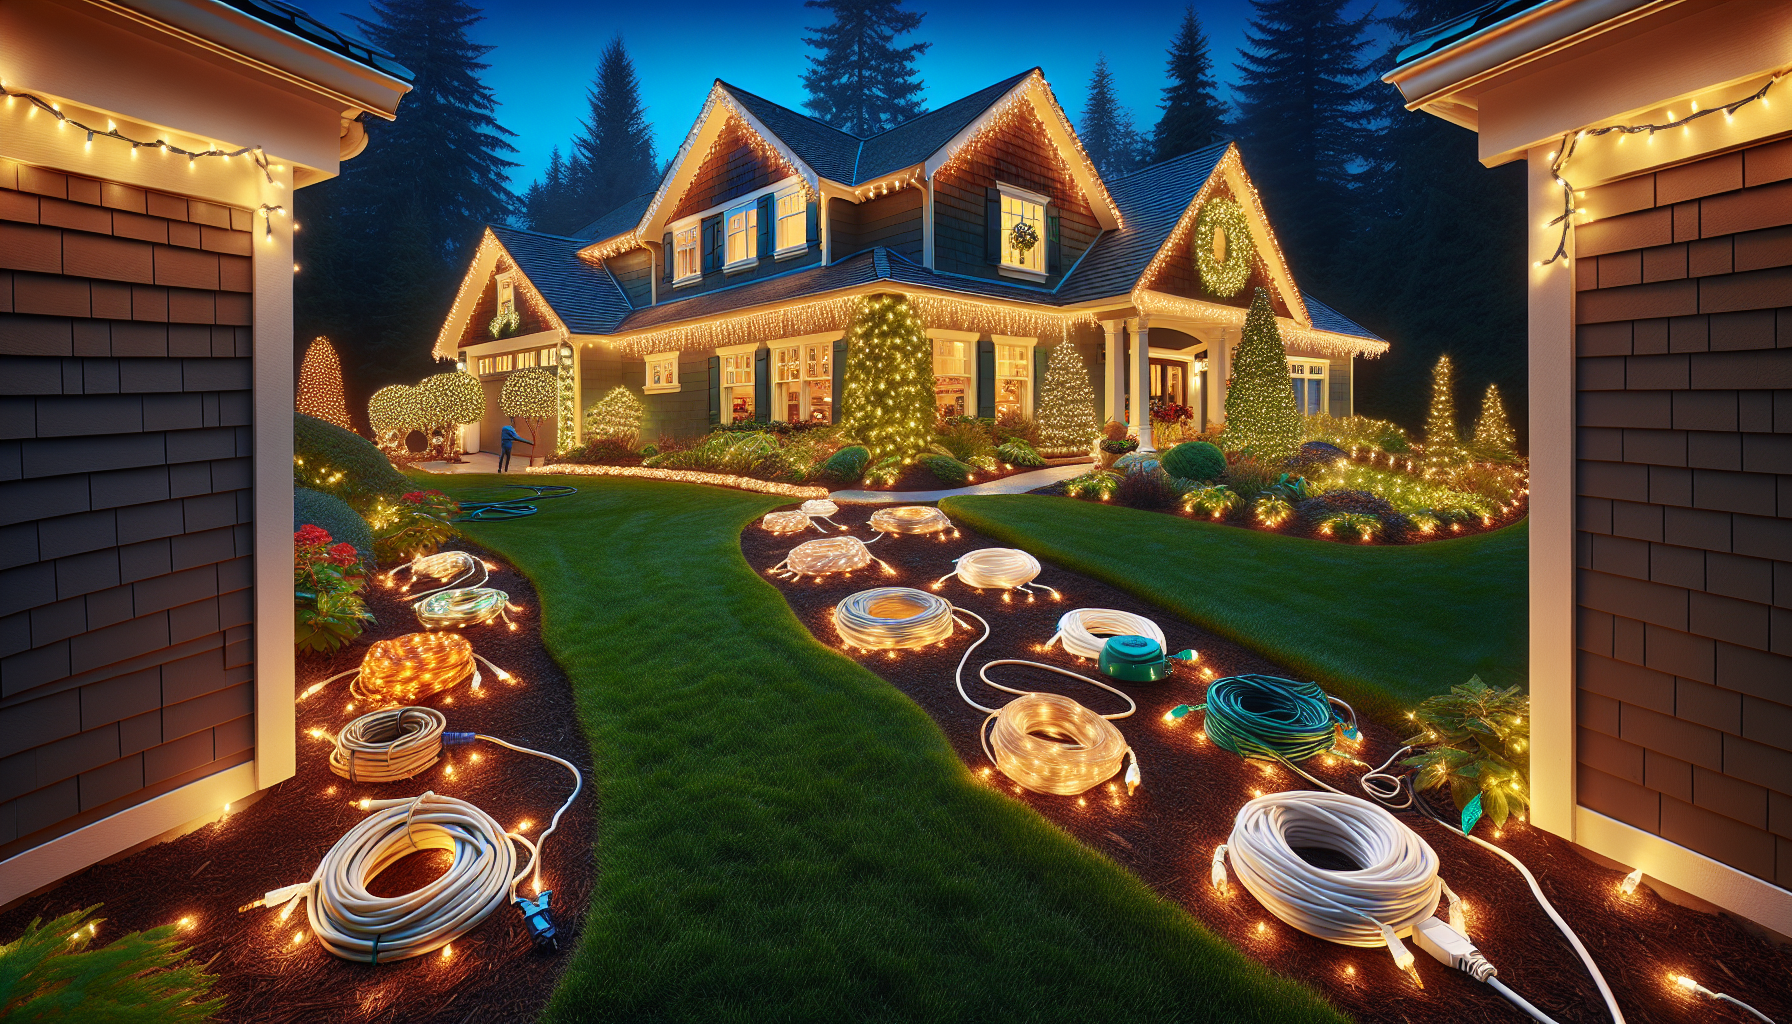
Instead of letting the excess cord hang freely, take the time to coil it up and secure it in a non-conspicuous spot, such as the lower mulch line or behind a downspout. A simple wrap of electrical tape can help keep the coil in place. This small attention to detail can make a big difference in the overall aesthetic of your work.

Choosing the Right Cord Colors

Another common mistake is using bright, eye-catching extension cords that draw unnecessary attention. Instead of opting for orange or other vibrant hues, stick to more subtle colors like white, cream, or green. These will blend seamlessly with the house and landscaping, creating a cohesive and polished look.

For example, white cords work well along downspouts, while green cords are a great choice for running along grass and mulch lines. By selecting the right cord colors, you can ensure your lighting installation enhances the holiday decor, rather than detracting from it.

Connecting Power as You Go

One of the most critical steps in holiday lighting installation is ensuring that power is connected before you start hanging the lights. This not only saves time but also helps you identify and address any issues with individual light strands or connections as you go.

For roof lights, make sure the power is running before you install the enclosed clips. This way, you can easily identify any bulbs that need to be screwed in tighter. Similarly, when working with mini lights, connect the power as you go, rather than testing all the strands beforehand. This allows you to catch any problems with connections or flickering lights, and address them immediately.

Avoiding Tripping Hazards

Keeping extension cords off of walkways and driveways is another important consideration. Not only does this create a tripping hazard, but it can also detract from the overall appearance of your work.

Instead of running cords across high-traffic areas, take the time to route them along the grass or mulch line. This may require using more extension cords, but it’s a small price to pay for a clean, safe installation. If you must cross a driveway, consider using driveway protectors to keep the cords secure and out of the way.

Proper Strand Orientation

When it comes to lighting up trees and bushes, it’s crucial to start with the female end at the top. This ensures that you can easily connect the power source and avoid the hassle of having to take the entire strand down and start over.

Similarly, never try to connect two separate bushes or trees by running the lights through empty space. Instead, use a jumper cable to create a continuous, tidy look. This not only enhances the appearance of your work but also helps prevent potential issues down the line.

Checking Your Equipment

Finally, it’s important to thoroughly inspect your equipment before installing the lights. This includes checking your vampire plugs to ensure the prongs are properly aligned, and never connecting two male plugs to the same socket.

Additionally, resist the temptation to test your lights by using the “hammer test” while they’re still plugged in. This can lead to dangerous shocks and should be avoided at all costs.

FAQ

What is a vampire plug?

A vampire plug is a type of electrical connector that allows you to tap into an existing power source, such as an extension cord or light strand, without the need for splicing or cutting the cord. These plugs have sharp prongs that pierce the insulation to make the connection.

Why is it important to check the orientation of vampire plugs?

Checking the orientation of your vampire plugs is crucial because if the prongs are not properly aligned, it can create sparks and potentially cause issues with your lighting setup. Always make sure the prongs are facing the correct direction before attaching the plug to your power source.

How can I avoid tripping hazards when running extension cords?

The best way to avoid tripping hazards is to keep extension cords off of walkways and driveways whenever possible. Route them along the grass or mulch line, and use driveway protectors if you must cross a high-traffic area. This helps keep the cords out of the way and reduces the risk of someone tripping over them.

Why is it important to connect power as I go, rather than testing all the lights beforehand?

Connecting power as you install the lights allows you to identify and address any issues with individual light strands or connections immediately. This saves time and ensures that all the lights are working properly before you move on to the next section of the installation. Testing all the lights beforehand can be time-consuming and may not catch problems that only become apparent once the lights are in place.

What is the “hammer test,” and why should I avoid it?

The “hammer test” refers to the practice of testing lights by hitting them with a hammer or other object while they are still plugged in. This can lead to dangerous shocks and should never be done. Instead, always unplug the lights before attempting any kind of testing or troubleshooting.

Effortless Brick Christmas Lighting: A Pro’s Guide

Table of Contents

Mastering Brick Christmas Lighting with Ease

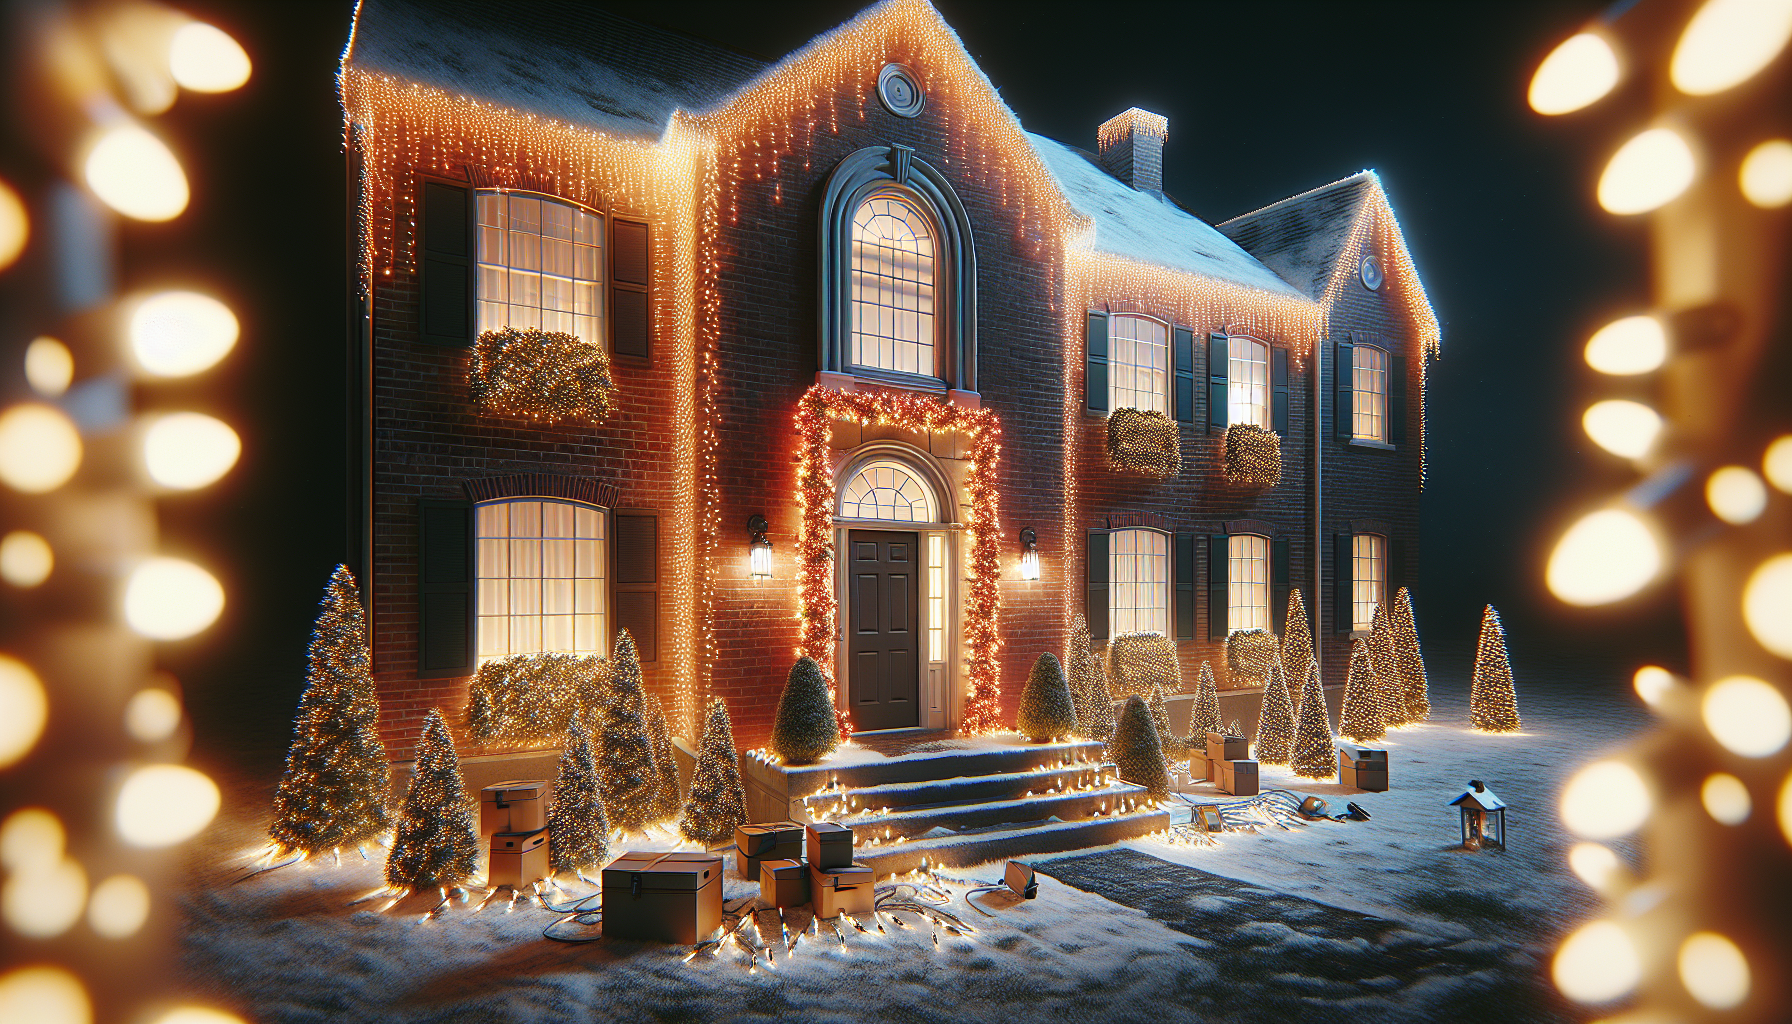
Decorating a brick structure for the holidays can be a daunting task, but with the right techniques, you can transform your space into a festive wonderland with minimal effort. In this comprehensive guide, we’ll share a professional’s secrets to quickly and cleanly installing Christmas lights on brick, ensuring your home or business looks like it was done by a pro.

The Brick Lighting Challenge

Brick can be a challenging material when it comes to attaching Christmas lights. Traditional methods, such as using permanent anchors or relying solely on hot glue, often result in a messy and time-consuming installation process. The adhesive can be a real hassle to remove in the new year, leaving behind unsightly residue on the brick.

The Solution: Lite Clip Strips

The key to a successful brick lighting installation lies in the use of specialized Lite Clip Strips. These ingenious clips snap onto the brick, providing a secure and reusable attachment point for your lights. By using a small dab of hot glue to adhere the clips, you can avoid the excessive residue that often plagues traditional hot glue methods.

The Benefits of Lite Clip Strips

  • Easily snap on and off the brick, making installation and removal a breeze
  • Require minimal hot glue, reducing the amount of residue left behind
  • Can be left on the brick year-round for a quick and easy setup each holiday season
  • Available in a variety of colors to match your brick or decor

Step-by-Step Brick Lighting Installation

Follow these simple steps to transform your brick structure into a holiday masterpiece:

1. Prepare the Clips

Start by snapping the Lite Clip Strips off the mounting strip. This will give you individual clips that can be easily attached to the brick.

2. Apply a Dab of Hot Glue

Using a hot glue gun, apply a small amount of glue to the back of each clip. Be mindful not to use too much, as this can lead to excessive residue during removal.

3. Attach the Clips to the Brick

Firmly press the clip onto the brick, ensuring a secure hold. Repeat this process, spacing the clips evenly along the areas you want to decorate.

4. Clip on the Lights

Once the clips are in place, simply snap your Christmas lights onto the clips. This allows for a quick and easy installation, without the need for complicated attachment methods.

5. Adjust and Enjoy

Take a step back and make any necessary adjustments to the placement of your lights. With the Lite Clip Strips, you can easily rearrange or remove the lights as needed. Sit back, admire your work, and enjoy the festive glow of your beautifully lit brick structure.

Frequently Asked Questions

Can I leave the Lite Clip Strips on the brick year-round?

Yes, the Lite Clip Strips are designed to be weather-resistant and can be left on the brick even after the holidays. This makes setup a breeze each year, as you’ll only need to clip the lights onto the pre-installed clips.

How do I remove the Lite Clip Strips?

Removing the Lite Clip Strips is a simple process. Use a small screwdriver or prying tool to gently lift the edge of the clip, then peel it off the brick. The minimal amount of hot glue used ensures that the removal process is quick and leaves behind little to no residue.

Can I use the Lite Clip Strips on other surfaces besides brick?

While the Lite Clip Strips are primarily designed for brick, they can also be used on other smooth, hard surfaces, such as concrete or stone. However, their performance may vary depending on the specific material and texture of the surface.

How long does it take to install the lights using the Lite Clip Strips?

With the Lite Clip Strips, you can expect a significantly faster installation process compared to traditional methods. A professional can typically complete a full brick lighting installation in as little as two hours, thanks to the ease and efficiency of the clip system.

Elevate Your Brick Christmas Lighting with Ease

By incorporating the Lite Clip Strips into your brick lighting installation, you can save time, minimize mess, and achieve a professional-looking result with ease. Embrace the convenience of this innovative solution and transform your brick structure into a true holiday showstopper this season.

Deck the Halls: Effortless Christmas Light Installation on Your Deck Railing

Table of Contents

Mastering the Art of Hanging Christmas Lights on Deck Railings

As the holiday season approaches, transforming your outdoor space into a winter wonderland is a must. One of the most impactful ways to bring festive cheer to your deck is by adorning the railings with twinkling Christmas lights. Whether you’re a seasoned DIY enthusiast or a first-time holiday decorator, this guide will equip you with the expert tips and tricks to hang your deck lights like a pro.

Preparing Your Lights for Effortless Installation

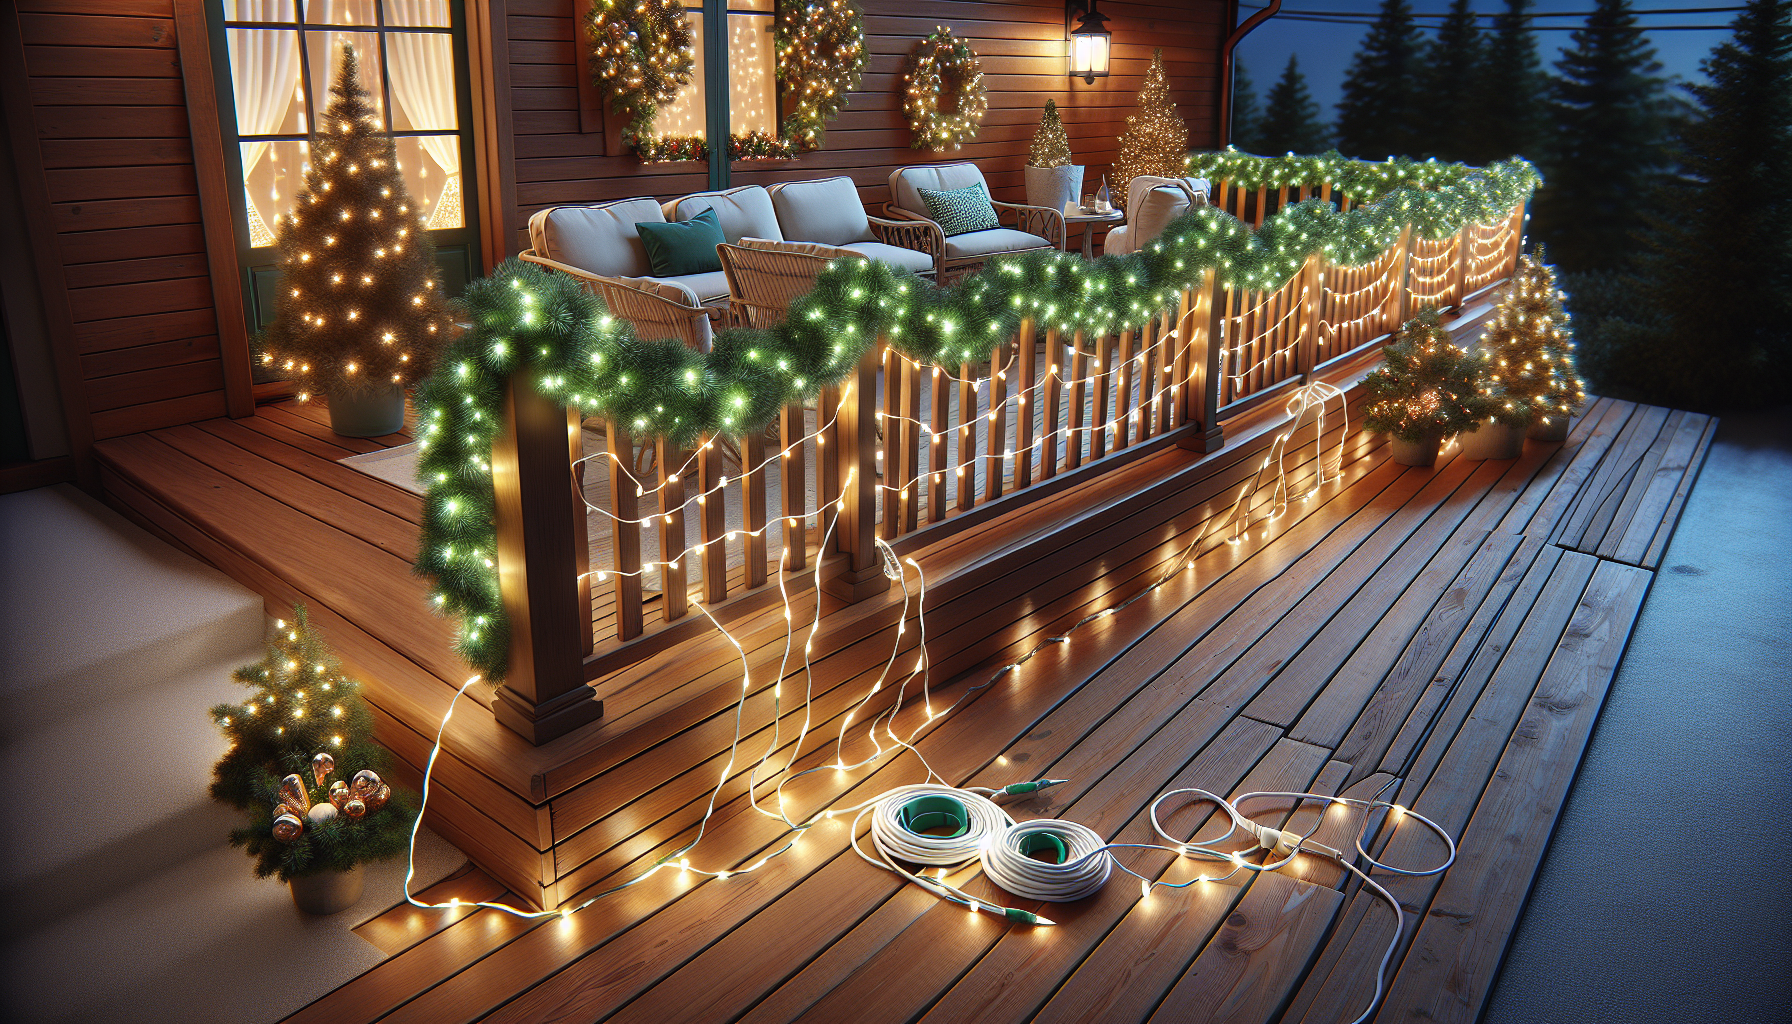
The key to a seamless lighting installation starts with properly preparing your mini lights. Begin by determining the power source location, as this will dictate where you’ll start your light strands. Typically, positioning a male end near the power outlet and running a small extension cord down the middle of the railing creates a clean, organized look.

Next, take your female light ends and create a ball by wrapping them around your palm a few times. This simple technique will make it much easier to wrap the lights around the railing. Avoid the common pitfall of trying to wrap the lights in loose loops, as this can quickly become a tangled mess.

Strategically Wrapping the Lights

With your lights ready to go, it’s time to start the installation. Begin by tying the first ball of lights around the first rung of the railing. When working with a dark-colored railing, opt for green wire lights to create a cohesive, polished appearance.

As you continue wrapping the lights, aim to thread them through each rung for a consistent, professional look. While you can choose to double-wrap certain sections, a single pass through each rung is often sufficient, especially with the bright illumination of LED lights.

Powering Your Deck Lights

To ensure a clean, organized power setup, utilize a short white extension cord to connect the light strands to your main power source. Wrap this cord loosely around one of the railing rungs, then run a longer green extension cord through the mulch or landscaping to reach your power outlet.

By strategically positioning your power cords and using color-coordinated options, you can create a seamless, professional-looking lighting display that enhances the overall aesthetic of your deck.

Elevating Your Deck Lighting with Accessories

To take your deck lighting to the next level, consider incorporating additional holiday decor elements. Draping garlands or wreaths along the railing can add depth and texture to your display. You can also explore options like pathway markers, stake lights, or even a tree or two to create a truly festive outdoor oasis.

Remember, the key to a stunning deck lighting setup is finding the right balance between simplicity and visual impact. By following these expert tips, you’ll be able to transform your outdoor space into a dazzling winter wonderland that will impress your guests and spread holiday cheer throughout the neighborhood.

FAQ

How do I ensure my deck lights stay in place?

Securely tying the light strands around the railing rungs is the best way to keep your lights in place. Avoid using adhesive or tape, as these can damage the railing surface over time.

Can I use any type of extension cord for my deck lights?

While you can use any extension cord, we recommend using a green outdoor-rated cord to blend in with the landscape. This not only creates a cleaner look but also ensures the cord can withstand the elements.

How do I store my deck lights after the holidays?

Carefully remove the lights and wrap them into the palm-sized balls you created during installation. This will prevent tangles and make setup a breeze next year.

Can I use these tips for other areas of my home?

Absolutely! The techniques for preparing and wrapping the lights can be applied to a variety of surfaces, from trees and shrubs to fences and eaves. Adapt the tips to suit your specific needs and create a cohesive holiday lighting display across your entire property.

How long do LED Christmas lights last?

With proper care and storage, LED lights can last for several holiday seasons. Expect a lifespan of 20,000 to 50,000 hours, which translates to many years of use if you only display them for a few weeks each year.

Elevate Your Holiday Decor: Crafting Stunning Christmas Wreaths

Table of Contents

Intro

As the holiday season approaches, the anticipation of decorating our homes with festive touches grows. One of the most iconic and versatile elements of Christmas decor is the humble wreath. These circular masterpieces of greenery, adorned with an array of enchanting embellishments, have the power to transform the exterior of any home into a winter wonderland. In this comprehensive guide, we’ll explore the art of decorating and hanging Christmas wreaths, elevating your holiday curb appeal to new heights.

Decorating Wreaths

The foundation of a stunning Christmas wreath is the greenery itself. Whether you opt for a classic evergreen or a more unique blend of foliage, the key is to ensure the wreath is “fluffed” to perfection. This means gently separating and arranging the branches to create a full, lush appearance. However, the real magic happens when you add decorative elements to your wreath.

One way to enhance a plain wreath is by incorporating shiny, eye-catching ornaments. These decorations, made from shatterproof plastics, can be strategically placed throughout the wreath to add pops of color and texture. When adding ornaments, it’s important to consider the placement, ensuring they are evenly distributed and not too clustered in one area.

To secure the ornaments, use vinyl-coated solid wire. This type of wire allows you to suspend the ornaments deep within the wreath’s branches, hiding the fasteners and creating a seamless, professional-looking display. By carefully positioning the ornaments, you can draw the eye to the most visually appealing areas of the wreath, minimizing the need for excessive fluffing.

Another way to elevate your wreath is by incorporating additional greenery, such as pine cones, sprigs of holly, or even small, battery-operated lights. These elements can be woven into the wreath, adding depth, dimension, and a touch of whimsy to your holiday decor.

Hanging Wreaths

Once your wreath is beautifully decorated, the next step is to ensure it is properly hung. For a professional-grade installation, it’s recommended to use vinyl-coated solid wire to suspend the wreath. This type of wire allows you to securely attach the wreath to a single screw, providing a sturdy and discreet support system.

When hanging your wreath, start by looping the wire around the wreath’s frame, making sure to secure it on both sides. Then, create a loop at the top that will allow you to easily attach the wreath to the desired location, whether it’s a door, a window, or a porch. The length of the wire loop will depend on the distance you want the wreath to hang from the mounting point.

For a truly seamless and polished look, consider using professional-grade lighting and decorations. These high-quality products are designed to withstand the elements and maintain their vibrant appearance throughout the holiday season. By investing in these premium materials, you can elevate your wreath display and create a lasting impression that will delight your guests and neighbors.

FAQ

  1. How do I properly fluff a Christmas wreath? To fluff a wreath, gently separate and arrange the branches to create a full, lush appearance. Avoid over-fluffing, as this can lead to a messy, uneven look.
  2. What type of wire should I use to hang my wreath? For a professional-grade installation, use vinyl-coated solid wire. This type of wire is durable, weather-resistant, and allows you to securely attach the wreath to a single screw.
  3. How do I add decorations to my wreath? When adding decorations, such as ornaments, use shatterproof plastics and secure them with the vinyl-coated wire. Distribute the decorations evenly throughout the wreath to create a balanced, visually appealing design.
  4. Can I use battery-operated lights on my wreath? Absolutely! Battery-operated lights can add a beautiful, twinkling touch to your wreath. Just be sure to choose weather-resistant, professional-grade lights for the best results.
  5. How do I ensure my wreath looks its best throughout the holiday season? To maintain the appearance of your wreath, replace any damaged or sun-faded decorations as needed. Additionally, consider using high-quality, durable materials from the start to ensure your wreath withstands the elements.

Elevating your holiday decor with stunning Christmas wreaths is a rewarding and enjoyable process. By mastering the art of decorating and hanging these festive masterpieces, you can transform the exterior of your home into a true winter wonderland that will delight all who see it. So, let your creativity shine and create a holiday display that will be the envy of your neighborhood.

How to Install Ground Stake Christmas Lights Like a Pro

Table of Contents

Intro

As the holiday season approaches, many homeowners are looking for ways to make their homes shine bright with festive lights. One popular and effective way to achieve this is by using ground stakes to support your Christmas lights. Ground stakes not only provide a sturdy foundation for your lights, but they can also help create a professional-looking display that will impress your neighbors and passersby.

In this blog post, we’ll explore the benefits of using ground stakes for your Christmas lights and provide you with expert tips to ensure your installation is a success. Whether you’re a seasoned pro or a first-time holiday decorator, these insights will help you transform your home into a winter wonderland that radiates holiday cheer.

Tips

Determine Power Source Placement

The first step in installing ground stake Christmas lights is to determine where you will be running the power from. This is an important consideration, as it will dictate the placement of your ground stakes and the overall layout of your lighting display. In the example video, the power source was located near a tree, where the C7 lights were going to be installed.

When choosing a power source, it’s crucial to avoid areas that may be prone to interference, such as sidewalks or driveways. These high-traffic zones can increase the risk of your lights being damaged or disrupted by snow plows or lawn mowers. Instead, try to find a discreet location that is easily accessible but out of the way of foot traffic and other potential hazards.

Proper Placement of Ground Stakes

Once you have determined the power source, it’s time to start positioning your ground stakes. As mentioned in the video, you’ll want to set the stakes about 3-6 inches into the ground, ensuring they are stable and secure. This depth will help prevent the stakes from being dislodged by weather conditions or other external factors.

When placing the stakes, it’s also important to consider the surrounding landscape. If you have areas that are regularly mowed, such as a lawn, you’ll want to position the stakes slightly further into the mulch or landscaping to avoid interference with the mowing process. This will help maintain the clean, professional appearance of your holiday display.

Avoid High-Traffic Areas

Another crucial tip when installing ground stake Christmas lights is to avoid high-traffic areas, such as sidewalks or driveways. These zones are prone to heavy foot traffic or vehicle movement, which can easily dislodge or damage your carefully placed stakes and lights.

In the video example, the installer was mindful of this and positioned the stakes just off the driveway, ensuring they were out of the way of any snow plows or other vehicles. By taking this precaution, you can help protect your investment and maintain the integrity of your holiday display throughout the season.

Consider Seasonal Factors

When installing ground stake Christmas lights, it’s essential to consider the changing seasons and the potential challenges they may bring. In the video, the installer noted that it was still October, and the homeowner would likely continue to mow the lawn. By positioning the stakes slightly deeper into the mulch, they were able to accommodate this ongoing maintenance task without disrupting the lighting display.

As the winter months approach, you’ll also need to be mindful of snow accumulation and the potential for snow plows to impact your lighting setup. By carefully planning the placement of your ground stakes and ensuring they are secure, you can help mitigate these seasonal challenges and ensure your holiday display remains intact throughout the entire season.

Outro

Installing ground stake Christmas lights may seem like a daunting task, but with the right approach and expert tips, you can create a professional-looking holiday display that will be the envy of your neighborhood. By considering factors such as power source placement, proper stake positioning, and seasonal challenges, you can ensure your lights shine bright and stand the test of time.

Remember, the key to a successful ground stake Christmas light installation is attention to detail and a commitment to creating a visually stunning and well-executed display. With these tips in mind, you’ll be well on your way to transforming your home into a winter wonderland that will bring joy and delight to all who see it.

FAQ

  1. How deep should I bury the ground stakes? The video recommends burying the stakes about 2-3 inches into the ground, with an additional 3-6 inches set into the mulch or landscaping.
  2. How do I avoid interference from snow plows or lawn mowers? Position the stakes slightly off the main walkways or driveways, and set them deeper into the mulch or landscaping to avoid disruption.
  3. What if I have a lawn that needs to be mowed? Bury the stakes a bit deeper into the mulch or landscaping to accommodate ongoing lawn maintenance.
  4. How do I ensure my ground stakes are secure? Make sure to set the stakes at the recommended depth and firmly press them into the ground to create a stable foundation for your lights.
  5. Can I use ground stakes for any type of Christmas lights? Ground stakes are versatile and can be used to support a variety of light types, including C7, C9, and even icicle lights.
  6. How do I plan the layout of my ground stake Christmas lights? Consider the placement of your power source and the overall design you want to achieve, then strategically position the stakes to create a cohesive and visually appealing display.
  7. What if I have a sloped or uneven landscape? Adjust the depth and placement of the stakes to accommodate the terrain, ensuring they remain stable and secure.
  8. How do I maintain my ground stake Christmas lights? Regularly check the stakes for any loosening or damage, and make adjustments as needed to keep your display looking its best.

Unlocking the Secrets to a Thriving Christmas Lighting Business: A First-Year Success Story

Table of Contents

The Leap into Entrepreneurship

Starting a new business can be a daunting prospect, but for Ryan Culp, the decision to venture into the Christmas lighting industry has been a resounding success. As a first-time business owner, Ryan’s journey has been marked by a remarkable level of growth and achievement, defying the odds and inspiring others who are considering taking the leap.

From Employee to Entrepreneur

Ryan’s story begins with his experience as a construction superintendent, a role that provided him with a steady paycheck but left him yearning for something more. It was through his mentorship with Fred Zimmerman and the invaluable knowledge he gained from the “Christmas Light Contractor’s” Facebook group that Ryan found the confidence and the tools to start his own business, Carolina Christmas Light Installers.

The Power of Mentorship and Community

Ryan’s success can be largely attributed to the support and guidance he received from his mentor, Fred Zimmerman, and the vibrant community of Christmas lighting professionals within the “Christmas Light Contractor’s” Facebook group. These resources not only equipped him with the technical know-how but also instilled in him the entrepreneurial spirit necessary to turn his dreams into reality.

A Remarkable First-Year Feat

In his very first year in business, Ryan has achieved a level of success that most entrepreneurs can only dream of. Despite maintaining a full-time job as a construction superintendent, he has already booked an impressive 30 new installation jobs, a feat that has him on track to nearly match his annual salary from his primary job.

Leveraging Effective Marketing Strategies

Ryan’s success can be attributed to his savvy marketing strategies, which have included leveraging yard signs and forgoing paid advertising. This approach has allowed him to generate a steady stream of leads without becoming overwhelmed by the influx of inquiries.

Embracing the Challenge of Growth

As his business has grown, Ryan has faced the challenge of managing the increased workload, which has included hiring additional help and learning to delegate tasks. Despite these challenges, he has remained focused and determined, recognizing the immense potential for growth and the joy that his work brings to his customers.

The Rewards of Entrepreneurship

For Ryan, the greatest reward of his entrepreneurial journey has been the sense of fulfillment and joy that his work brings to his customers. Seeing the delight on their faces as they witness the transformation of their homes into winter wonderlands is a testament to the impact that his business can have on the lives of others.

Building Lasting Relationships

Beyond the financial success, Ryan has also found great satisfaction in the relationships he has built with his customers. Many have expressed a desire to continue working with him year after year, creating a foundation for long-term growth and a sense of community within his business.

Lessons for Aspiring Entrepreneurs

Ryan’s story serves as a powerful example for aspiring entrepreneurs, demonstrating that with the right mindset, support, and determination, it is possible to achieve remarkable success, even in one’s first year of business. His journey highlights the importance of mentorship, community, and a willingness to embrace the challenges that come with growth.

Embracing the Entrepreneurial Spirit

For those considering a leap into entrepreneurship, Ryan’s story serves as a testament to the transformative power of taking that first step. By tapping into his passion, leveraging his skills, and surrounding himself with a supportive network, he has been able to create a thriving business that not only fulfills him personally but also brings joy to his customers.

FAQ

What were the key factors that contributed to Ryan’s first-year success?

  1. Mentorship from experienced industry veteran Fred Zimmerman
  2. Participation in the “Christmas Light Contractor’s” Facebook group
  3. Effective marketing strategies, such as leveraging yard signs
  4. Willingness to take on the challenges of growth and delegate tasks
  5. Passion for the industry and a desire to bring joy to his customers

How did Ryan manage the increased workload as his business grew?

As his business grew, Ryan faced the challenge of managing the increased workload. He responded by hiring additional help and learning to delegate tasks effectively, allowing him to focus on the core aspects of his business while ensuring that his customers’ needs were met.

What advice would Ryan give to aspiring entrepreneurs considering starting a Christmas lighting business?

  1. Seek out experienced mentors who can provide guidance and support
  2. Actively engage with and learn from the broader industry community
  3. Develop effective marketing strategies that generate leads without overwhelming you
  4. Be prepared to adapt and grow as your business expands
  5. Stay focused on the joy and fulfillment that your work can bring to your customers

How does Ryan’s experience compare to that of a more established Christmas lighting business owner?

While Ryan’s first-year success is remarkable, it’s important to note that he still has much to learn compared to more experienced business owners in the industry. However, his willingness to seek out mentorship and his dedication to continuous learning have put him on a strong trajectory for long-term success.