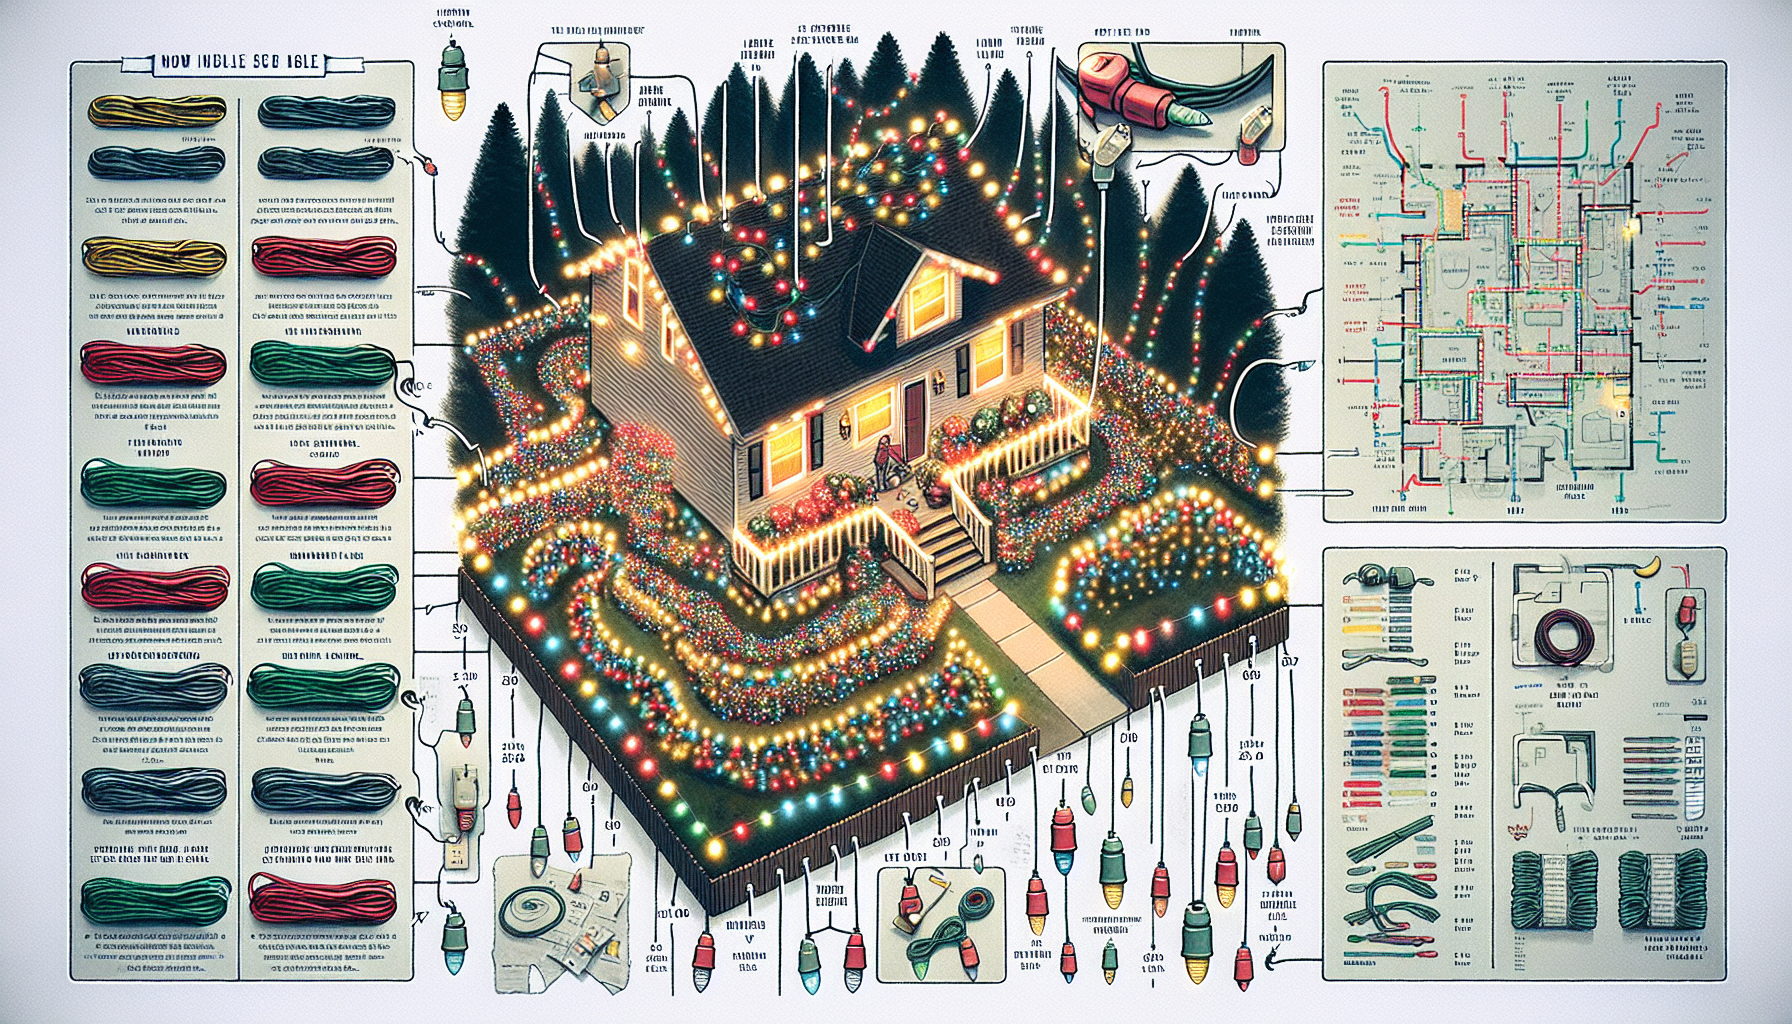
Mastering Christmas Mini Light Repair: A Professional’s Guide

Table of Contents

Diagnosing and Repairing Blown Rectifiers in LED Lights

As the holiday season approaches, homeowners and businesses alike strive to create a festive atmosphere with dazzling Christmas light displays. However, when those twinkling lights start to dim or go out altogether, it can quickly dampen the holiday cheer. Fortunately, with the right knowledge and a bit of troubleshooting, you can restore your lighting displays to their former glory, just like a professional.

In this comprehensive guide, we’ll dive into the common issue of blown rectifiers in LED mini lights and walk you through the step-by-step process to diagnose and repair this problem. Whether you’re a seasoned DIYer or a homeowner tackling your first lighting project, this information will empower you to fix your Christmas lights like a pro.

Understanding the Anatomy of LED Mini Lights

LED mini lights, often used in holiday lighting displays, are a popular choice due to their energy efficiency, long lifespan, and vibrant illumination. However, these delicate strands can be susceptible to various issues, including the dreaded blown rectifier.

The rectifier is a crucial component within the LED mini light system, responsible for converting the alternating current (AC) from the power source into the direct current (DC) required by the LEDs. When the rectifier becomes damaged or overloaded, it can cause the entire strand or section of lights to stop working, leaving unsightly dark spots in your display.
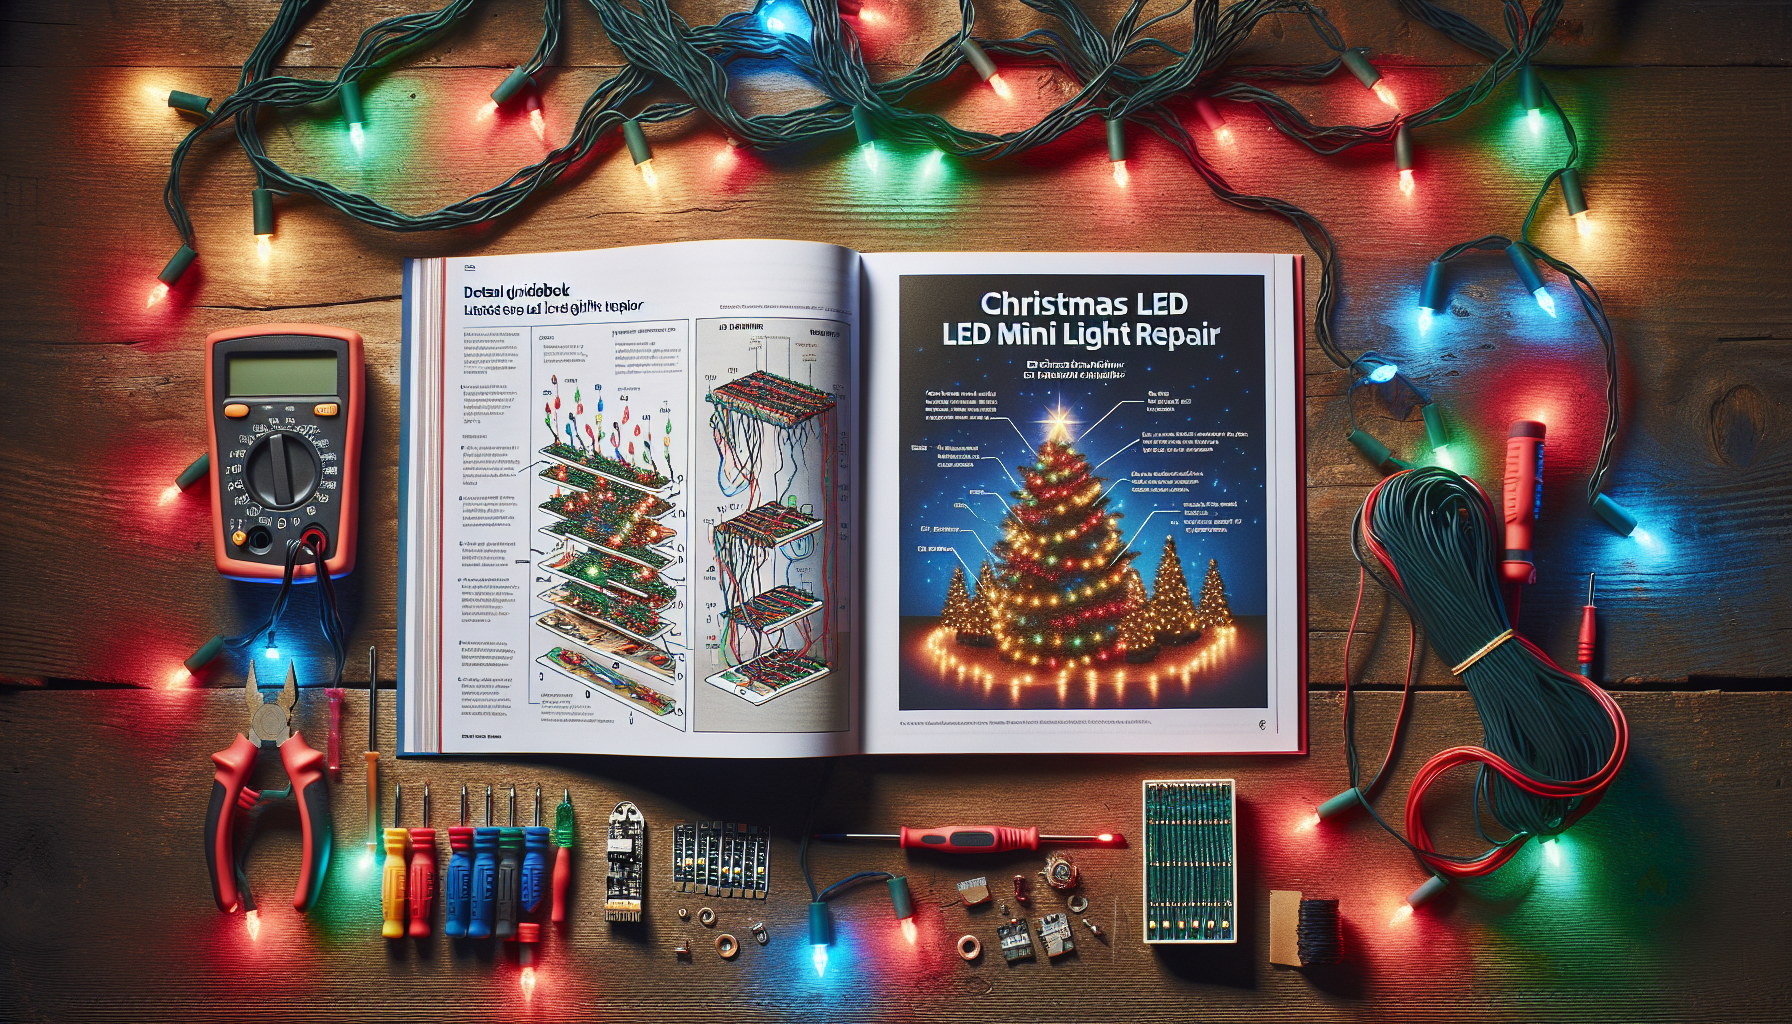
Diagnosing a Blown Rectifier

Identifying a blown rectifier is the first step in the repair process. Here are the signs to look for:

  • Partial Strand Failure: If only a portion of the light strand is not working, while the rest of the strand is functioning correctly, it’s a strong indicator of a blown rectifier.
  • Dimming or Flickering Lights: If the lights in a particular section are flickering or appear dimmer than the rest of the strand, it could be a sign of a failing rectifier.
  • Completely Dark Strand: In some cases, a completely dark or non-functioning strand may point to a blown rectifier that has caused a complete loss of power to that section.

Step-by-Step Repair Process

Once you’ve identified the issue, follow these steps to repair the blown rectifier and restore your Christmas lights to their former glory:

  1. Unplug the Affected Strand: Safely disconnect the non-functioning strand from the power source to prevent further damage.
  2. Isolate the Problem Area: Carefully inspect the strand, starting from the first working light, and follow the strand until you reach the point where the lights stop working. This will help you identify the specific section with the blown rectifier.
  3. Test the Strand: Plug in the affected strand to confirm that it is indeed the issue. If the rest of the strand works when plugged in, you can be certain that the problem lies within the non-functioning section.
  4. Remove the Damaged Strand: Carefully detach the problematic strand from the rest of the lighting display, ensuring you don’t damage any surrounding lights or connections.
  5. Discard the Faulty Strand: It’s important to properly dispose of the damaged strand to prevent it from being used again and potentially causing further issues on future installations.
  6. Install a Replacement Strand: Replace the faulty strand with a new, high-quality mini light set to restore the lighting display to its full functionality.

Preventing Future Rectifier Failures

To minimize the risk of recurring rectifier issues, consider the following tips:

  • Use Professional-Grade Lights: Invest in commercial-grade mini lights that are designed to withstand the elements and provide reliable performance, even in challenging outdoor conditions.
  • Proper Installation Techniques: Carefully follow the manufacturer’s instructions for installation, ensuring the lights are properly secured and protected from moisture and other environmental factors that can contribute to rectifier failure.
  • Regular Maintenance: Inspect your Christmas light displays periodically, checking for any signs of damage or wear and tear that could lead to future issues. Promptly address any problems to prevent further complications.

FAQ

How can I tell if a rectifier is blown?

The primary signs of a blown rectifier include partial strand failure, dimming or flickering lights, and completely dark strands. If you notice any of these issues, it’s likely that the rectifier has been damaged and needs to be repaired or replaced.

Can I replace just the rectifier, or do I need to replace the entire strand?

In most cases, it’s not practical to replace just the rectifier, as the component is typically integrated into the light strand. The best course of action is to replace the entire affected strand with a new, high-quality mini light set.

How can I prevent rectifier failures in the future?

To minimize the risk of rectifier failures, use professional-grade Christmas lights, follow proper installation techniques, and regularly inspect and maintain your lighting displays. Addressing any issues promptly can help ensure your holiday lights continue to shine brightly for years to come.

What should I do with the damaged strand?

It’s important to properly dispose of the faulty strand to prevent it from being used again and potentially causing further issues. Do not attempt to reuse the damaged strand, as it could lead to safety hazards or additional repair costs down the line.

How long does it typically take to repair a blown rectifier?

The time required to repair a blown rectifier can vary depending on the complexity of the issue and the size of the lighting display. However, with the right troubleshooting skills and a bit of experience, most professional-level repairs can be completed in an hour or less.

By mastering the art of diagnosing and repairing blown rectifiers in LED mini lights, you’ll be well on your way to maintaining a dazzling holiday lighting display that will impress your neighbors and spread joy throughout the season. Happy holidays!
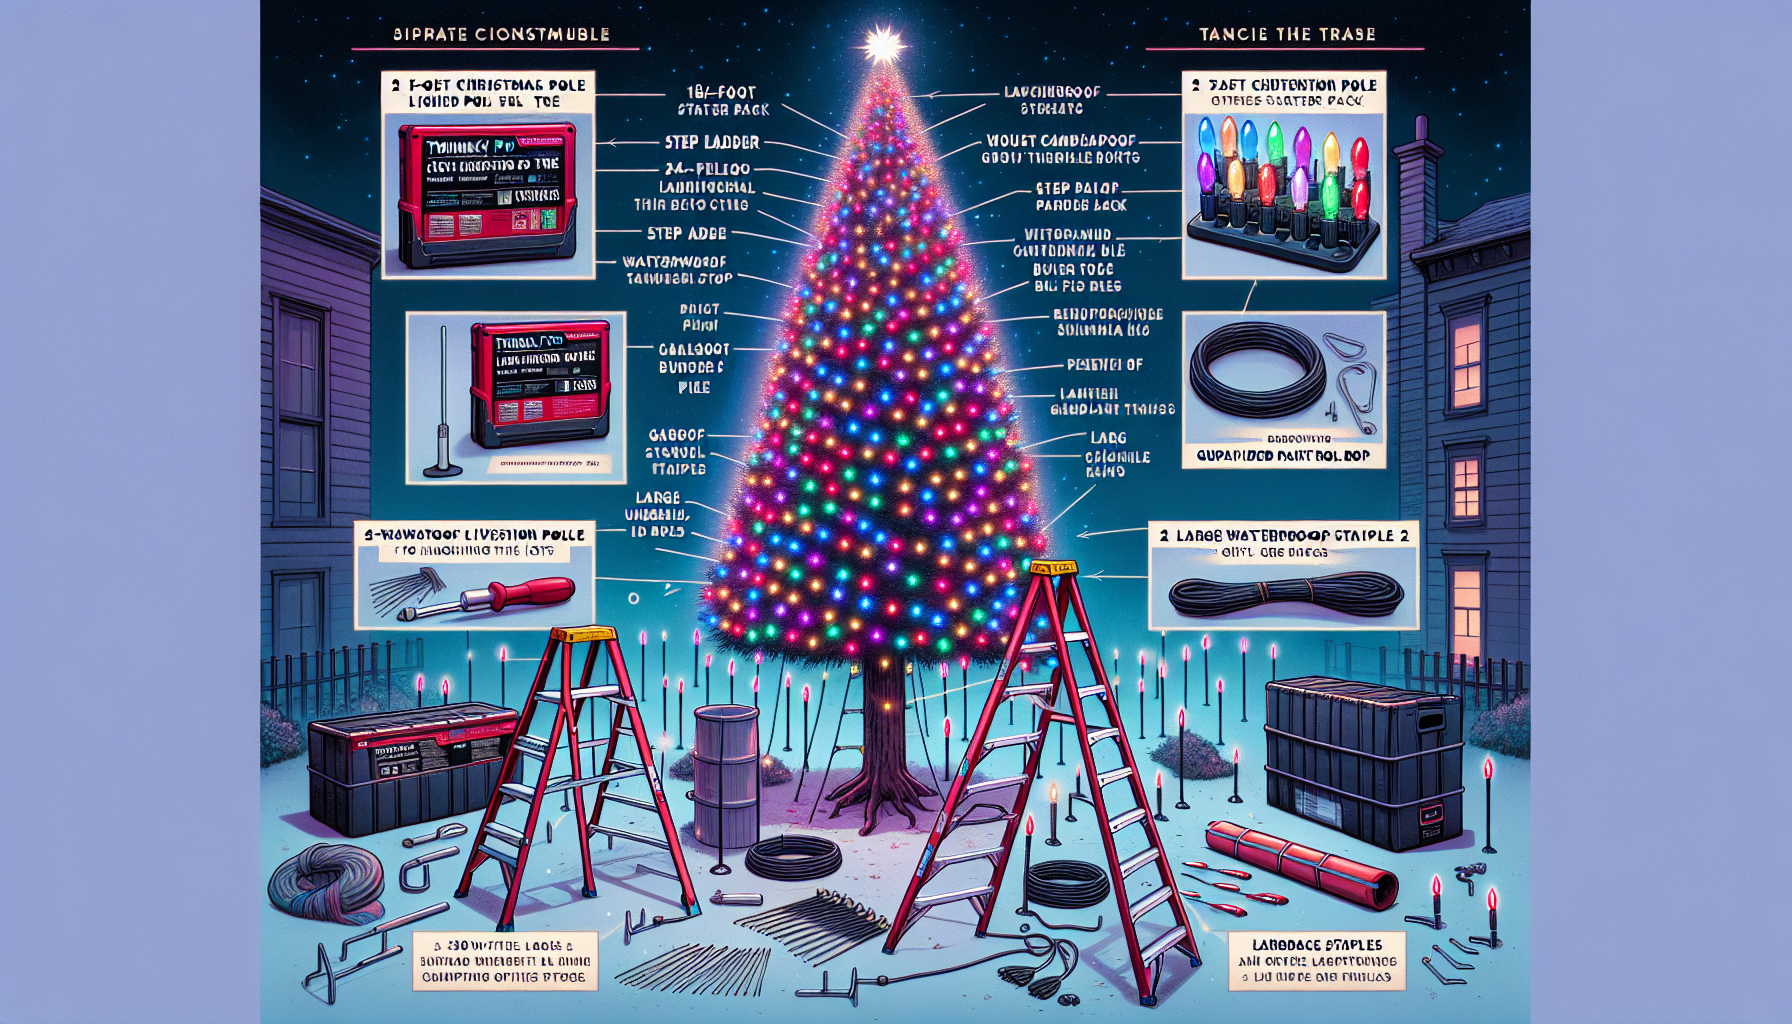
Elevating Your Holiday Displays: Crafting an 18-Foot RGB Christmas Lighted Pole-Tree with Twinkly Pro Generation 2

Table of Contents

Introducing the Twinkly Pro Generation 2 RGB Lighting System

Elevating your holiday displays to new heights has never been easier, thanks to the Twinkly Pro Generation 2 RGB lighting system. This professional-grade lighting solution offers a seamless way to create stunning, customizable light displays that will captivate your audience and leave a lasting impression.

Building an 18-Foot RGB Christmas Lighted Pole-Tree

In this comprehensive guide, we’ll walk you through the step-by-step process of constructing an impressive 18-foot RGB Christmas lighted pole-tree using the Twinkly Pro Generation 2 system. This innovative approach combines the power of advanced lighting technology with a simple, yet effective pole-based design, allowing you to create a breathtaking display in a matter of minutes.

What You’ll Need

  • 2 Twinkly Pro Generation 2 Starter Packs – These packs include the power module, splitter, and 500 waterproof, capsulated RGB bulbs.
  • A step ladder – to assist with the assembly process.
  • A 24-foot extension pole – to support the weight and height of the tree.
  • A large umbrella stand – the heavier, the better, to provide a stable base for the pole.
  • A 6-inch paint roller – to create a holding hook for the lights.
  • Ground stakes – to secure the base of the pole-tree.
  • Landscape staples – to neatly organize and secure the light strands.
  • Guide rope or wire – to stabilize the pole and maintain its upright position.

Step-by-Step Assembly

  1. Sync the Twinkly Pro devices to your iPhone or iPad using the Twinkly app. This will allow you to control and customize the lighting effects with ease.
  2. Bend the paint roller 90 degrees to create a holding hook, and then screw it onto the extension pole.
  3. Place the extension pole into the umbrella stand while it’s still in its compact form.
  4. Tie the guide rope around the pole at the 8-foot height and then secure the other end to the ground stakes.
  5. Find the midpoint of the light strands and loop them over the paint roller hook on the pole.
  6. Use the landscape staples to secure the ends of the light strands to the ground, forming an even circle around the base of the pole.
  7. Carefully extend the pole to its full height of 18 feet.
  8. Adjust the guide rope and lights as necessary to ensure a stable and visually appealing display.
  9. Map out your Twinkly lights using the app and select your desired design or lighting sequence.
  10. Sit back and enjoy your magnificent RGB Christmas lighted pole-tree!

The Benefits of the Twinkly Pro Generation 2 Lighting System

The Twinkly Pro Generation 2 lighting system offers several key advantages that make it the ideal choice for creating professional-grade holiday displays:

Weatherproof and Durable

Unlike the standard Twinkly Home line, the Pro Generation 2 bulbs are fully waterproof and rated for up to 3 years of outdoor use. This ensures your display can withstand the elements and continue to shine brightly throughout the holiday season.

Customizable Lighting Effects

The Twinkly app provides a user-friendly interface for programming and controlling the RGB lights. You can choose from a variety of pre-designed lighting effects or create your own unique patterns and sequences to truly personalize your display.

Easy Installation and Scalability

The modular design of the Twinkly Pro system makes it simple to set up and expand as needed. With the ability to connect up to 500 bulbs per power module, you can easily scale your displays to suit any size or shape, from small residential projects to large-scale commercial installations.

FAQ

Can I use the Twinkly Home line of lights for this project?

While the Twinkly Home lights are a great option for indoor use, they are not rated for outdoor, weatherproof applications. For a long-lasting, professional-grade display, it’s recommended to use the Twinkly Pro Generation 2 lights, which are specifically designed for outdoor use and can withstand the elements.

How long does it take to assemble the 18-foot RGB Christmas lighted pole-tree?

With the step-by-step instructions provided, the entire assembly process can be completed in approximately 30 minutes. Of course, the time may vary depending on your experience and the specific setup of your display.

Can I customize the lighting effects on the Twinkly Pro Generation 2 lights?

Absolutely! The Twinkly app offers a wide range of pre-designed lighting effects, as well as the ability to create your own custom patterns and sequences. This allows you to tailor the display to your specific preferences and the needs of your clients or event.

How long will the Twinkly Pro Generation 2 lights last outdoors?

The Twinkly Pro Generation 2 lights are rated for up to 3 years of outdoor use, with a 2-year manufacturer’s warranty. This ensures that your investment in a professional-grade lighting system will provide years of reliable performance and stunning holiday displays.

Elevate Your Holiday Displays with Twinkly Pro Generation 2

By leveraging the power of the Twinkly Pro Generation 2 RGB lighting system and the simple, yet effective pole-tree design, you can create awe-inspiring holiday displays that will captivate your audience and set your business apart. With the ability to customize the lighting effects, weatherproof durability, and easy installation, the Twinkly Pro Generation 2 is the ultimate solution for elevating your holiday lighting game.

So, what are you waiting for? Embrace the future of holiday lighting and start building your own 18-foot RGB Christmas lighted pole-tree today!

Fixing Flashing Christmas Lights: A Simple Solution

Table of Contents

Understanding the Cause of Flashing Lights

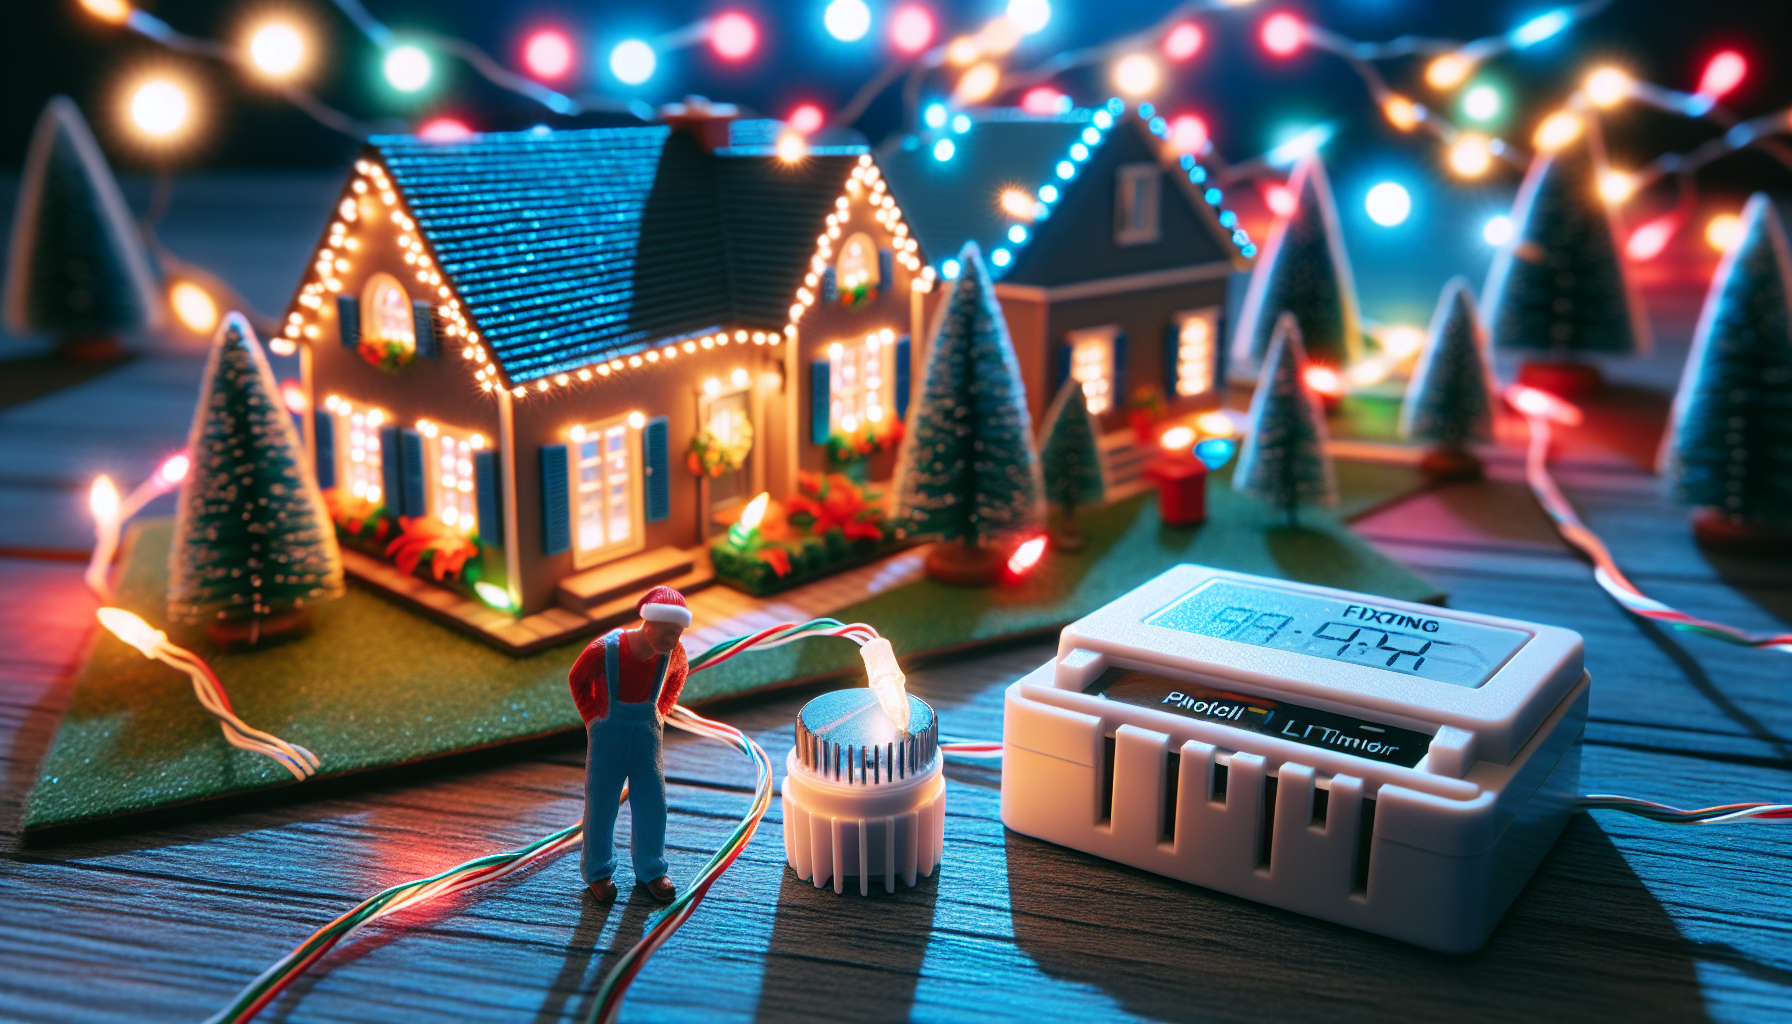
Have you ever experienced the frustration of your Christmas lights flashing on and off, leaving your neighbors wondering if you’ve installed “junk lights”? This common issue is often caused by a simple problem that can be easily solved. The culprit? Your photocell timer.

Photocell timers are a popular choice for automatically turning on your lights at dusk and off at dawn. However, when the photocell is placed too close to the lights it’s controlling, it can cause the lights to flash on and off, creating an unwanted strobe effect.

The Simple Fix

The solution to this problem is straightforward: you need to move the photocell timer away from the lights it’s controlling. By doing this, you’ll eliminate the interference that’s causing the flashing effect.

Here’s a step-by-step guide to fixing the issue:

  1. Identify the photocell timer: Locate the photocell timer that’s controlling the flashing lights. This is typically a small, round or square device that’s installed near the lights.
  2. Move the photocell timer: Carefully remove the photocell timer from its current location and move it to a new spot, at least a few feet away from the lights. This will ensure that the photocell isn’t being triggered by the lights themselves.
  3. Secure the photocell timer: Once you’ve found the perfect spot for the photocell timer, secure it in place using screws or another appropriate method.
  4. Test the lights: Turn on the lights and observe them closely. The flashing should have been eliminated, and your lights should now stay on consistently throughout the night.

Additional Tips for Preventing Flashing Lights

While moving the photocell timer is the primary solution, there are a few other steps you can take to help prevent flashing lights:

  • Use a mechanical timer: Instead of a photocell timer, consider using a mechanical timer to control your lights. Mechanical timers are less prone to interference and can provide a more reliable solution.
  • Adjust the photocell sensitivity: If you decide to stick with a photocell timer, try adjusting the sensitivity of the photocell. This may help reduce the chances of it being triggered by the lights themselves.
  • Invest in high-quality lights: Opt for professional-grade LED lights, which are less likely to experience flashing issues compared to lower-quality options.

Frequently Asked Questions

Why do my Christmas lights keep flashing?

The most common reason for flashing Christmas lights is that the photocell timer controlling the lights is placed too close to the lights themselves. This can cause the photocell to be triggered by the lights, leading to the flashing effect.

How do I stop my Christmas lights from flashing?

To stop your Christmas lights from flashing, the best solution is to move the photocell timer to a new location, at least a few feet away from the lights it’s controlling. This will eliminate the interference that’s causing the flashing.

Can I use a mechanical timer instead of a photocell timer?

Yes, you can use a mechanical timer instead of a photocell timer to control your Christmas lights. Mechanical timers are less prone to interference and can provide a more reliable solution for preventing flashing lights.

What kind of lights are less likely to experience flashing issues?

Professional-grade LED lights are generally less likely to experience flashing issues compared to lower-quality options. Investing in high-quality lights can help reduce the risk of flashing and other lighting problems.

Conclusion

Flashing Christmas lights can be a frustrating issue, but it’s often a simple problem with a straightforward solution. By moving the photocell timer away from the lights it’s controlling, you can eliminate the interference that’s causing the flashing effect and enjoy your lights shining brightly throughout the holiday season.

Unlock the Lucrative World of Christmas Light Installation: A Step-by-Step Guide

Table of Contents

Uncover the Secrets to Earning $275 in 20 Minutes as a Christmas Light Pro

Are you tired of the 9-to-5 grind and looking for a way to supplement your income? Look no further than the world of professional Christmas light installation. In this comprehensive guide, we’ll take you behind the scenes and reveal the secrets to earning a tidy profit in a matter of minutes, just like the pros.

The Lucrative World of Christmas Light Installation

As a seasoned Christmas light installation expert, our narrator has honed his craft over the past 10 years, completing an impressive 300 jobs this year alone. The key to his success? Efficiency, expertise, and a keen eye for detail. By leveraging his years of experience and a well-equipped crew, he’s able to tackle even the most challenging jobs with ease, all while commanding top-dollar for his services.

In the video, our narrator shares the details of a recent job that netted him a cool $275 in just 20 minutes. That’s right, $275 for a mere 20 minutes of work – a staggering hourly rate that most of us can only dream of. But the beauty of this industry lies in the fact that anyone can get in on the action, regardless of their previous experience.

Getting Started: The First-Year Challenges

As our narrator explains, the first year in the Christmas light installation business can be a bit of a challenge. You’ll need to invest in materials, such as high-quality LED lights, ladders, and other essential equipment. This upfront cost can eat into your profits, but it’s a necessary investment that will pay dividends in the years to come.

However, the real magic happens in the subsequent years. Once you’ve built up a customer base and established your reputation, the need to purchase new materials diminishes significantly. Your existing customers will return year after year, providing a steady stream of revenue that is largely profit-driven.

The Key to Efficiency: Streamlining Your Process

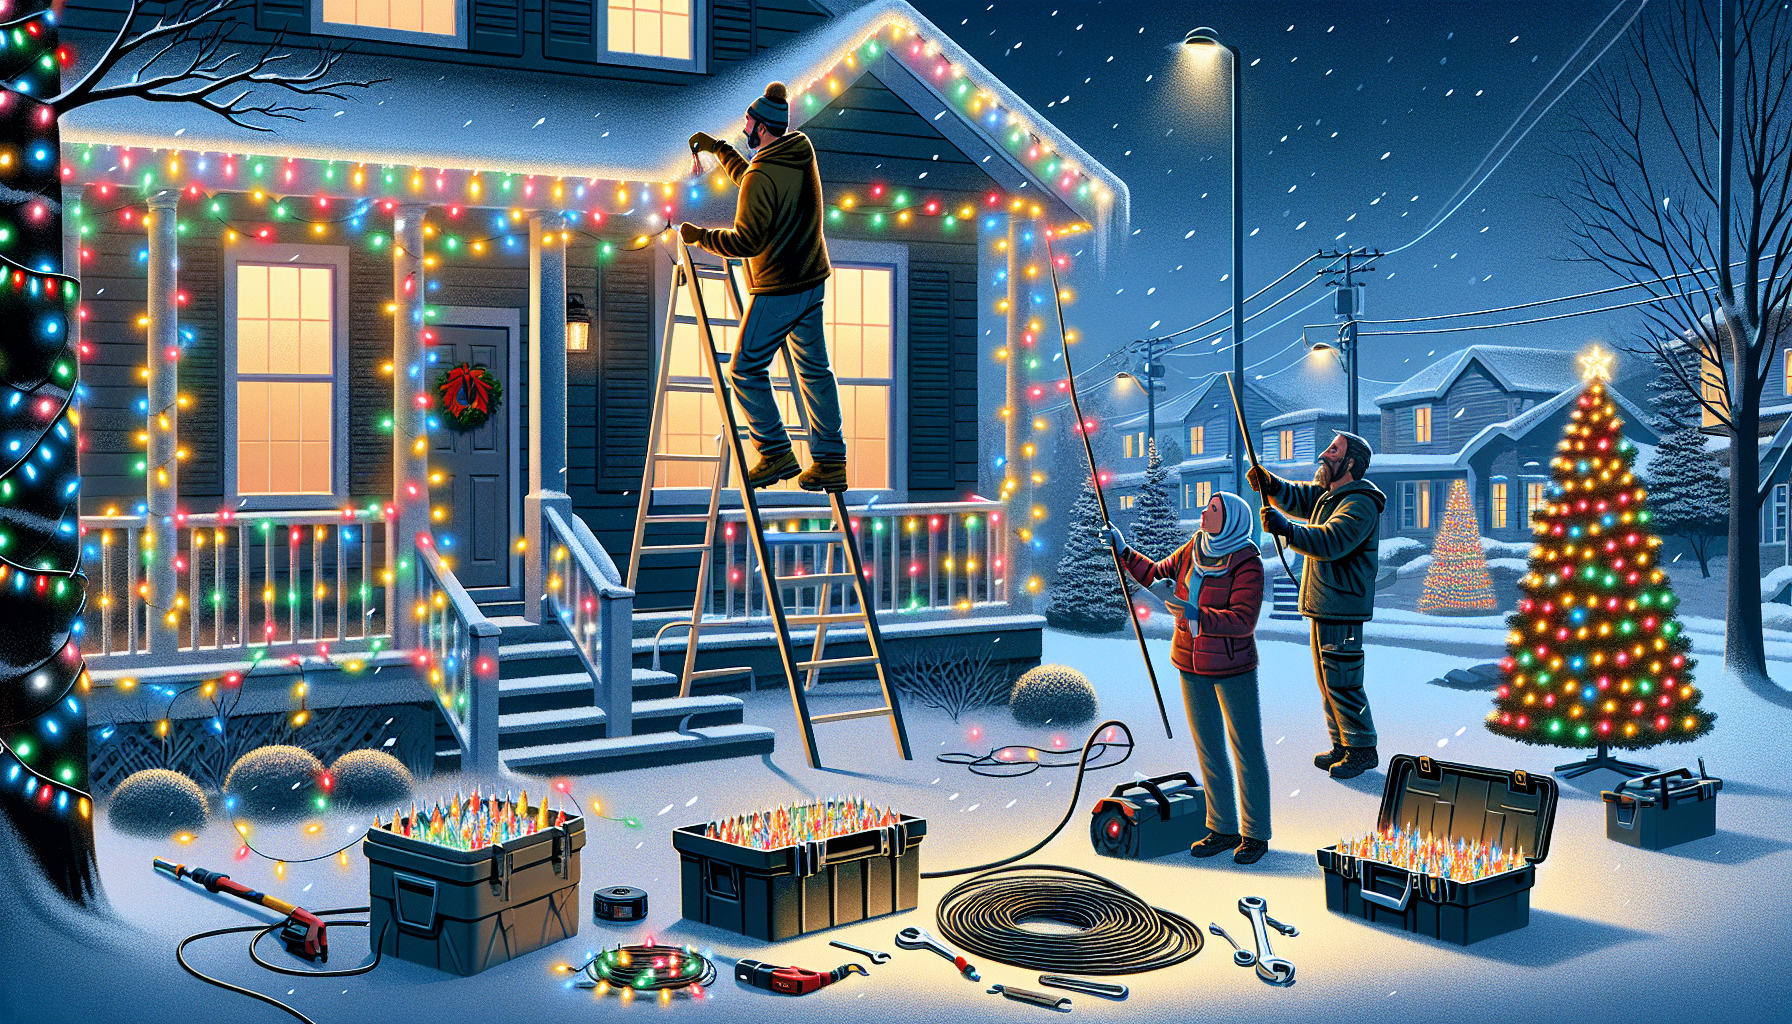
One of the keys to our narrator’s success is his ability to streamline the installation process. By using specialized tools, such as a long-reach extension pole and a hook attachment, he’s able to tackle even the most challenging tree-lighting jobs with ease. This level of efficiency not only saves time but also allows him to take on more jobs, further boosting his earning potential.

But it’s not just about the tools – it’s also about the experience. Our narrator and his crew have honed their skills over the years, allowing them to work quickly and effectively without sacrificing the quality of their work. This attention to detail is what sets them apart from the competition and ensures that their clients are consistently satisfied with the end result.

Diversifying Your Offerings: Catering to All Skill Levels

Another aspect of our narrator’s success is his ability to cater to a wide range of clients, from those who are comfortable working at height to those who prefer to keep their feet firmly on the ground. By offering a variety of services, from full-scale tree lighting to ground-level installations, he’s able to appeal to a broader customer base and maximize his earning potential.

For example, one of his friends, who was initially hesitant about working at heights, found great success in focusing on the lower-level installations. Despite his initial fears, he was able to earn an average of $800 per job during his first year, demonstrating that there’s room for everyone in this lucrative industry.

Frequently Asked Questions (FAQ)

1. What kind of equipment do I need to get started in the Christmas light installation business?

At a minimum, you’ll need a sturdy ladder, an extension pole, and a hook attachment to help you reach high-up areas. Additionally, you’ll need a reliable vehicle to transport your equipment and lights to job sites. Over time, you may also want to invest in a bucket truck or other specialized equipment to take on larger, more complex jobs.

2. How much can I expect to earn in my first year?

As our narrator mentioned, the first year can be a bit of a challenge, as you’ll need to invest in materials and build up your customer base. However, with hard work and dedication, you can expect to earn an average of $800 per job, as demonstrated by our narrator’s friend. In subsequent years, as your customer base grows and your material costs decrease, your earning potential can skyrocket.

3. Do I need any special skills or training to become a professional Christmas light installer?

While prior experience in the industry can certainly be helpful, it’s not a prerequisite. As long as you’re willing to learn, work hard, and pay attention to detail, you can succeed in this business. Many of the skills, such as ladder safety and efficient installation techniques, can be learned on the job. The most important qualities are a strong work ethic and a commitment to delivering high-quality results for your clients.

4. How can I differentiate myself from the competition?

One of the keys to success in the Christmas light installation business is to find ways to stand out from the crowd. This could involve offering specialized services, such as custom light designs or energy-efficient LED installations, or focusing on providing exceptional customer service. Building a strong reputation and leveraging positive word-of-mouth can also be powerful tools for attracting new clients and retaining loyal customers.

5. What are the best ways to market my Christmas light installation business?

Effective marketing is essential for any successful Christmas light installation business. Some proven strategies include creating a professional website, leveraging social media platforms, and networking with local businesses and community organizations. You may also want to consider offering promotional discounts or packages to attract new customers and incentivize repeat business.

In conclusion, the world of professional Christmas light installation is a lucrative and accessible opportunity for anyone looking to supplement their income or even start a new career. By following the tips and strategies outlined in this guide, you’ll be well on your way to earning a tidy profit in a matter of minutes, just like the pros. So, what are you waiting for? Start your journey to becoming a Christmas light installation superstar today!

Effortless Christmas Light Takedown and Labeling for Quick Installs Next Year

Table of Contents

The Importance of Proper Light Storage and Takedown

Putting up Christmas lights can be a daunting task, but the real challenge often lies in the takedown and storage process. Proper light storage is crucial to ensure a smooth and efficient installation the following year. By taking the time to carefully dismantle and label your lights, you can save yourself countless hours of frustration and make the process of setting up your holiday display a breeze.

Labeling for a Seamless Reinstallation

One of the keys to a quick and easy light installation is having a well-organized system for labeling and storing your lights. This not only helps you remember where each strand goes, but it also eliminates the need to piece together a giant jigsaw puzzle when it’s time to put them up again.

Utilizing Color-Coding

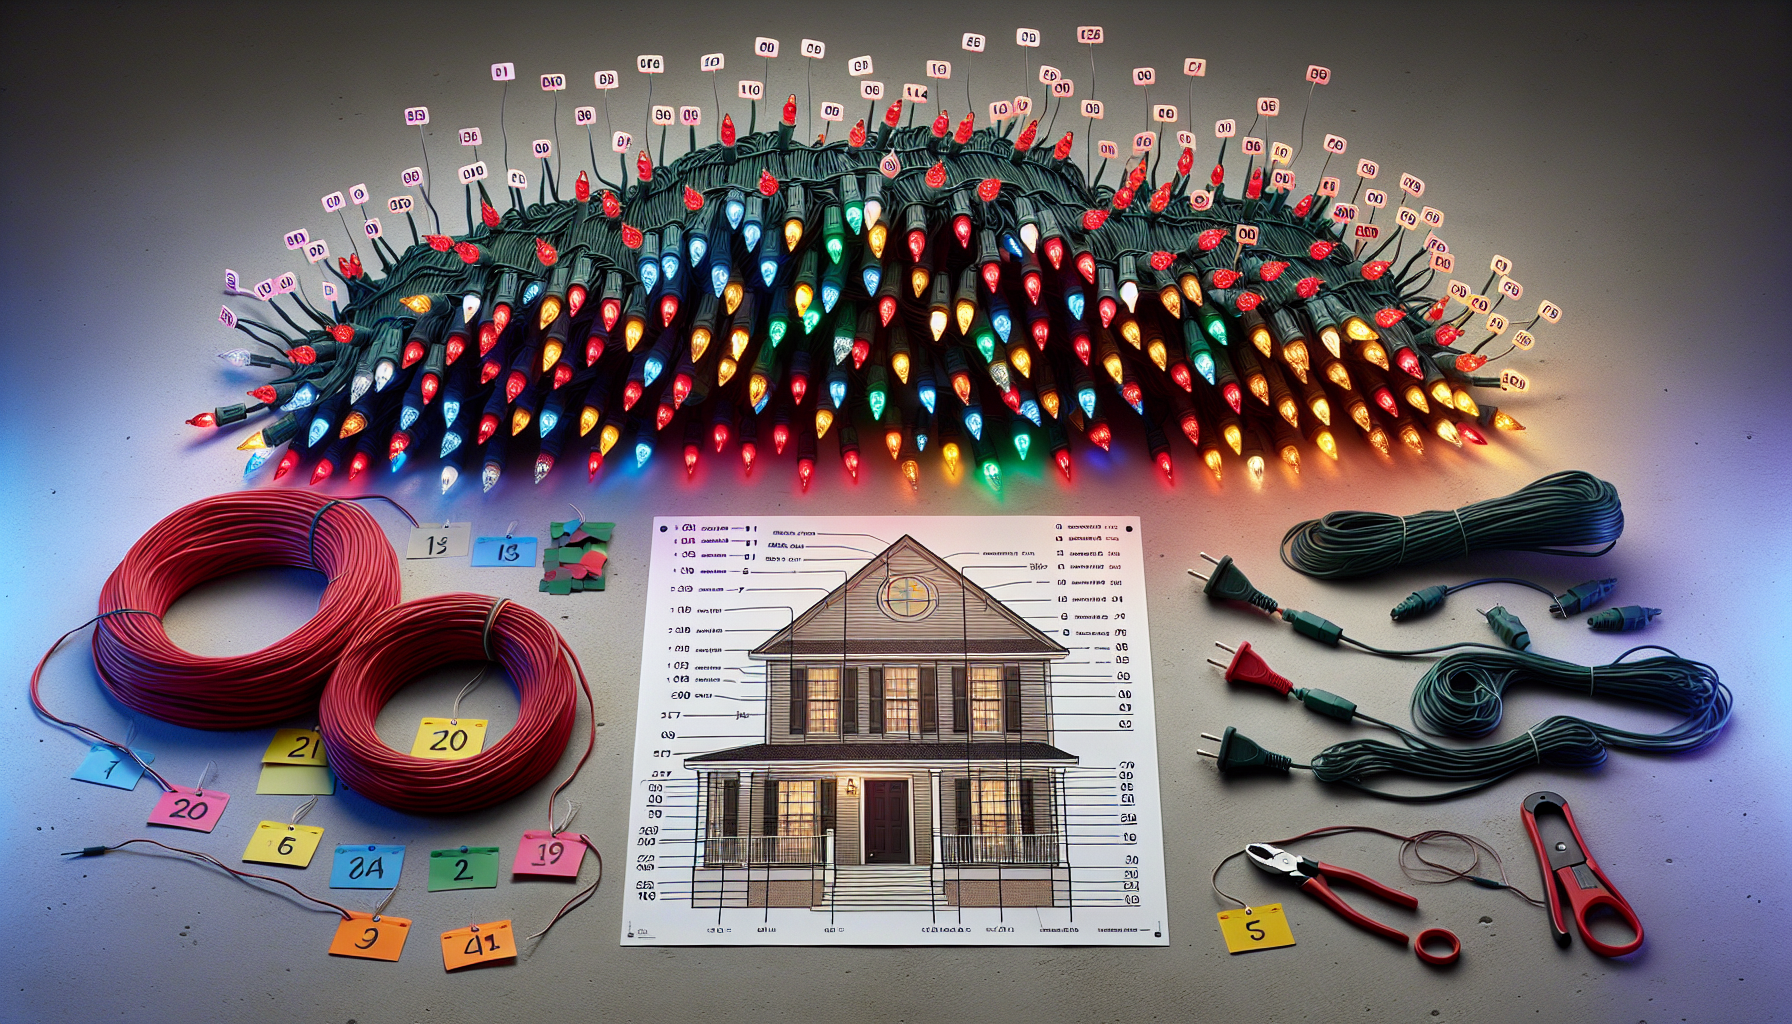
A simple yet effective way to label your lights is by using color-coding. Assign a specific color to each section or area of your home, and then use that color to mark the corresponding plugs and strands. This visual system makes it easy to quickly identify where each light strand belongs, saving you time and frustration during the reinstallation process.

Incorporating Numbering

In addition to color-coding, you can also use a numbering system to further organize your lights. Assign a unique number to each plug or strand, and then record those numbers on a diagram or map of your home. This allows you to quickly reference the diagram and match the numbered plugs to their designated locations, ensuring a seamless reinstallation.

Developing a Comprehensive Labeling System

The most effective labeling system combines both color-coding and numbering. By using a combination of these techniques, you can create a comprehensive and easily-understood system that simplifies the takedown and reinstallation process.

Step-by-Step Labeling Process

  1. Assign a unique color to each section or area of your home, such as green for the north side, blue for the chimney, and so on.
  2. Use colored tape or markers to label the plugs and strands with the corresponding color.
  3. Number each plug or strand, and record those numbers on a diagram or map of your home.
  4. Ensure that the numbered plugs are matched to their designated locations on the diagram, using the color-coding as a visual reference.
  5. Store the labeled lights in a organized manner, such as by section or area, to make the reinstallation process even easier.

The Benefits of a Comprehensive Labeling System

By implementing a comprehensive labeling system, you can enjoy a number of benefits that make the Christmas light takedown and reinstallation process a breeze:

  • Faster Reinstallation: With clearly labeled and organized lights, you can quickly and easily identify where each strand belongs, reducing the time and effort required to set up your holiday display.
  • Reduced Frustration: Eliminating the guesswork and time-consuming task of piecing together a tangled mess of lights can significantly reduce the stress and frustration associated with the takedown and reinstallation process.
  • Consistent Appearance: By ensuring that each light strand is placed in its proper location, you can maintain the same consistent and visually appealing layout year after year, preserving the aesthetic of your holiday display.
  • Easier Maintenance: With a well-organized system, it becomes much easier to identify and replace any malfunctioning lights or strands, keeping your display in top condition.

Conclusion

Investing the time and effort to properly label and store your Christmas lights can pay off in a big way when it comes time to reinstall them the following year. By implementing a comprehensive labeling system that combines color-coding and numbering, you can streamline the takedown process, save time and effort, and ensure a seamless and consistent holiday display year after year.

FAQ

How do I create an effective labeling diagram?

To create an effective labeling diagram, start by sketching out a basic outline of your home or property. Then, use colored markers or pens to map out the different sections or areas, and assign a unique color to each one. Finally, add the numbered labels for each plug or strand, corresponding to the numbers you’ve assigned during the takedown process.

What if I forget to label a strand or plug?

If you accidentally forget to label a strand or plug, don’t panic. You can still use the color-coding and numbering system to identify its location. Carefully examine the surrounding area and look for the closest labeled strand or plug, then use that as a reference point to determine where the unlabeled one should go.

How do I store my labeled lights for the off-season?

When storing your labeled lights, it’s important to keep them organized and protected. Consider using clear plastic bins or totes, and arrange the lights by section or area. This will make it easy to quickly locate and retrieve the correct strands when it’s time to reinstall them.

Can I use this labeling system for other holiday decorations?

Absolutely! The principles of this labeling system can be applied to a wide range of holiday decorations, from outdoor inflatables to indoor garlands and wreaths. By consistently using color-coding and numbering, you can streamline the setup and takedown process for all of your seasonal decor.

How do I ensure my labeling system is easy to understand for others?

To make your labeling system easy for others to follow, be sure to create a clear and comprehensive diagram or map that outlines the color-coding and numbering system. Additionally, consider including written instructions or labels that explain the system in detail. This will ensure that anyone tasked with reinstalling your lights can do so with confidence and ease.

Easily Fix Minleon v2 Bulb Issues in Just a Few Seconds

Table of Contents

The Minleon v2 Bulb Dilemma

The Minleon v2 bulbs are a game-changer for holiday lighting enthusiasts. With their improved design and brighter illumination, these bulbs have become a popular choice. However, the new bulb design can sometimes cause a frustrating issue – the bulb may not make proper contact with the socket, preventing it from turning on.

This problem arises because the new v2 bulb design has a slightly shorter “nipple” at the base compared to the previous v1 model. This shorter nipple means the bulb doesn’t push down the metal flap inside the socket as effectively, leading to a poor electrical connection.

A Simple Fix in Seconds

Fortunately, there’s a quick and easy solution to this problem that you can do in just a few seconds. All you need is a small pocket knife or multi-tool, and you’ll have those Minleon v2 bulbs shining bright in no time.

Step-by-Step Guide

  1. Ensure the lights are turned off. Safety first! Working on live electrical connections can be dangerous, so always disconnect the power before making any adjustments.
  2. Locate the problematic bulb. Identify the Minleon v2 bulb that isn’t making proper contact and isn’t turning on.
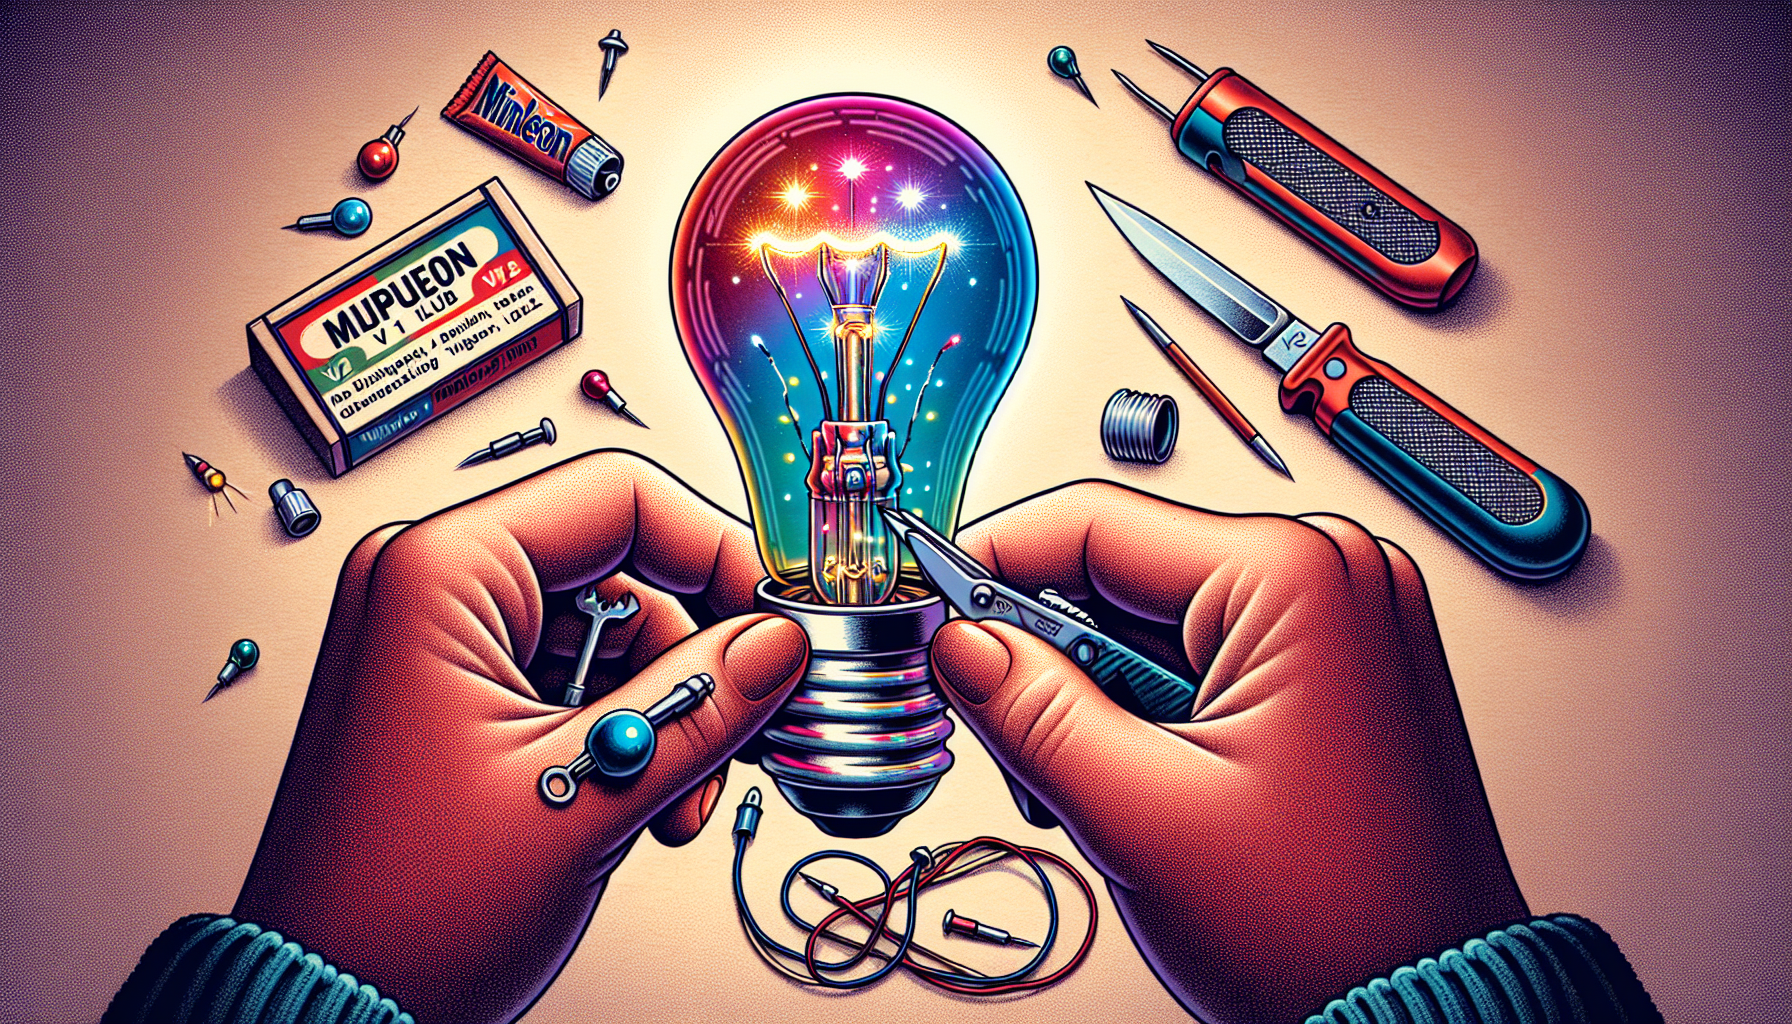
  3. Use your pocket knife to gently bend the metal flap. Carefully insert the tip of your knife into the socket and gently pry the metal flap upwards, bending it outwards slightly. This will create more space for the bulb’s shorter nipple to make better contact.
  4. Reinsert the bulb. Screw the Minleon v2 bulb back into the socket, and you should see it light up immediately.

It’s that simple! By taking just a few seconds to bend the metal flap, you can ensure a secure connection and get those v2 bulbs working perfectly.

Additional Tips and Considerations

Here are a few more helpful tips to keep in mind when fixing Minleon v2 bulb issues:

  • Have spare v1 bulbs on hand. If you’re still struggling to get the v2 bulbs working, you can always swap them out for the older v1 models, which don’t have the same contact issues.
  • Consider upgrading your wiring. If you’re dealing with an older lighting system, you may want to consider replacing the wiring with newer, higher-quality “Admiral” wire. This can help ensure a better connection and reduce future problems.
  • Be cautious when working on roofs. Remember to always prioritize safety when making repairs, especially when working at heights. Ensure you have a secure footing and keep your knife closed when moving around.

FAQ

How can I tell if I have Minleon v2 bulbs?

The easiest way to identify Minleon v2 bulbs is to look for the small plastic ring or “plug” at the base of the bulb. This is a new feature introduced with the v2 design to help prevent the bulbs from unscrewing over time.

Will this fix work for all Minleon v2 bulbs?

The vast majority of Minleon v2 bulbs will benefit from this simple fix. However, in some rare cases, the socket may be too worn or damaged to create a reliable connection, even after bending the metal flap. If you continue to have issues, you may need to replace the entire socket or lighting strand.

How often will I need to make this repair?

With the Minleon v2 bulbs, the need for repairs should be significantly reduced compared to the older v1 models. The new design and plastic plug feature help prevent the bulbs from becoming loose over time. However, you may still need to perform this quick fix on the occasional bulb, especially if you’re working with an older lighting system.

Will this fix work for other LED bulb brands?

While this specific fix is tailored to the Minleon v2 bulb design, the general principle of gently bending the metal flap in the socket can be applied to other LED bulbs that are experiencing connection issues. However, the exact implementation may vary depending on the bulb and socket design.

With this simple trick, you can easily keep your Minleon v2 bulbs shining bright all season long. No more frustrating repairs or flickering lights – just a quick fix that takes just a few seconds per bulb. Happy holidays and merry lighting!

Maximizing Profits: Strategies for Successful Christmas Light Installation

Table of Contents

Summary

In this insightful interview, Matt Green, the owner of Blue Duck Lawn Care in Indianapolis, shares valuable strategies and insights for running a thriving Christmas light installation business. As a competitor of the host, Sam, Matt has found innovative ways to grow his company and outperform his rivals, offering a wealth of knowledge for aspiring and experienced Christmas light professionals alike.

Defining Your Customer Avatar

Matt emphasizes the importance of identifying your target customer, or “customer avatar,” as the key to success in the Christmas light industry. He explains that higher-income families with children are the ideal clients, as they are more likely to invest in creating magical holiday experiences for their families. By focusing on these affluent customers, Matt has been able to command premium prices for his services and secure a strong foothold in the Indianapolis market.

Partnering with Complementary Businesses

Another strategy Matt shares is the power of strategic partnerships. He has successfully collaborated with interior designers, home builders, and other complementary service providers to tap into their existing customer bases and generate new leads. By offering a seamless, turnkey solution for both interior and exterior holiday décor, Matt has been able to provide exceptional value to his clients while also expanding his own customer reach.

Streamlining the Estimating Process

One of the most valuable insights Matt shares is his unique approach to estimating Christmas light installations. Instead of providing detailed quotes upfront, Matt’s team waits until they are on-site to determine the exact materials and labor required, allowing them to provide a more accurate and profitable estimate. This strategy helps to avoid the common pitfall of underestimating the cost of mini lights, which can make or break the profitability of a job.

Embracing Collaboration with Competitors

Contrary to the common belief that competitors are enemies, Matt emphasizes the importance of fostering positive relationships with other Christmas light installers. He explains how he has been able to subcontract work to other companies, while also receiving referrals and support from his peers. By adopting a collaborative mindset, Matt has been able to grow his business without feeling the need to constantly undercut his competitors.

Diversifying and Expanding Services

In addition to his core Christmas light installation business, Matt is exploring new revenue streams, such as offering artificial Christmas tree delivery and storage services. By continuously seeking out ways to expand and diversify his offerings, Matt is positioning his company for long-term success and sustainability.

FAQ

How can I identify my ideal customer avatar?

  • Focus on higher-income families with children, as they are more likely to invest in holiday lighting and décor.
  • Research the demographics and spending habits of your local community to determine the best target market.
  • Consider partnering with businesses that cater to your ideal customers, such as high-end home builders, interior designers, and luxury retailers.

What are the benefits of waiting to estimate mini lights until on-site?

  • Provides a more accurate assessment of the materials and labor required, reducing the risk of underestimating costs.
  • Helps to avoid sticker shock for customers, as the final price is presented after the initial estimate.
  • Allows for greater flexibility in accommodating customer budgets and preferences during the installation process.

How can I build positive relationships with my competitors?

  • Adopt a collaborative mindset and be willing to share resources or subcontract work when needed.
  • Attend industry events and networking opportunities to connect with other Christmas light installers.
  • Offer to provide referrals or recommendations to your peers, as they may reciprocate in the future.

What are some ways to diversify and expand my Christmas light business?

  • Consider offering complementary services, such as artificial Christmas tree delivery and storage.
  • Explore opportunities to partner with interior designers, home builders, and other related businesses.
  • Stay up-to-date on industry trends and new product innovations that could enhance your service offerings.

Streamlining Christmas Light Installation: A Guide to Labeling and Organizing Your Lights

Table of Contents

Introduction

As the holiday season winds down, the task of taking down and storing your Christmas lights can be a daunting one, especially if you have a large display with hundreds of individual lights. However, with a little bit of preparation and organization, you can make the process much easier and ensure a smooth installation next year. In this blog post, we’ll explore the importance of labeling and diagramming your lights, as well as provide practical tips to help you streamline the process and save time in the long run.

The Importance of Labeling and Diagramming

When it comes to Christmas light installations, attention to detail is key. Imagine the frustration of trying to reinstall a complex display the following year, only to find that you’ve forgotten where each string of lights was placed or how they were connected. This is where labeling and diagramming your lights can make all the difference.

By carefully documenting the layout of your lights and creating a detailed diagram, you can ensure that the reinstallation process is much smoother and more efficient. This is especially important if you have a large display with multiple sections or if you plan to have someone else install the lights for you next year.

Labeling Your Lights

The first step in the labeling process is to carefully remove each string of lights, making sure to keep them organized and in the correct order. As you remove each string, take the time to label it with a unique identifier, such as a number or letter. This will help you keep track of where each string of lights was placed and how they were connected.

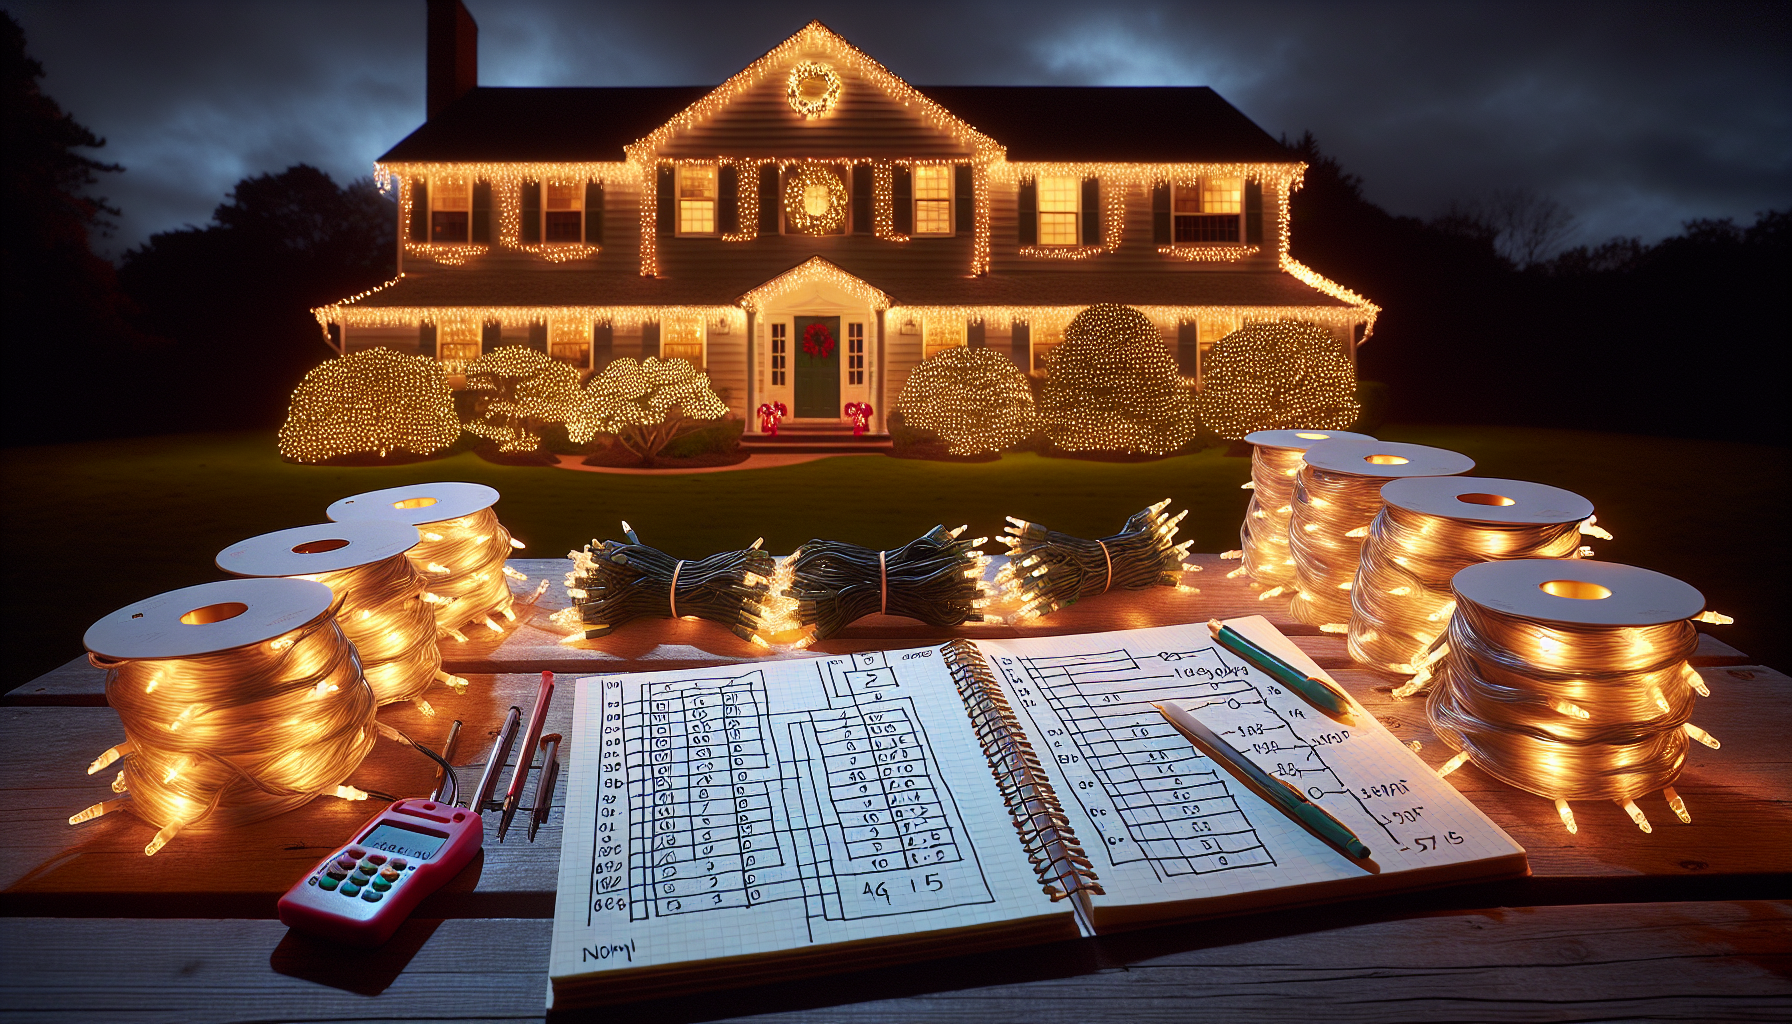
In the video, the presenter demonstrates a practical approach to labeling the lights. He explains that the house in question has around 600 lights, which can be quite complex to reinstall without proper organization. To address this, he creates a detailed diagram of the house, numbering each section of lights to create a visual reference for the next installation.

By labeling each string of lights with a corresponding number or letter, the presenter ensures that even a new installer who has never worked on this particular display will be able to piece it together like a puzzle. This level of preparation can save a significant amount of time and frustration during the next installation process.

Diagramming Your Lights

In addition to labeling your lights, creating a detailed diagram of your Christmas light display is another crucial step in the organization process. This diagram should include the placement of each string of lights, as well as any connections or power sources.

The presenter in the video demonstrates this process by creating a comprehensive diagram of the house, complete with numbered sections and a digital file that can be easily shared with future installers. By having this visual reference, the next person tasked with setting up the display will be able to quickly and accurately identify where each string of lights should be placed, reducing the likelihood of errors or time-consuming troubleshooting.

Storing Your Lights

Once you have labeled and diagrammed your lights, the next step is to properly store them for the off-season. This involves carefully winding and bundling each string of lights, ensuring that they are protected from damage and easily accessible when it’s time to reinstall them.

Many professional Christmas light installers have developed their own storage methods, such as using specialized storage containers or winding the lights around cardboard or wooden frames. Regardless of the specific approach, the key is to find a system that keeps your lights organized and well-protected, making the next installation process as seamless as possible.

Benefits of Labeling and Diagramming

By taking the time to label and diagram your Christmas lights, you can enjoy several benefits that will make your life easier in the long run:

  • Faster installation: With a detailed diagram and labeled lights, the reinstallation process can be significantly faster, as you or a new installer will be able to quickly and accurately place each string of lights in the correct position.
  • Reduced errors: Labeling and diagramming your lights can help prevent mistakes during the installation process, such as incorrectly connecting strings or placing them in the wrong locations.
  • Easier storage and transportation: By keeping your lights organized and labeled, you can more easily store and transport them, making the takedown and setup process much smoother.
  • Flexibility for future installers: If you plan to have someone else install your lights next year, the detailed diagram and labeling system will make it much easier for them to understand the layout and successfully complete the job.

Conclusion

Taking the time to label and diagram your Christmas lights may seem like an extra step, but it can pay dividends in the long run. By investing a little bit of effort upfront, you can streamline the installation process, reduce errors, and ensure a smooth transition for future years, whether you’re handling the setup yourself or passing the task on to someone else.

Remember, the key to a successful Christmas light installation is attention to detail and a well-organized approach. By following the tips and strategies outlined in this blog post, you can take the stress and hassle out of the takedown and reinstallation process, allowing you to focus on enjoying the holiday season and creating a stunning display for your home or business.

FAQ

How do I label my Christmas lights?

To label your Christmas lights, carefully remove each string and assign a unique identifier, such as a number or letter. Keep a detailed record of where each string was placed and how they were connected.

Why is it important to diagram my Christmas light display?

Creating a detailed diagram of your Christmas light display is important because it provides a visual reference for the next installation. This can help ensure that the lights are placed correctly and reduce the likelihood of errors or time-consuming troubleshooting.

How can I store my Christmas lights to make the next installation easier?

To store your Christmas lights for the off-season, carefully wind and bundle each string, ensuring they are protected from damage. Many professional installers use specialized storage containers or frames to keep the lights organized and easily accessible.

What are the benefits of labeling and diagramming my Christmas lights?

The main benefits of labeling and diagramming your Christmas lights include faster installation, reduced errors, easier storage and transportation, and the flexibility to have someone else install the lights in the future.

How can I find someone to install my Christmas lights next year?

If you’re unable to install your Christmas lights yourself next year, consider reaching out to local professional installers or asking within your community for recommendations. By providing them with your detailed diagram and labeling system, you can make the process much easier for them to take on.

The Ultimate Guide to Effortless Christmas Light Installation: Labeling and Organizing for a Stress-Free Setup Next Year

Table of Contents

Streamlining the Process: Labeling and Mapping Your Christmas Lights

As the holiday season approaches, the task of installing and taking down Christmas lights can be a daunting one, especially for those with large homes or intricate lighting displays. However, with a little bit of planning and organization, you can make the process a breeze, saving time and effort for years to come. In this comprehensive guide, we’ll explore the simple yet effective techniques used by seasoned professionals to ensure a seamless Christmas light installation experience.

The Importance of Labeling and Mapping

When it comes to installing and taking down Christmas lights, the key to success lies in proper labeling and mapping. Imagine trying to untangle a tangled mess of cords and trying to remember where each strand goes – it can be a nightmare. By taking the time to label and map your lights, you can avoid this frustration and make the process much more efficient.

Labeling Your Christmas Lights

One of the most effective ways to streamline your Christmas light installation is to label each individual strand or plug. This can be done using a simple numbering system, where you assign a unique number to each plug or strand. By doing this, you can easily identify where each light should be placed, saving you time and effort during the installation process.

To implement this system, you’ll need a set of numbered tags or labels. These can be as simple as small tags with numbers printed on them, or you can use a more advanced system like the one described in the video transcript, which utilizes a keychain-style numbering system.

As you take down your lights, carefully attach the corresponding numbered tag to each plug or strand. This way, when it’s time to put them up again next year, you’ll know exactly where each one goes, making the process much faster and more efficient.

Mapping Your Christmas Light Layout

In addition to labeling your lights, it’s also important to create a detailed map of your lighting layout. This can be done by taking a satellite image or diagram of your home and marking the placement of each light strand. You can then use this map to reference during the installation process, ensuring that each light is placed in the correct location.

To make the map even more useful, consider color-coding your light strands. This can be done by using colored electrical tape or markers to differentiate between different sections of your lighting display. This visual aid can be incredibly helpful, especially if you have a large or complex layout.

By combining the labeling and mapping techniques, you’ll create a comprehensive system that will make your Christmas light installation a breeze. Not only will you save time and effort, but you’ll also be able to easily hand off the task to someone else if needed, as the instructions will be clear and easy to follow.

The Benefits of Labeling and Mapping

Investing the time and effort to label and map your Christmas lights may seem like a daunting task, but the benefits far outweigh the initial work. Here are some of the key advantages of this approach:

Faster Installation

With your lights properly labeled and mapped, the installation process will be much quicker and more efficient. Instead of spending hours untangling cords and trying to remember where each strand goes, you’ll be able to simply follow your pre-established system, saving you valuable time and energy.

Easier Maintenance

Over time, your Christmas light setup may need to be adjusted or repaired. With a labeled and mapped system, making these changes will be a breeze. You’ll know exactly where each strand is located and how it connects to the rest of the display, making it much easier to troubleshoot and make any necessary repairs.

Seamless Handoff

If you ever need to hand off the Christmas light installation to someone else, such as a new homeowner or a hired professional, your labeled and mapped system will make the process much smoother. The new installer will be able to quickly understand the layout and placement of your lights, reducing the risk of mistakes or confusion.

Consistent Year-to-Year Setup

One of the biggest benefits of labeling and mapping your Christmas lights is the ability to maintain a consistent setup year after year. Instead of having to start from scratch each season, you can simply refer to your existing system, ensuring that your display looks the same (or even better) than the previous year.

FAQ

How long does it take to label and map my Christmas lights?

The time it takes to label and map your Christmas lights will depend on the size and complexity of your display. However, most homeowners can complete the process in a single afternoon or evening. The initial setup may take some time, but the long-term benefits of a labeled and mapped system make it well worth the effort.

Can I use this system for other holiday decorations?

Absolutely! While this guide focuses on Christmas lights, the principles of labeling and mapping can be applied to any type of holiday decoration or lighting display. Whether you’re setting up a Halloween haunted house or a Fourth of July celebration, a well-organized system can make the process much easier and more efficient.

Do I need to use a specific type of label or tag?

There is no one-size-fits-all solution when it comes to labeling your Christmas lights. You can use a variety of materials, from simple tags and labels to more advanced systems like the one described in the video. The most important thing is to choose a method that works best for your needs and preferences.

How often should I update my Christmas light map?

It’s a good idea to review and update your Christmas light map annually, especially if you make any changes to your display. This will ensure that your map remains accurate and up-to-date, making the installation process even smoother year after year.

Can I share my Christmas light map with others?

Absolutely! If you have a particularly complex or intricate lighting display, sharing your map with other family members or hired installers can be incredibly helpful. This ensures that everyone is on the same page and can work together to set up your holiday decorations efficiently.

By following the tips and techniques outlined in this guide, you’ll be well on your way to a stress-free and efficient Christmas light installation process. With a little bit of planning and organization, you can enjoy the magic of the holiday season without the hassle of untangling cords and trying to remember where each light goes. So, let’s get started and make this year’s holiday display the best one yet!

Effortless Christmas Light Takedown: A Step-by-Step Guide

Table of Contents

Streamlining the Process with Proper Labeling and Storage

As the holiday season winds down, the task of taking down and storing your Christmas lights can feel daunting. However, with the right approach and a few simple tricks, you can make this process seamless and efficient. In this comprehensive guide, we’ll walk you through the steps to ensure your Christmas lights are safely and neatly packed away, ready for a hassle-free setup next year.

Preparing for Takedown: Labeling and Organizing

The key to a successful Christmas light takedown lies in proper labeling and organization. Before you even begin the process, take the time to prepare your workspace and gather the necessary supplies. This includes creating labels for your light strands, power cords, and various sections of your display.

Using waterproof cable labels, clearly mark each component with its corresponding location, such as “Front Porch,” “First Story,” “Second Story Left,” and so on. This labeling system will save you countless hours of guesswork when it comes time to reinstall your lights next year.

Efficient Bundling and Storage

As you remove the lights from your home, be mindful of how you bundle them. Grab every third bulb, creating a neat and organized coil that will easily fit into your storage containers. This technique ensures the lights don’t become tangled and makes the process of unpacking and setting up a breeze next season.

When it comes to storage, consider using collapsible produce bins or similar containers that allow for airflow and efficient stacking. These bins not only provide ample space for your lights but also take up minimal storage space when not in use.

While the process may seem straightforward, there are a few potential challenges you may encounter during the Christmas light takedown. One common issue is dealing with power cords that have become entangled or caught on various elements of your home’s exterior.

Rather than pulling and tugging, approach these situations with care and patience. Gently flip or reposition the cords to avoid damage to your home or the lights themselves. If a cord is particularly stubborn, consider using a long-reach pole or extension tool to carefully guide it down without exerting excessive force.

Handling Specialty Lighting and Accessories

In addition to your main light strands, don’t forget to address any specialty lighting or accessories, such as mini lights and timers. These items often have a shorter lifespan and require separate storage. Test each component, keep the working ones, and replace any that have malfunctioned before the next holiday season.

Streamlining the Process: Tips and Tricks

To further optimize your Christmas light takedown, consider the following tips and tricks:

  • Utilize Produce Bins: These collapsible containers provide excellent storage solutions, allowing for efficient stacking and airflow to prevent moisture buildup.
  • Invest in Professional-Grade Lighting: High-quality lights and clips designed for professional use will make the takedown process much smoother and quicker.
  • Leverage Extension Poles: Use a long-reach pole with a hook attachment to safely remove lights from hard-to-reach areas without the need for a ladder.
  • Maintain a Labeled Inventory: Keep a detailed record of your light strands, power cords, and accessories, including their locations and any necessary replacements.
  • Join a Christmas Lighting Community: Connect with fellow enthusiasts in online groups to share tips, tricks, and best practices throughout the holiday season.

FAQ

How long does it typically take to take down Christmas lights?

The time required can vary depending on the size and complexity of your display, as well as the preparation and organization you’ve put in place. However, with the right techniques and tools, a well-prepared homeowner can typically take down an entire house’s worth of lights in as little as 5-10 minutes.

Can I reuse my Christmas lights year after year?

Absolutely! With proper storage and maintenance, your Christmas lights can last for many holiday seasons. Regularly testing your lights and replacing any damaged or malfunctioning components will ensure your display remains in top condition.

How can I prevent my Christmas lights from getting tangled during storage?

Proper bundling and organization are key to preventing tangled lights. By grabbing every third bulb and coiling the lights neatly, you can minimize the chances of knots and tangles. Additionally, using labeled storage containers and keeping components separated will make the setup process much smoother next year.

What should I do if I find a faulty or damaged light strand?

If you discover a malfunctioning light strand or accessory, it’s best to replace it before the next holiday season. Test all your lights and timers, and keep a record of any items that need to be replaced. This will ensure your display is in optimal condition when you’re ready to set it up again.

How can I safely remove lights from hard-to-reach areas?

Invest in a long-reach extension pole with a hook attachment. This tool will allow you to safely remove lights from high areas or around gutters and other obstacles without the need for a ladder. Gently guide the lights down, taking care not to pull or tug excessively.

By following the steps outlined in this guide, you’ll be able to take down your Christmas lights with ease, ensuring a stress-free setup for the next holiday season. Remember, with a little preparation and the right techniques, the process can be streamlined and efficient, allowing you to enjoy the post-holiday downtime without the hassle of tangled lights and disorganized storage.