Table of Contents
- Introduction
- The Importance of Using Professional Grade Lights
- Invest in the Right Equipment
- Learning from the Pros
- The Complete Install Process
- FAQ
- Conclusion
Introduction
Welcome to our blog on how to hang Christmas lights like a pro! Whether you’re a homeowner looking to make your house sparkle this holiday season or a contractor seeking to learn the best techniques for installing lights, we’ve got you covered. With over 10 years of experience in the industry, we’ve learned numerous tricks of the trade that we’re excited to share with you.
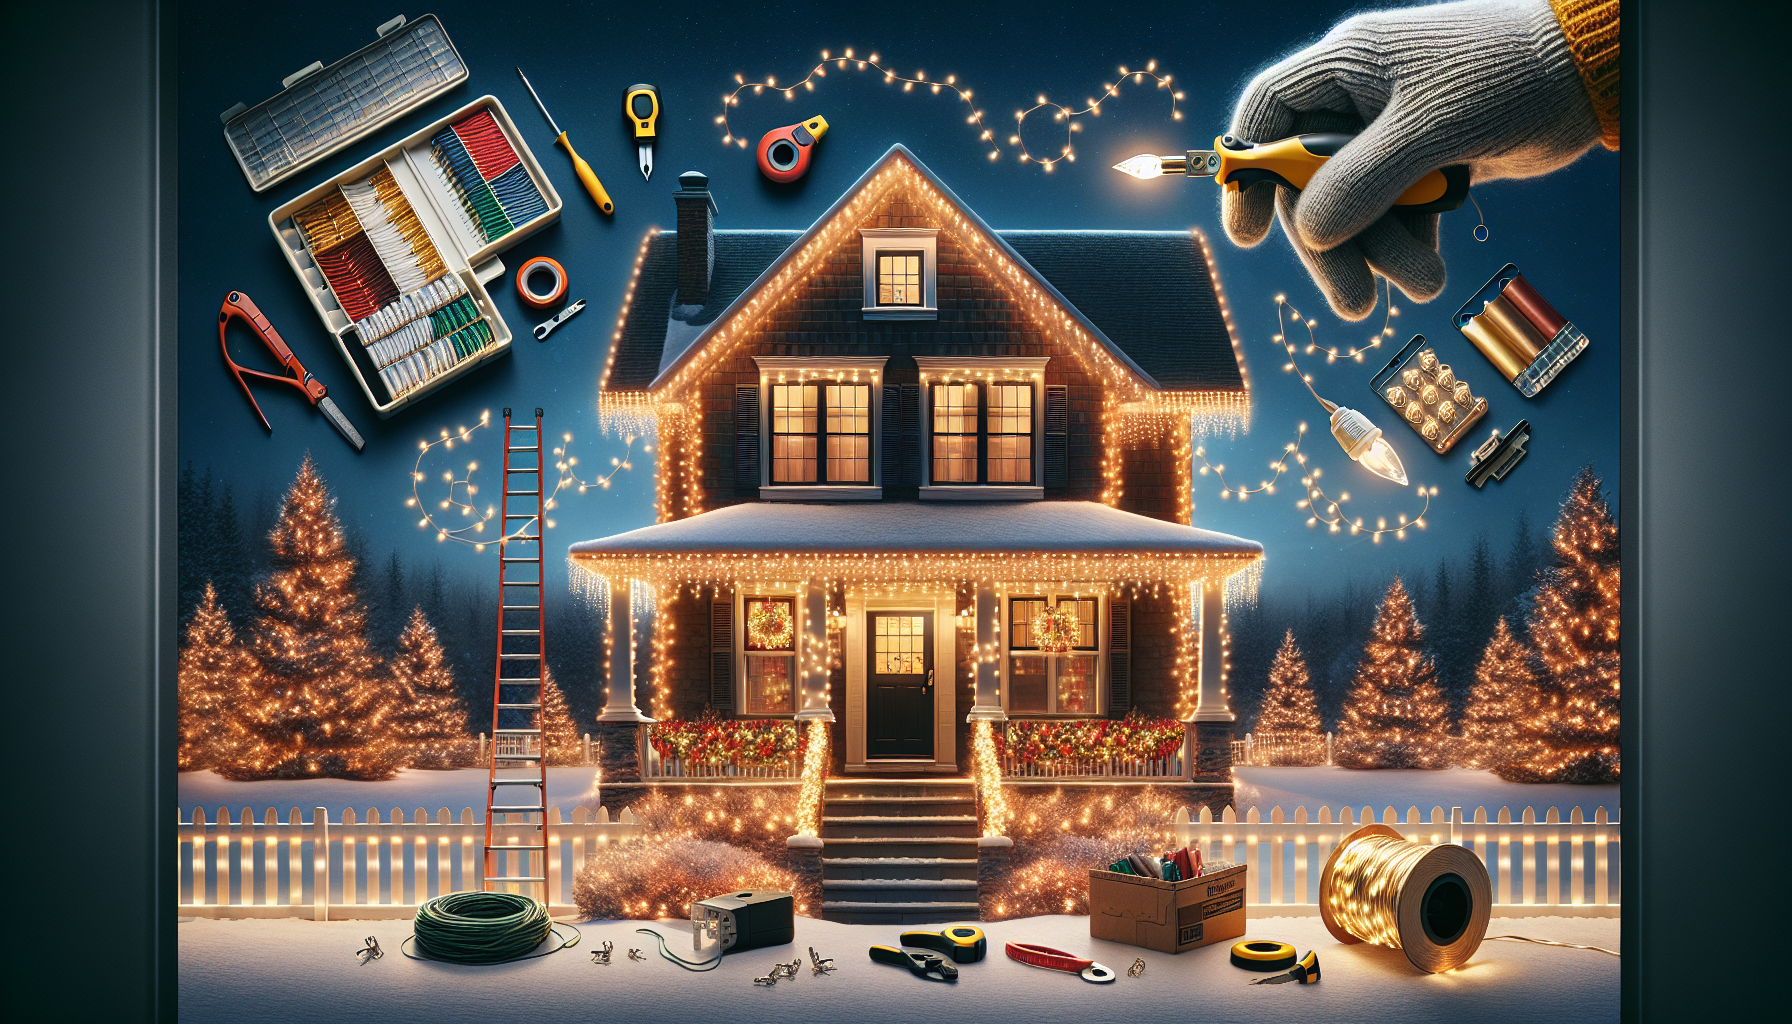
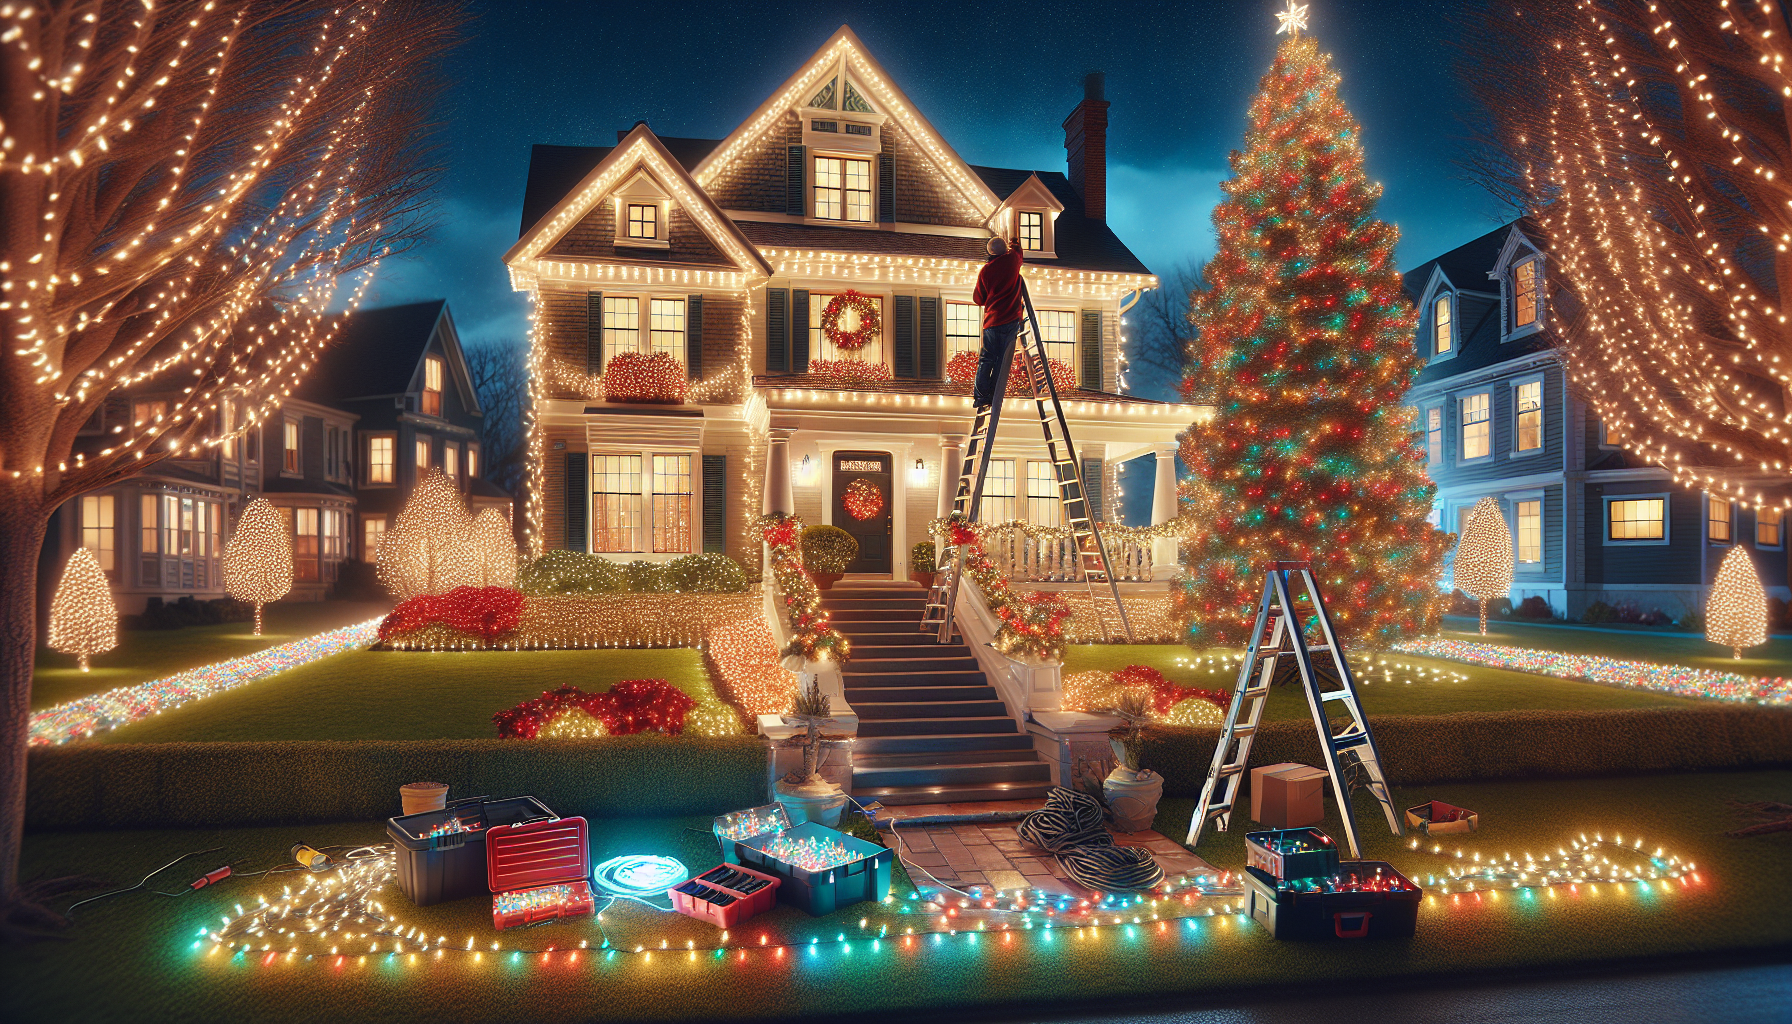
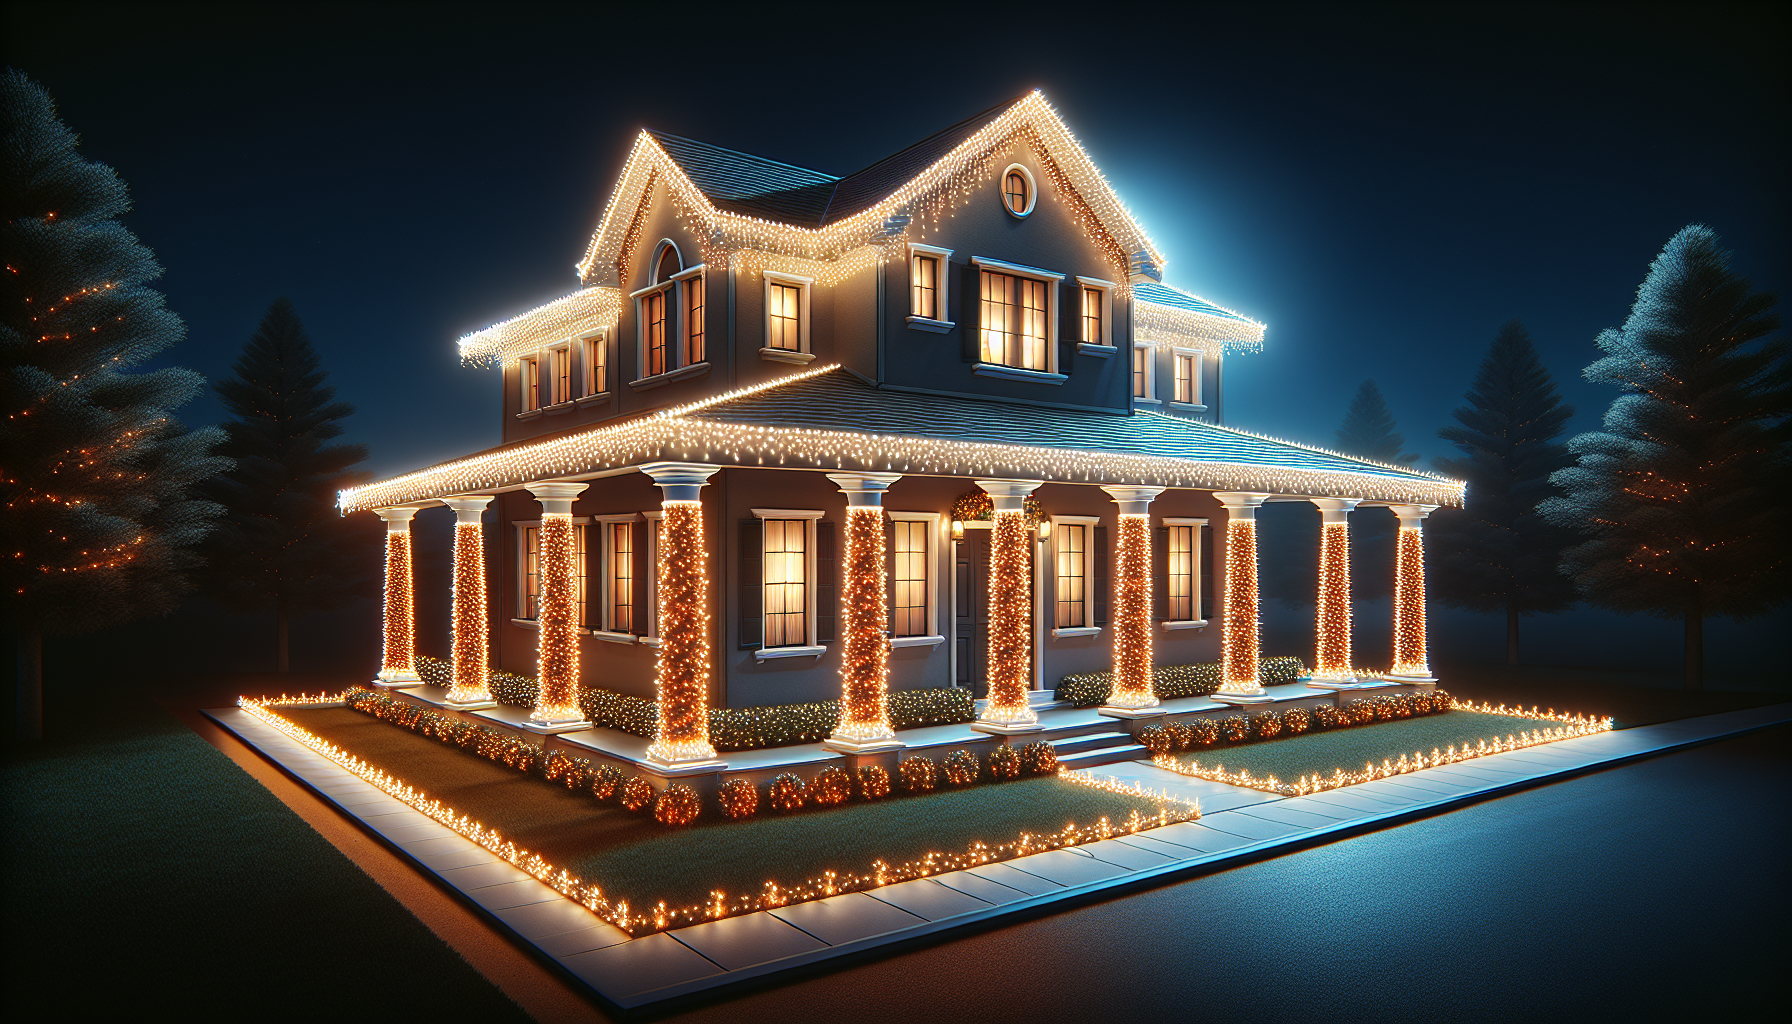
The Importance of Using Professional Grade Lights
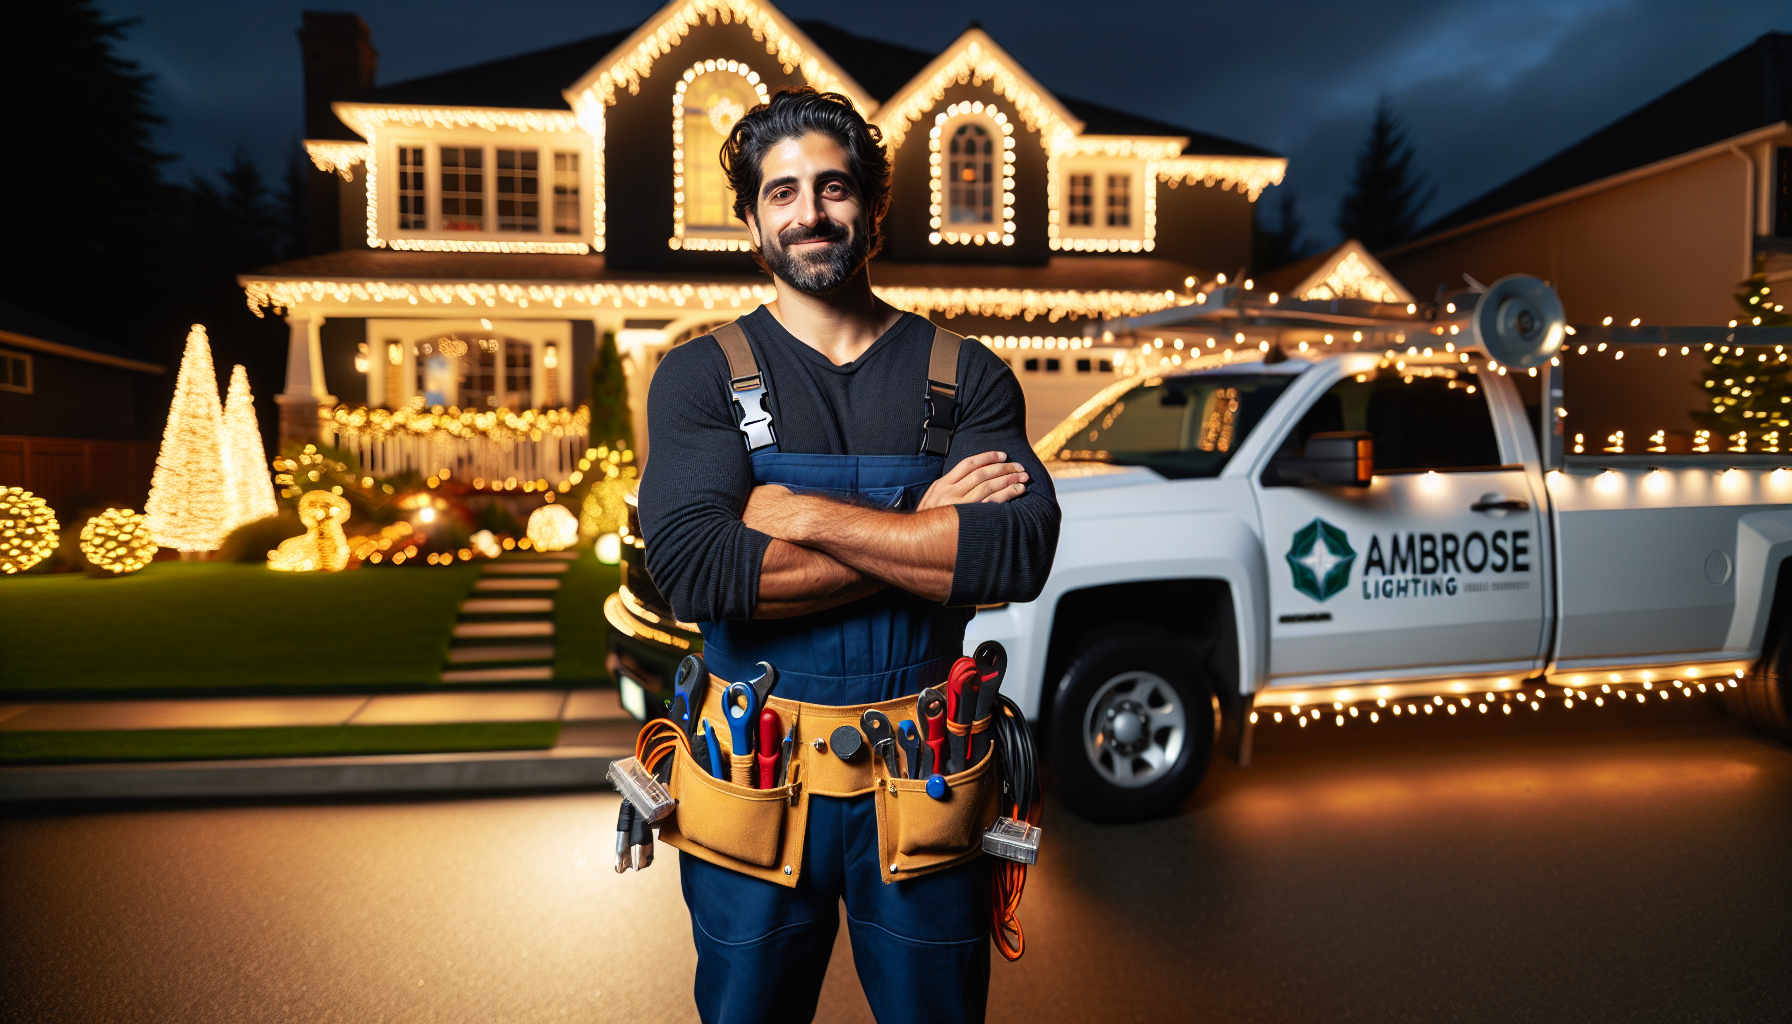
One of the key factors in achieving a professional-looking Christmas light display is using professional grade lights. We cannot stress this enough. If you’re planning to charge homeowners for a job, it’s crucial that the end result does not look like a DIY project. Professional grade lights are designed to provide a superior glow and last longer, ensuring a stunning display throughout the holiday season.
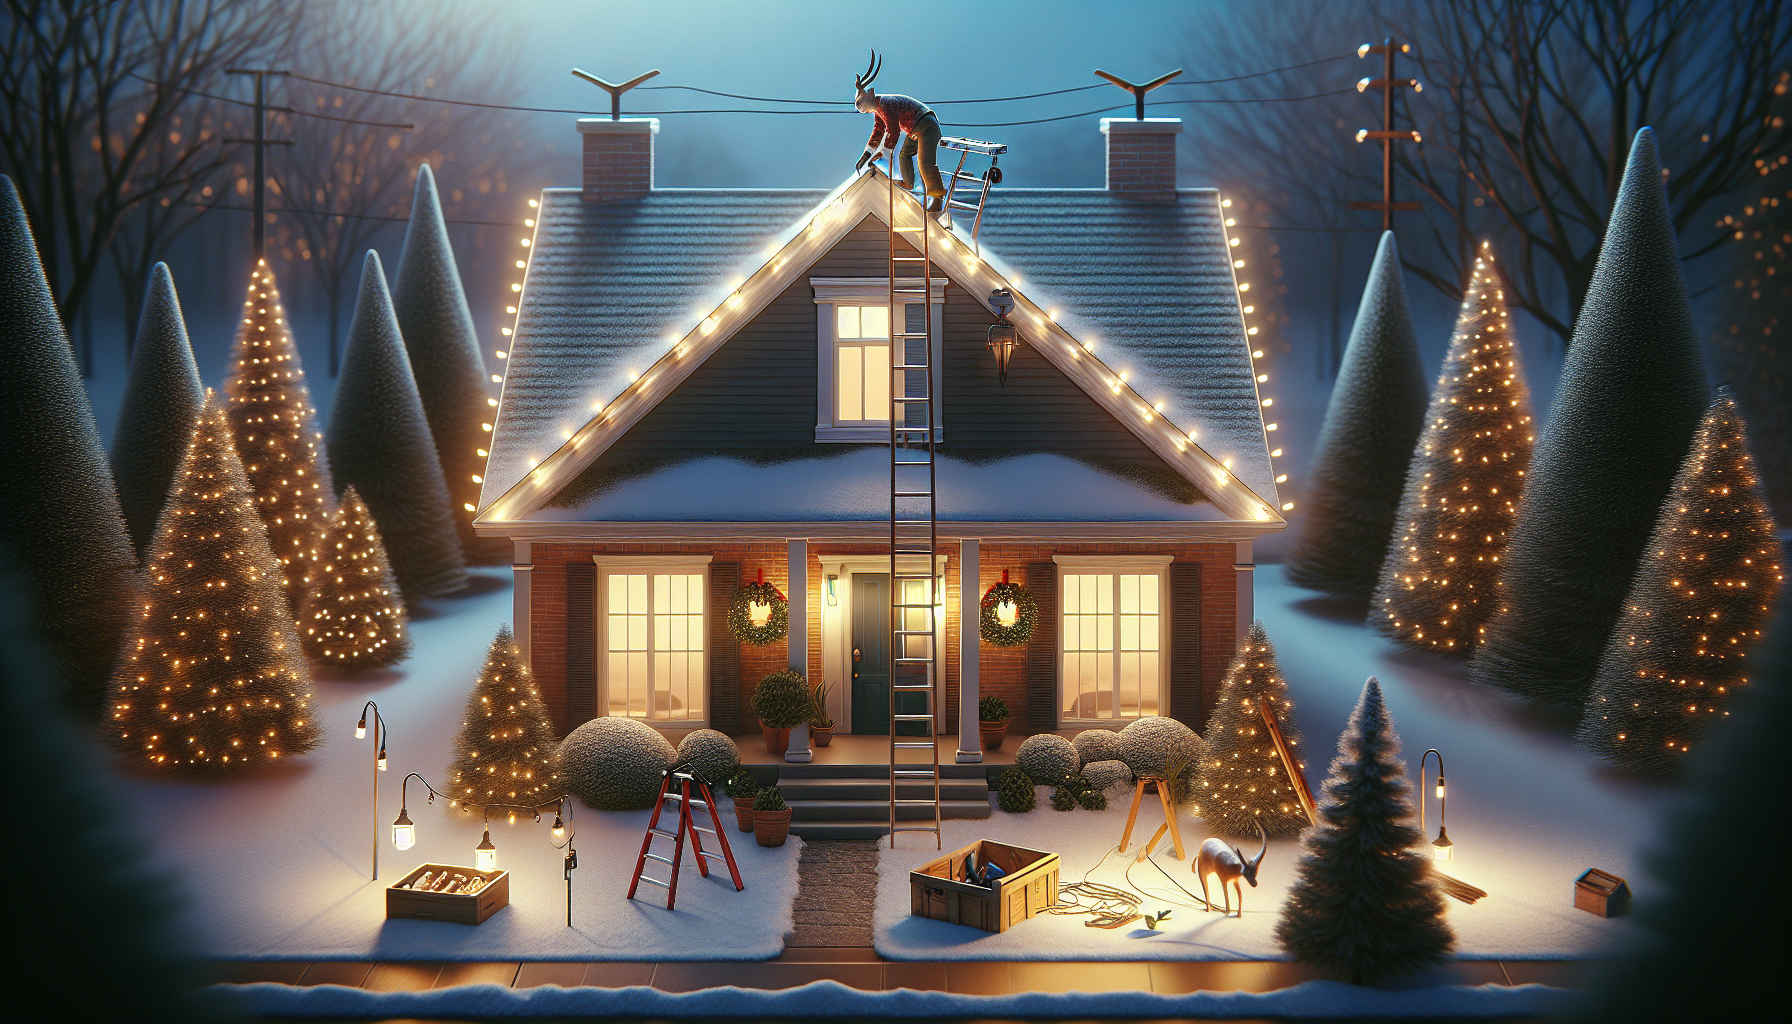
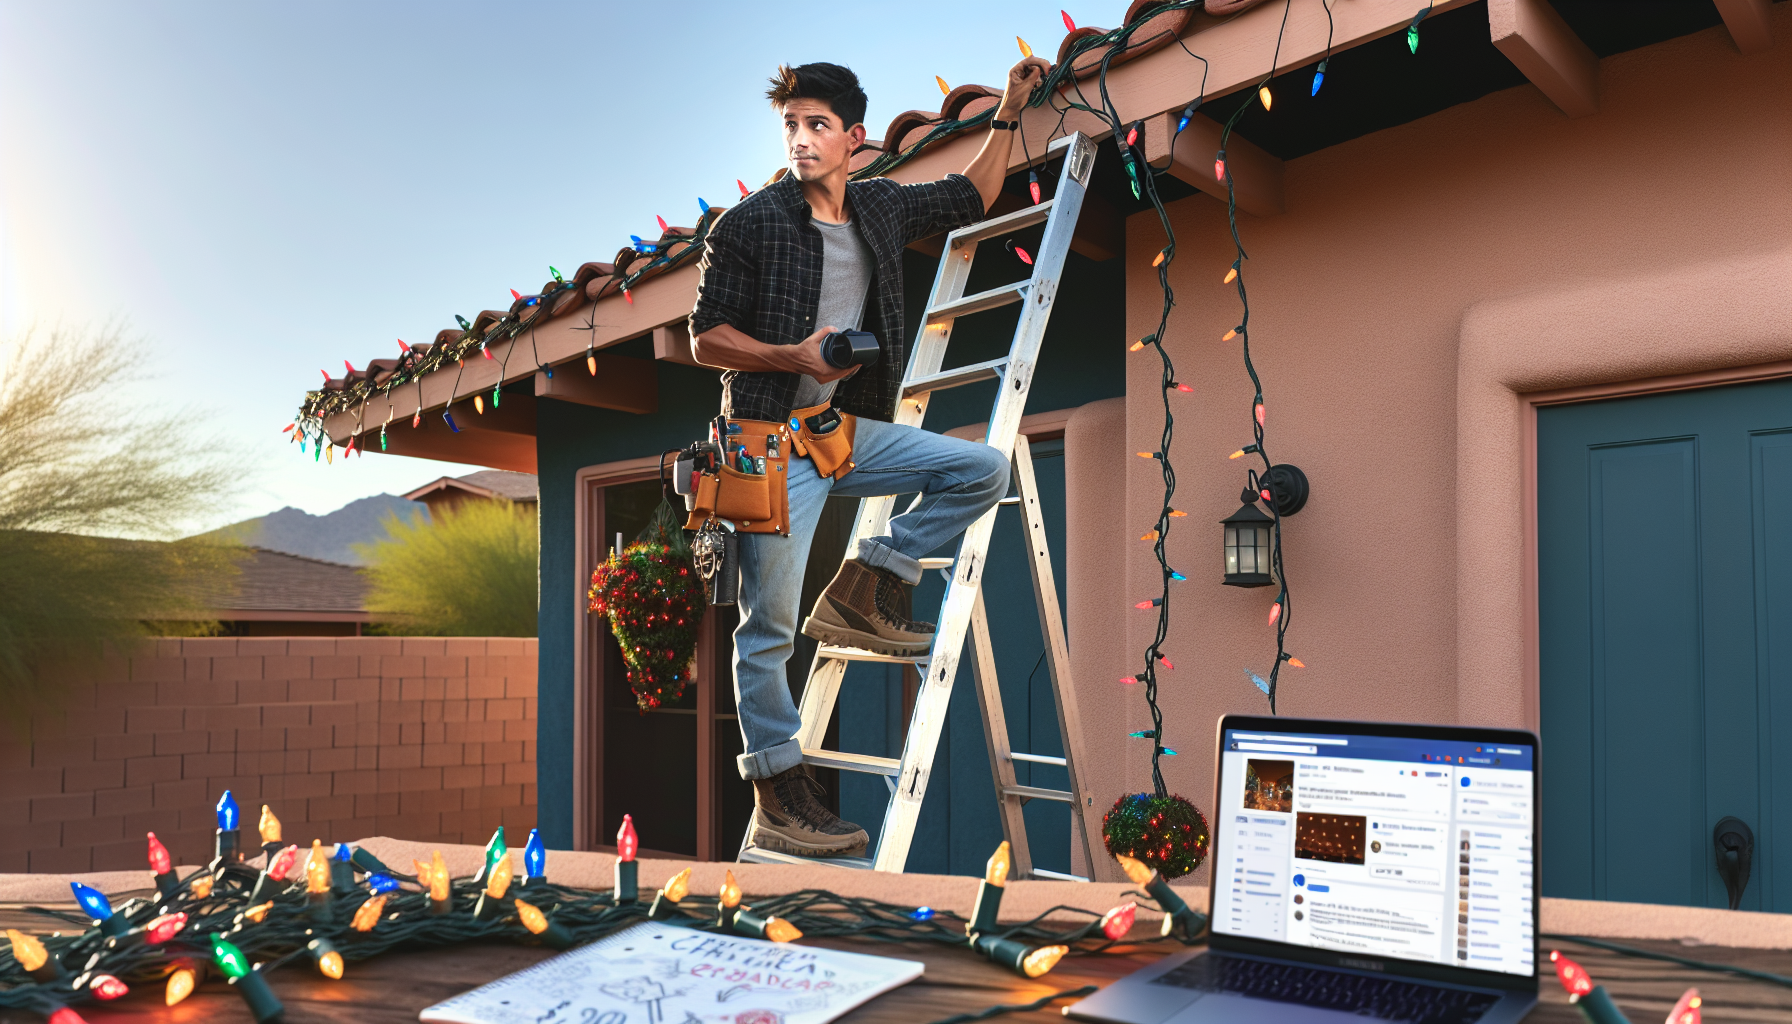
Invest in the Right Equipment
Another crucial aspect of hanging lights like a pro is having the right equipment. Without the proper tools, achieving a flawless installation becomes much more challenging. As we continue to share tips throughout the season, we’ll discuss various equipment options and techniques that can help you achieve professional-looking results.
Learning from the Pros
With the launch of our YouTube channel, we’ve partnered with Donovan, one of our experienced team members, to bring you informative videos that will teach you the best practices for hanging Christmas lights. These videos aren’t just for homeowners and contractors, but also for our own employees. Before the start of the season, we ensure that our team watches these videos to refresh their knowledge and skills, reducing the need for repetitive questions and ensuring they have a solid foundation for delivering high-quality installations.
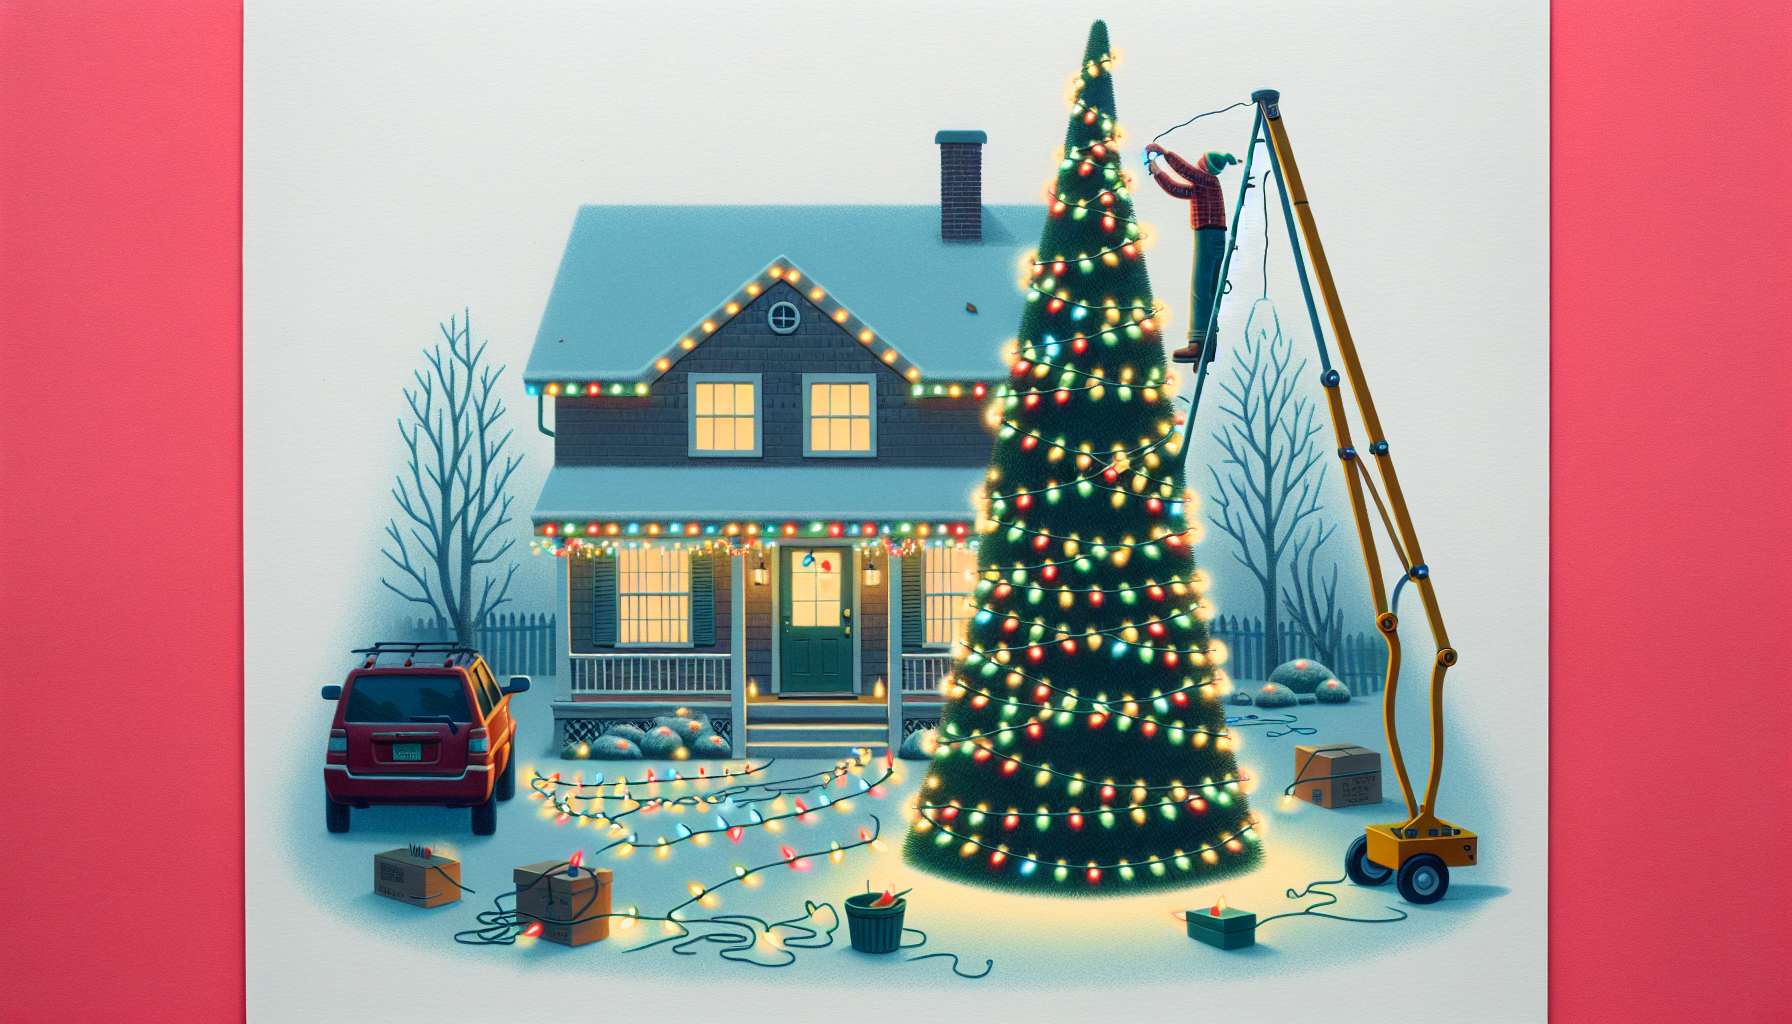
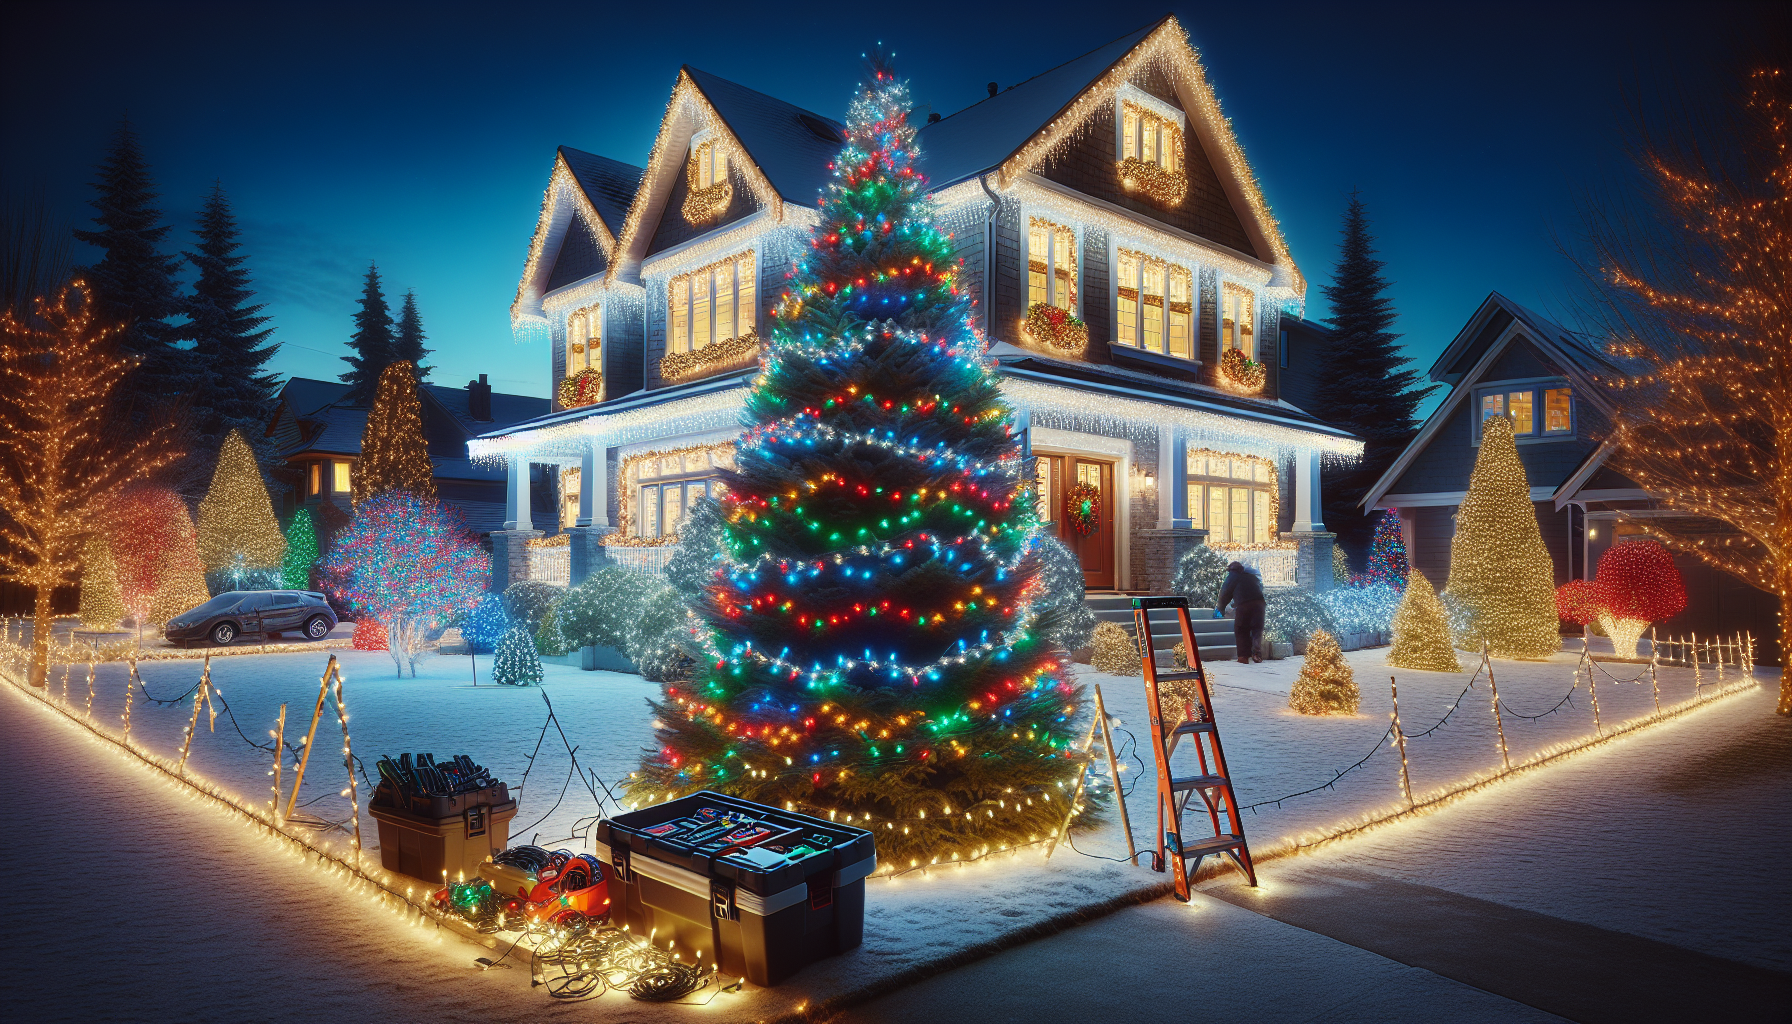
The Complete Install Process
Let’s take a moment to appreciate the beauty of a completed Christmas light installation. The tree in the video has been meticulously decorated, showcasing the expertise of our team. It’s important to note that this particular installation was done in the middle of October. To ensure the lights remain in top condition, we will turn them on closer to Thanksgiving, creating a magical atmosphere for the holiday season.
FAQ
Q: What makes professional grade lights different from regular lights?
A: Professional grade lights are specifically designed for commercial use and are made with higher quality materials. They produce a brighter and more vibrant light, and are built to withstand the elements and last longer than regular lights.
Q: What equipment do I need to hang Christmas lights like a pro?
A: Some essential equipment includes a sturdy ladder, clips or hooks for attaching lights to various surfaces, extension cords, timers, and a voltage tester. Investing in quality equipment will make the installation process easier and safer.
Q: When is the best time to install Christmas lights?
A: The ideal time to install Christmas lights is when the weather is dry and mild. It’s recommended to start in October or early November to avoid the rush and ensure you have ample time to create a stunning display before the holiday season.
Q: How can I prevent lights from tangling?
A: To prevent tangling, it’s best to store lights neatly by wrapping them around a reel or using specialized storage containers. Additionally, labeling the cords and strands can help with easy identification and setup in subsequent years.
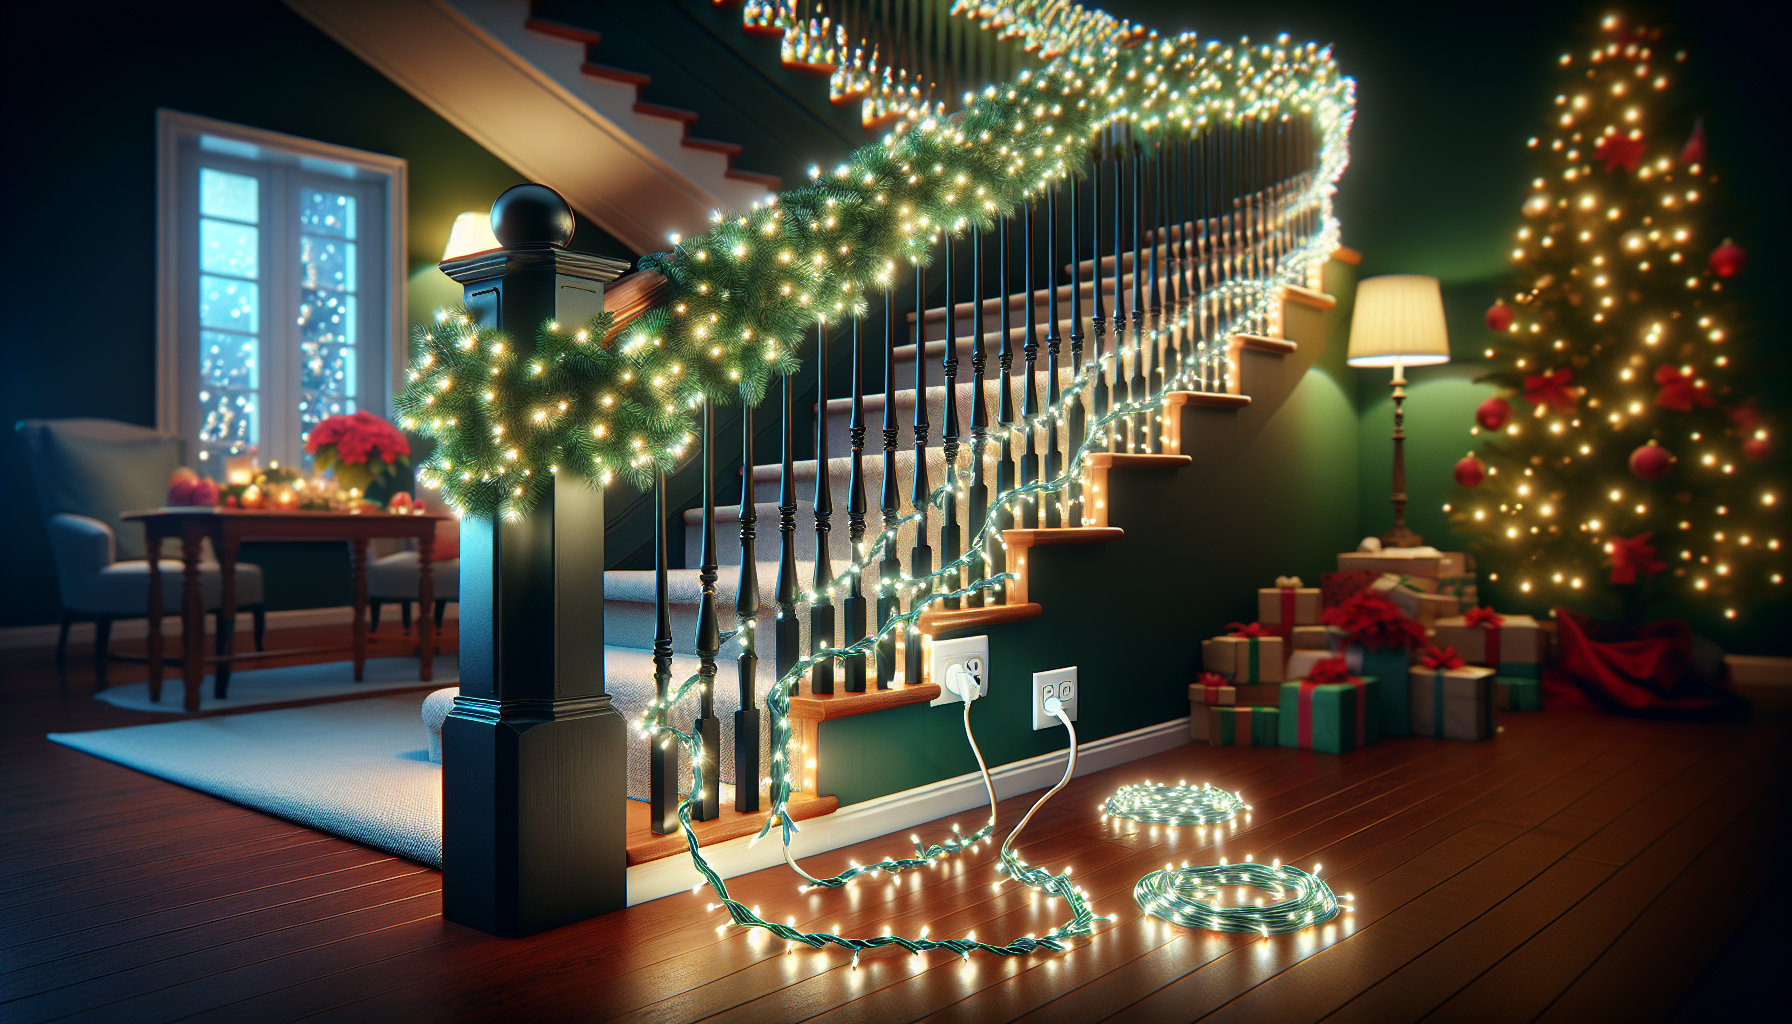
Q: How do I ensure the lights are evenly spaced?
A: Start by measuring the area where you want to hang the lights and determine the spacing you desire. Use clips or hooks at consistent intervals to achieve an even distribution. Step back periodically to assess the overall look and make adjustments as needed.
Q: How can I extend the lifespan of my Christmas lights?
A: To prolong the lifespan of your lights, avoid overloading circuits, protect them from harsh weather conditions, and store them properly during the off-season. Regularly inspect the lights for any damage and replace any faulty bulbs or strands promptly.
Conclusion
Hanging Christmas lights like a pro requires the right equipment, professional grade lights, and a solid understanding of the best installation techniques. By following our tips and learning from our informative videos, you’ll be well-equipped to create a stunning display that impresses both homeowners and clients. Remember, the holiday season is a time of joy and celebration, and what better way to spread the festive spirit than with a beautifully lit home? Start preparing early, gather the necessary tools, and let your creativity shine!