Table of Contents
- Introduction
- Choosing the Right Lights
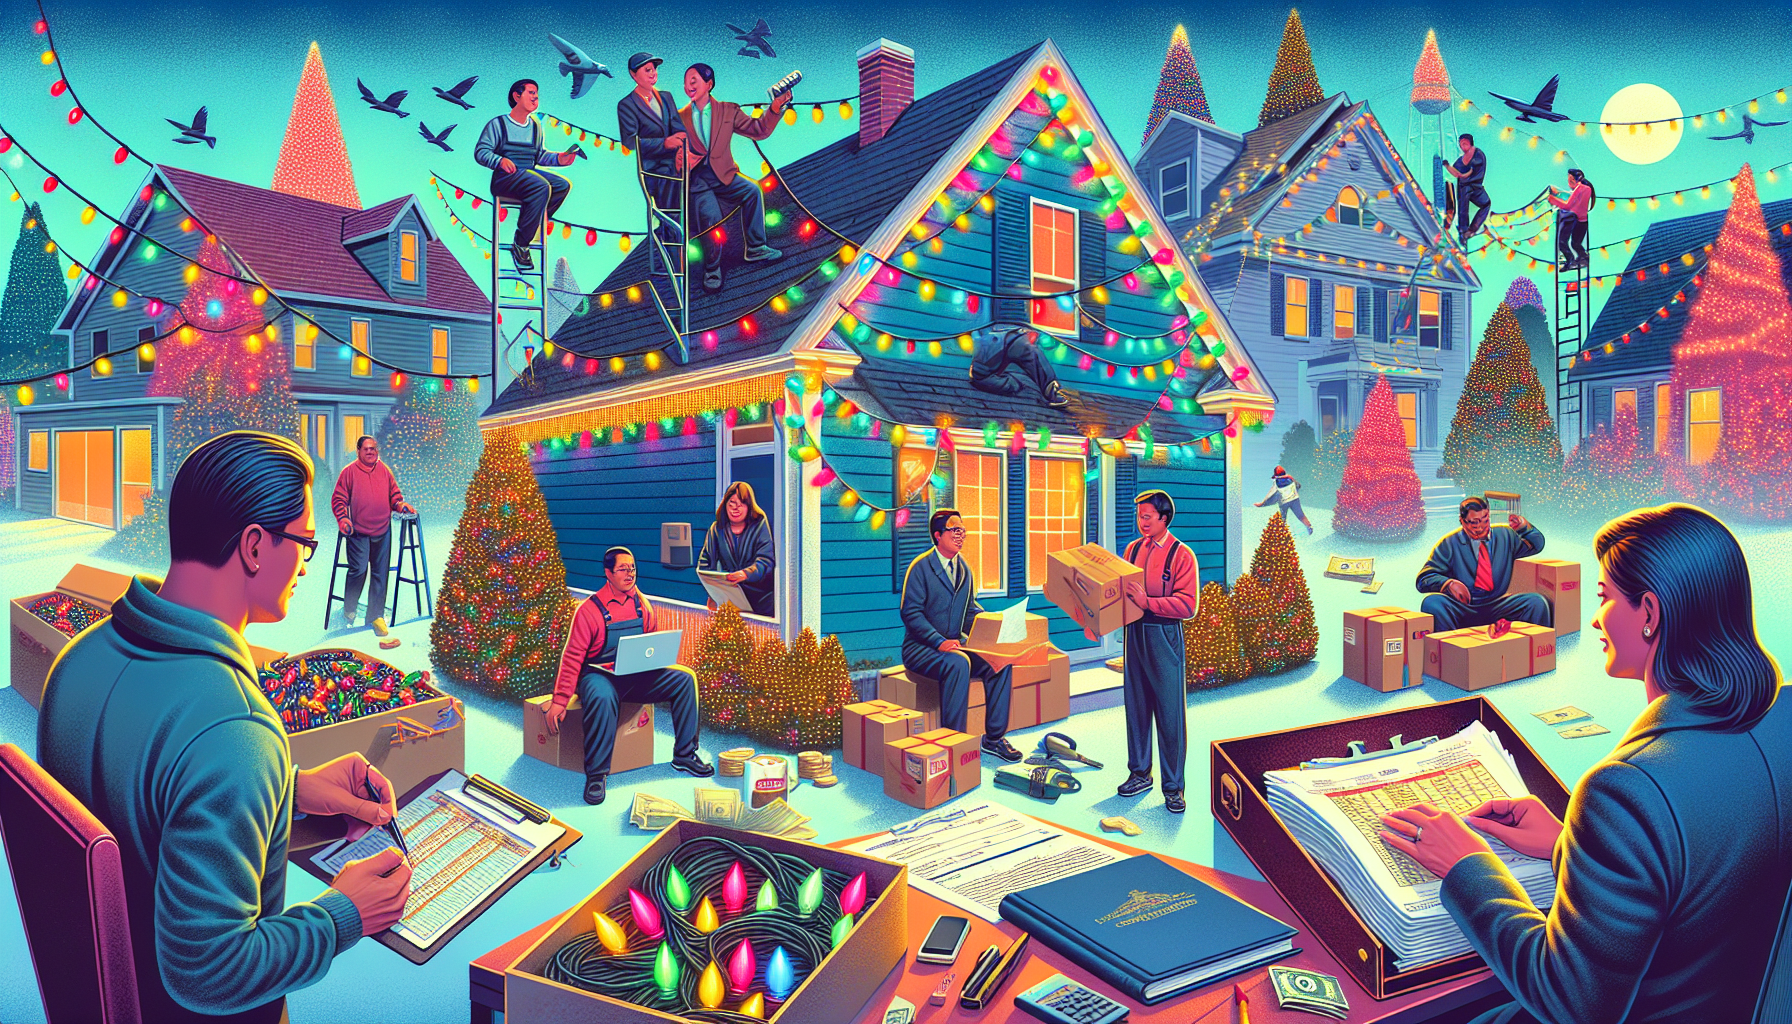
- Installation Process
- Making it Look Spectacular
- FAQ
- Conclusion
Introduction
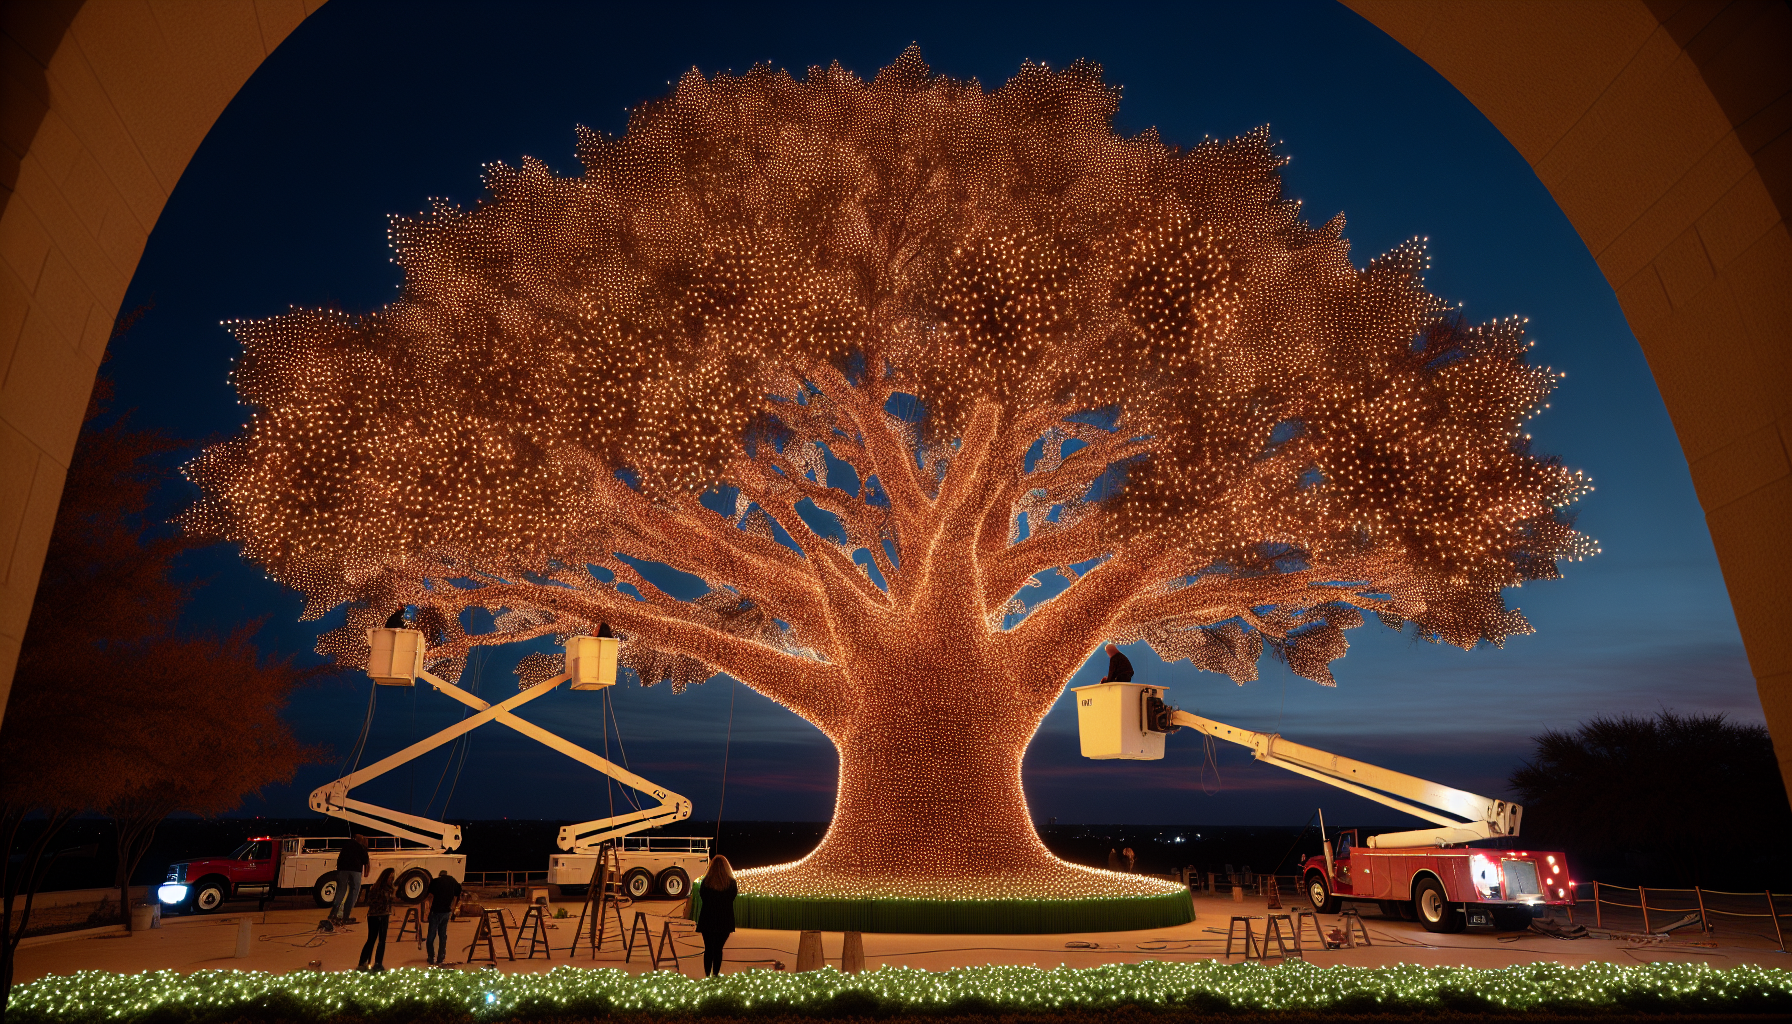
Decorating a big giant tree with lights can be a challenging but rewarding task. The size of the tree determines the spacing of the lights, and using professional lights allows for customization. In this blog, we will explore the process of decorating a large tree with lights, including tips and tricks to make it look spectacular.
Choosing the Right Lights
When decorating a big giant tree, it is important to choose the right lights. Professional lights often come without the bulbs installed, so you will need to bulb them yourself. Using a wooden spool, you can easily install the bulbs. The spacing between the lights is crucial, and for a two-foot spacing, it is recommended to use a couple of spools. Bulbing the strands can take longer than actually putting them on the tree, so be prepared for the task.
Twinkle Lights
For a more festive look, consider using twinkle lights. Twinkle lights add a touch of magic to the tree and create a beautiful shimmering effect. When using twinkle lights, it is best to place them every five or six bulbs to avoid having two twinkles next to each other. This creates a more random and visually appealing display. While some prefer a more structured approach, a random placement of twinkle lights adds an element of surprise.
Installation Process
Installing lights on a big giant tree can be a time-consuming task. It is recommended to have at least two people working on the installation to ensure efficiency. While some professionals have people bulb the lights in their warehouse, doing it on-site is also an option. However, using a bucket truck can make the process much easier, especially for taller trees.
Calculating the Amount of Lights
The amount of lights needed for a big giant tree depends on the desired density. For a 30-foot tall tree, a thousand feet of lights is usually sufficient. However, for larger trees, like the one in this video, around 1500 feet of lights may be needed. It is important to consider the spacing between the lights and adjust accordingly. A 36-inch spacing would create a denser look, while a 24-inch spacing provides a more spread-out appearance.
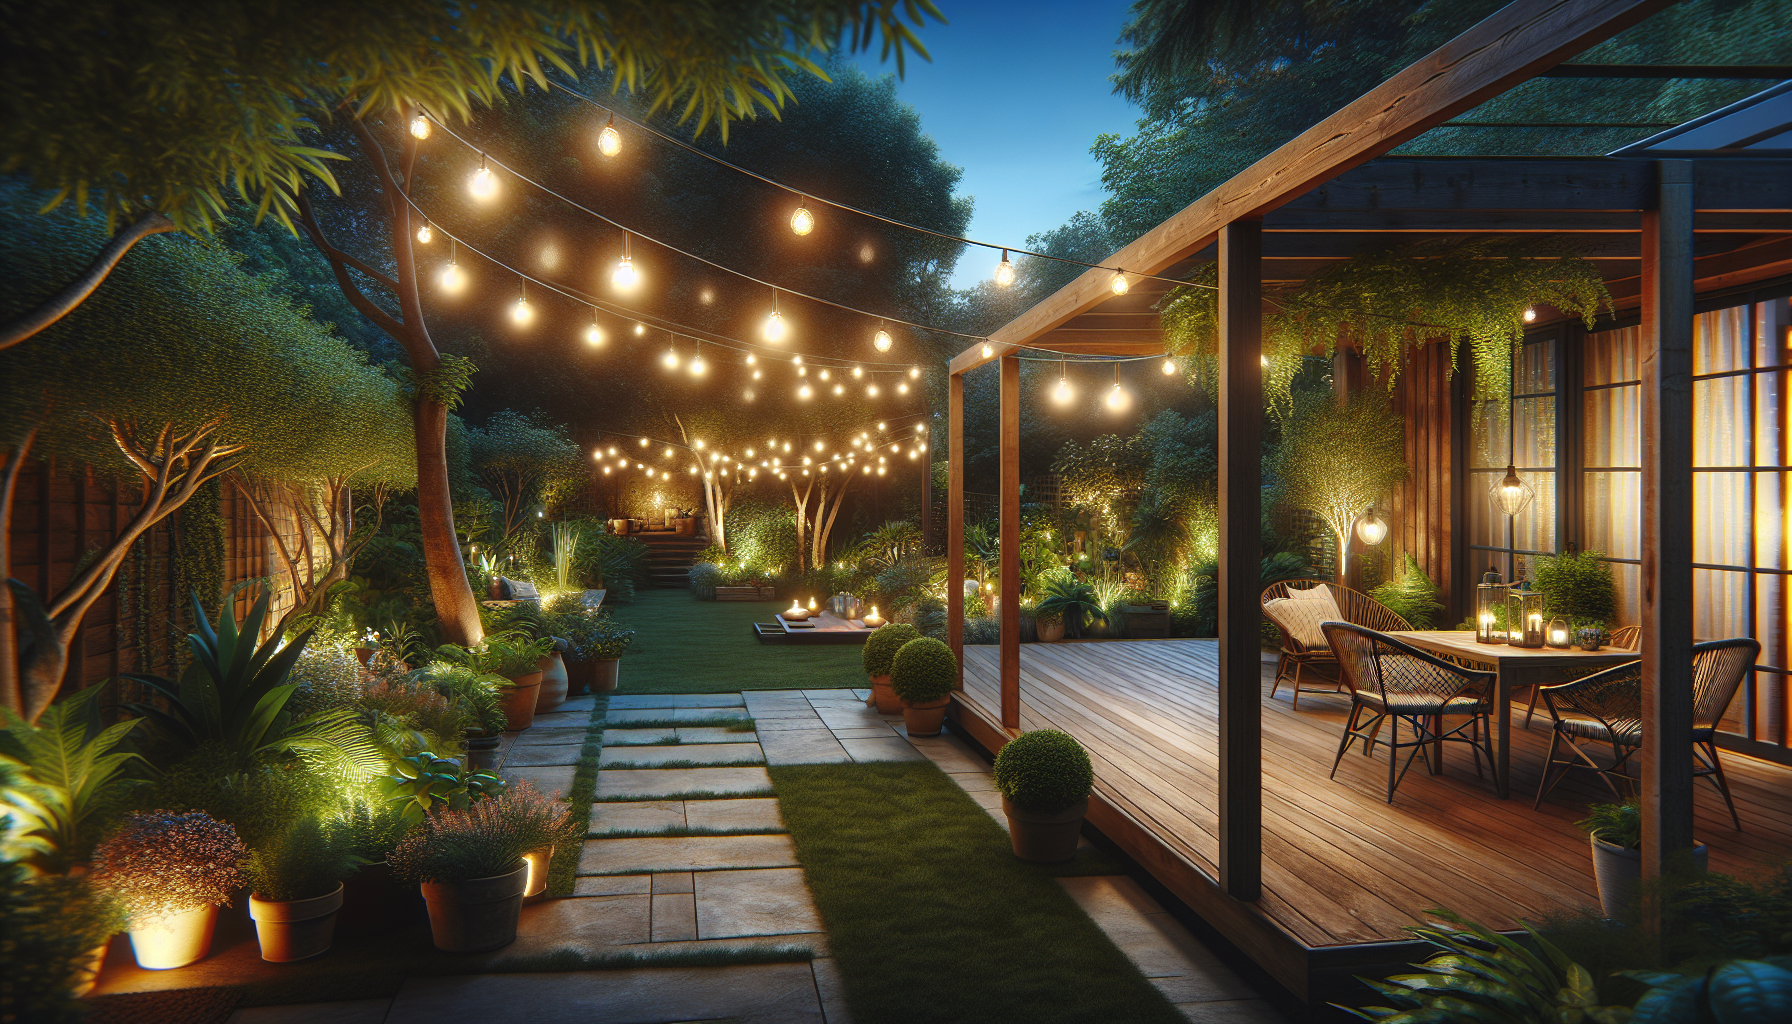
Color Choice
When it comes to color choice, warm white lights are a popular option. Warm white lights create a cozy and inviting atmosphere. In this video, the twinkle lights also match the warm white bulbs, creating a cohesive look. While some may not notice the subtle difference, it adds an extra touch of elegance to the overall display.
Making it Look Spectacular
When working on a project, it is important to give it your best, even if the client is on a tight budget. Making the tree look spectacular is a testament to your professionalism and dedication. Even if the job is underbid or not financially rewarding, taking pride in your work is essential. In this video, the decorator emphasizes the importance of doing a good job, regardless of the compensation.
FAQ
Q: How do you avoid tangling the lights while decorating the tree?
A: One way to avoid tangling the lights is to unspool them carefully before starting the installation. Additionally, having two people working on the project can help keep the lights organized and prevent tangling.
Q: Can I use different colored lights on a big giant tree?
A: Absolutely! Using different colored lights can create a festive and vibrant look. However, it is important to ensure that the colors complement each other and do not clash.
Q: How long does it take to decorate a big giant tree with lights?
A: The time it takes to decorate a big giant tree with lights depends on various factors, such as the size of the tree, the spacing between the lights, and the number of people working on the project. On average, it can take several hours to a full day to complete the installation.
Conclusion
Decorating a big giant tree with lights is a task that requires careful planning and attention to detail. By choosing the right lights, spacing them appropriately, and taking pride in your work, you can create a stunning display that will impress everyone who sees it. Remember, even if the job is challenging or financially limiting, the satisfaction of a job well done is priceless.